le19M

WeChat interactive experience

Trades and making processes

Client deck rendered as one page — internal evaluation copy. Every figure carries a stable anchor id (e.g. #s58-1) for later motion replacement.

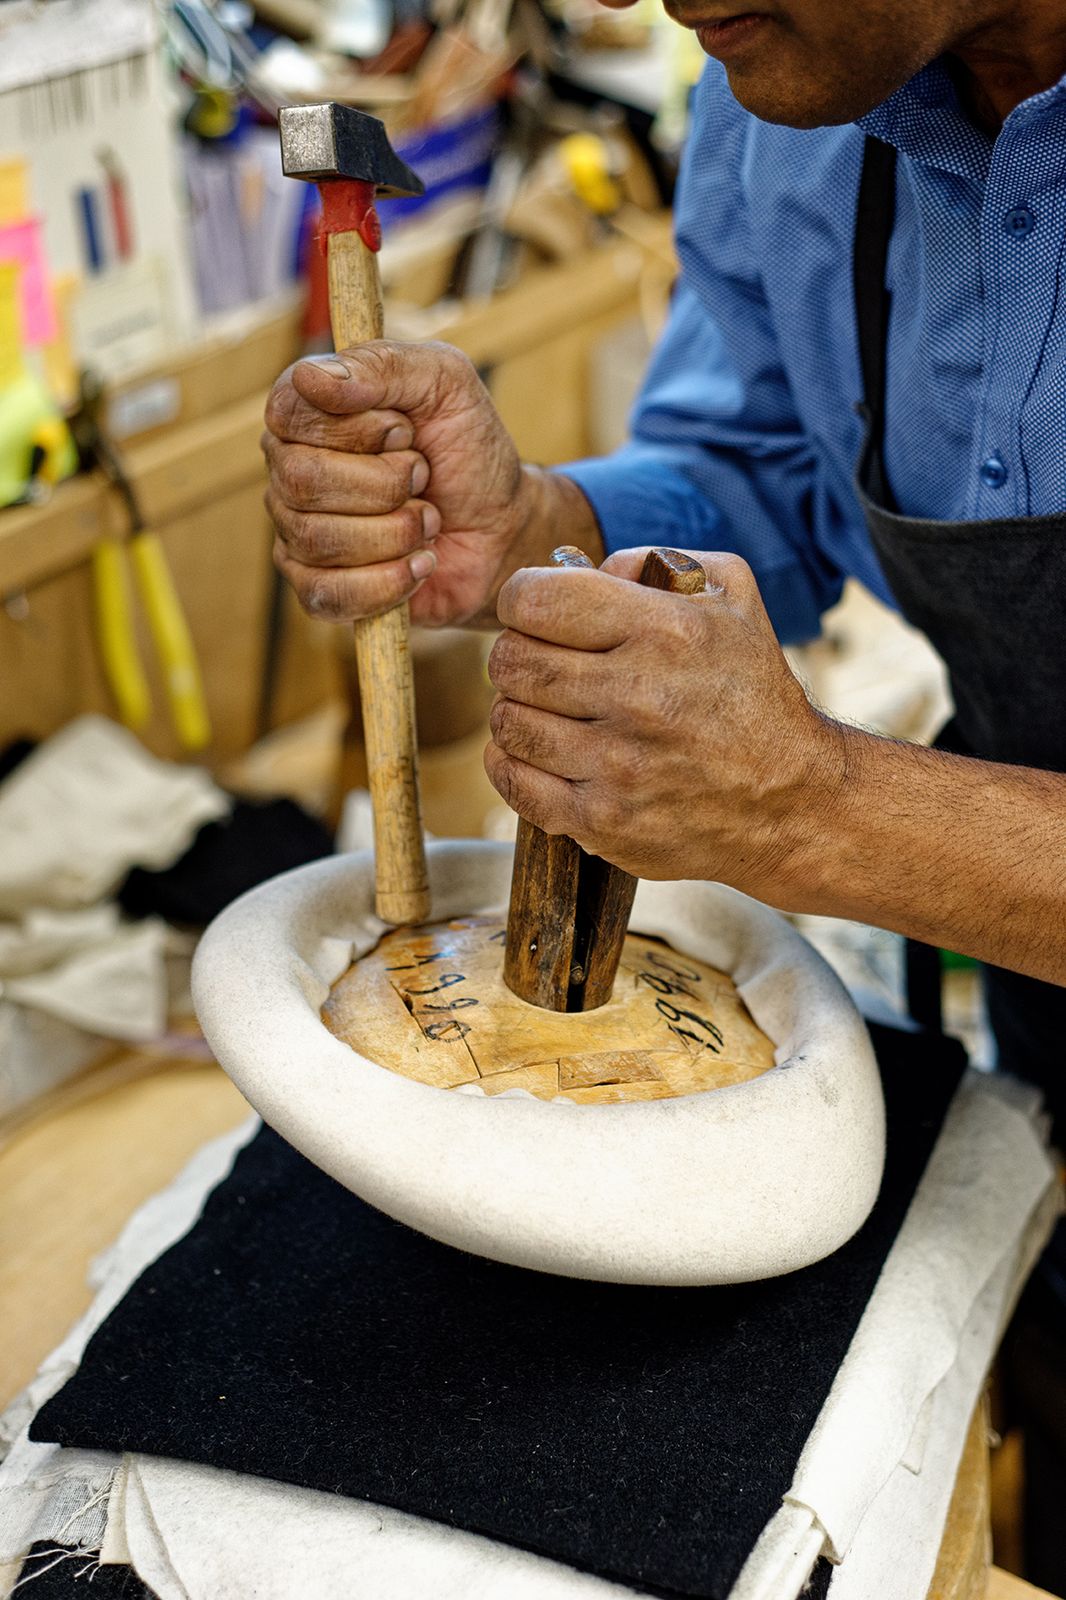
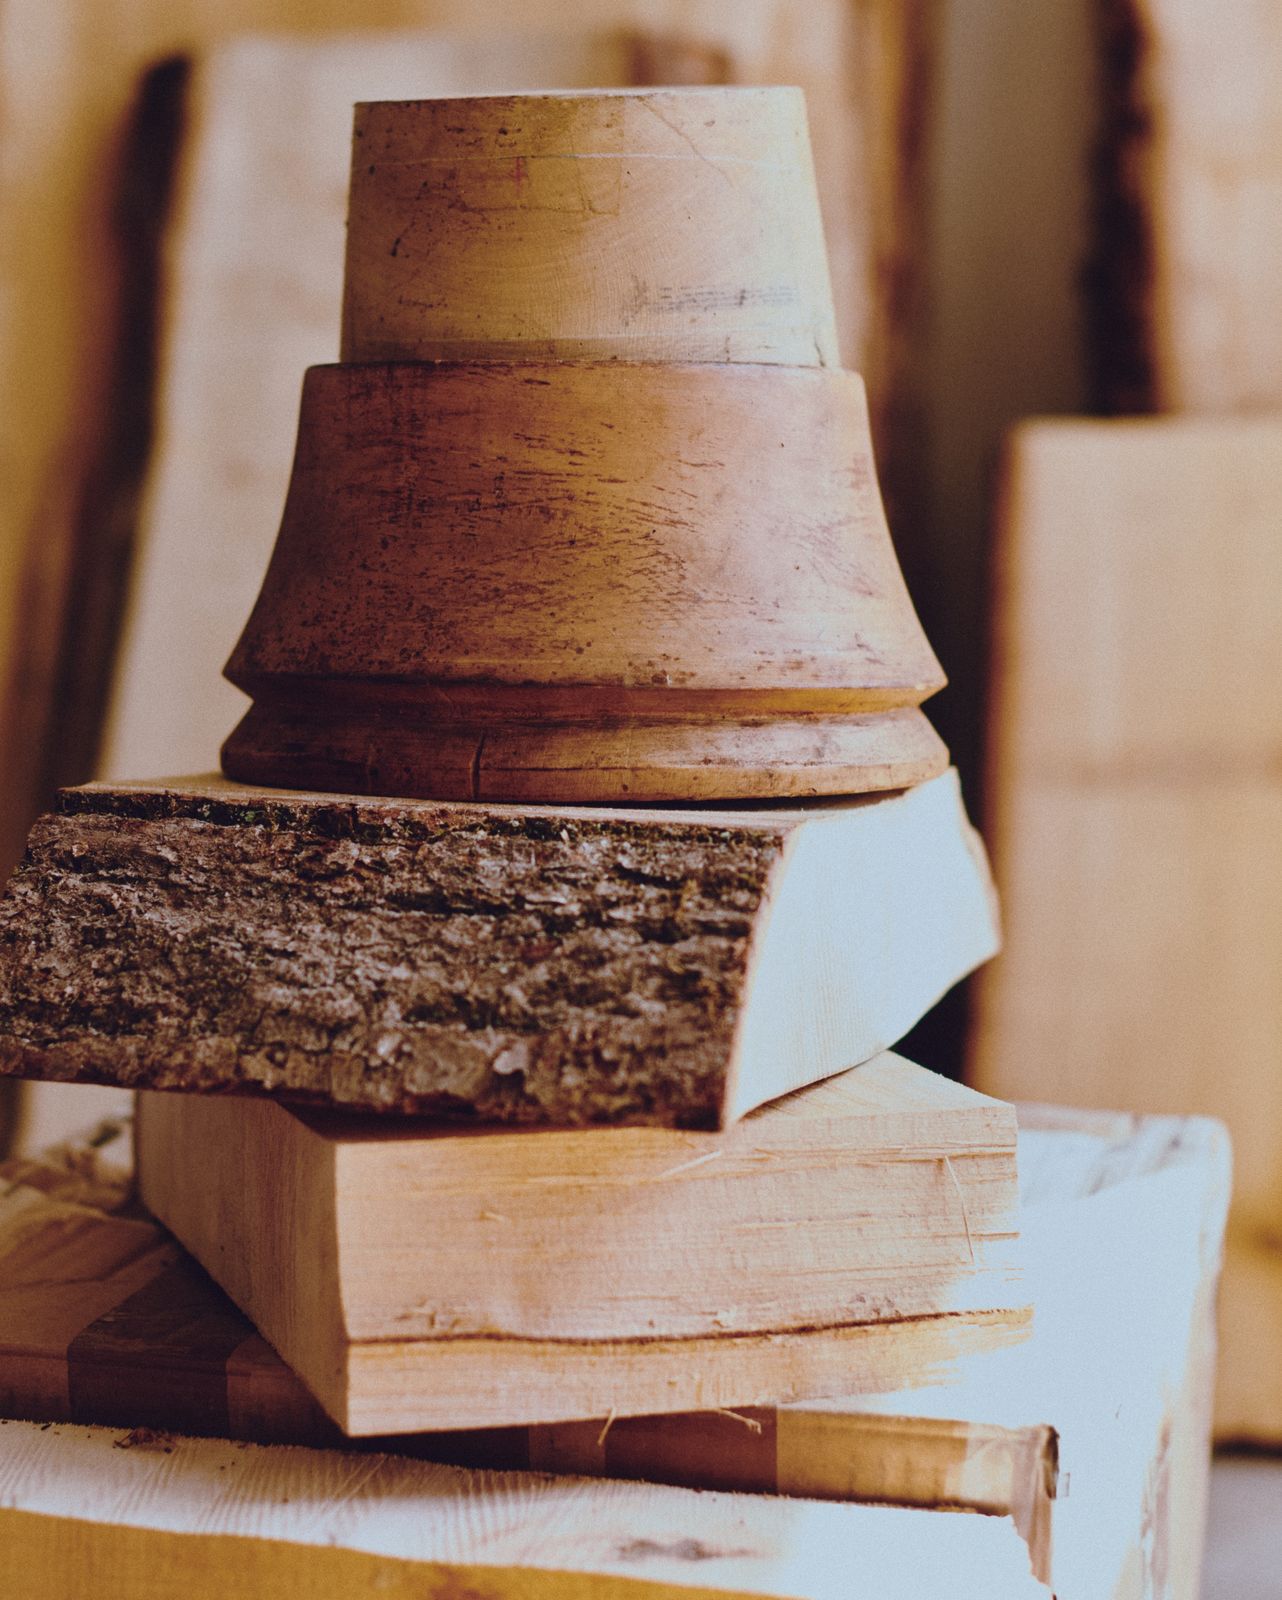
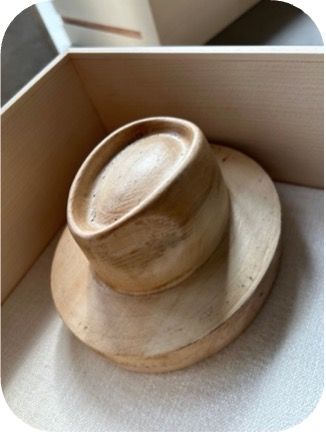
Maison Michel — carved wooden hat blocks

The hat-making process

Maison Michel

1. Block making

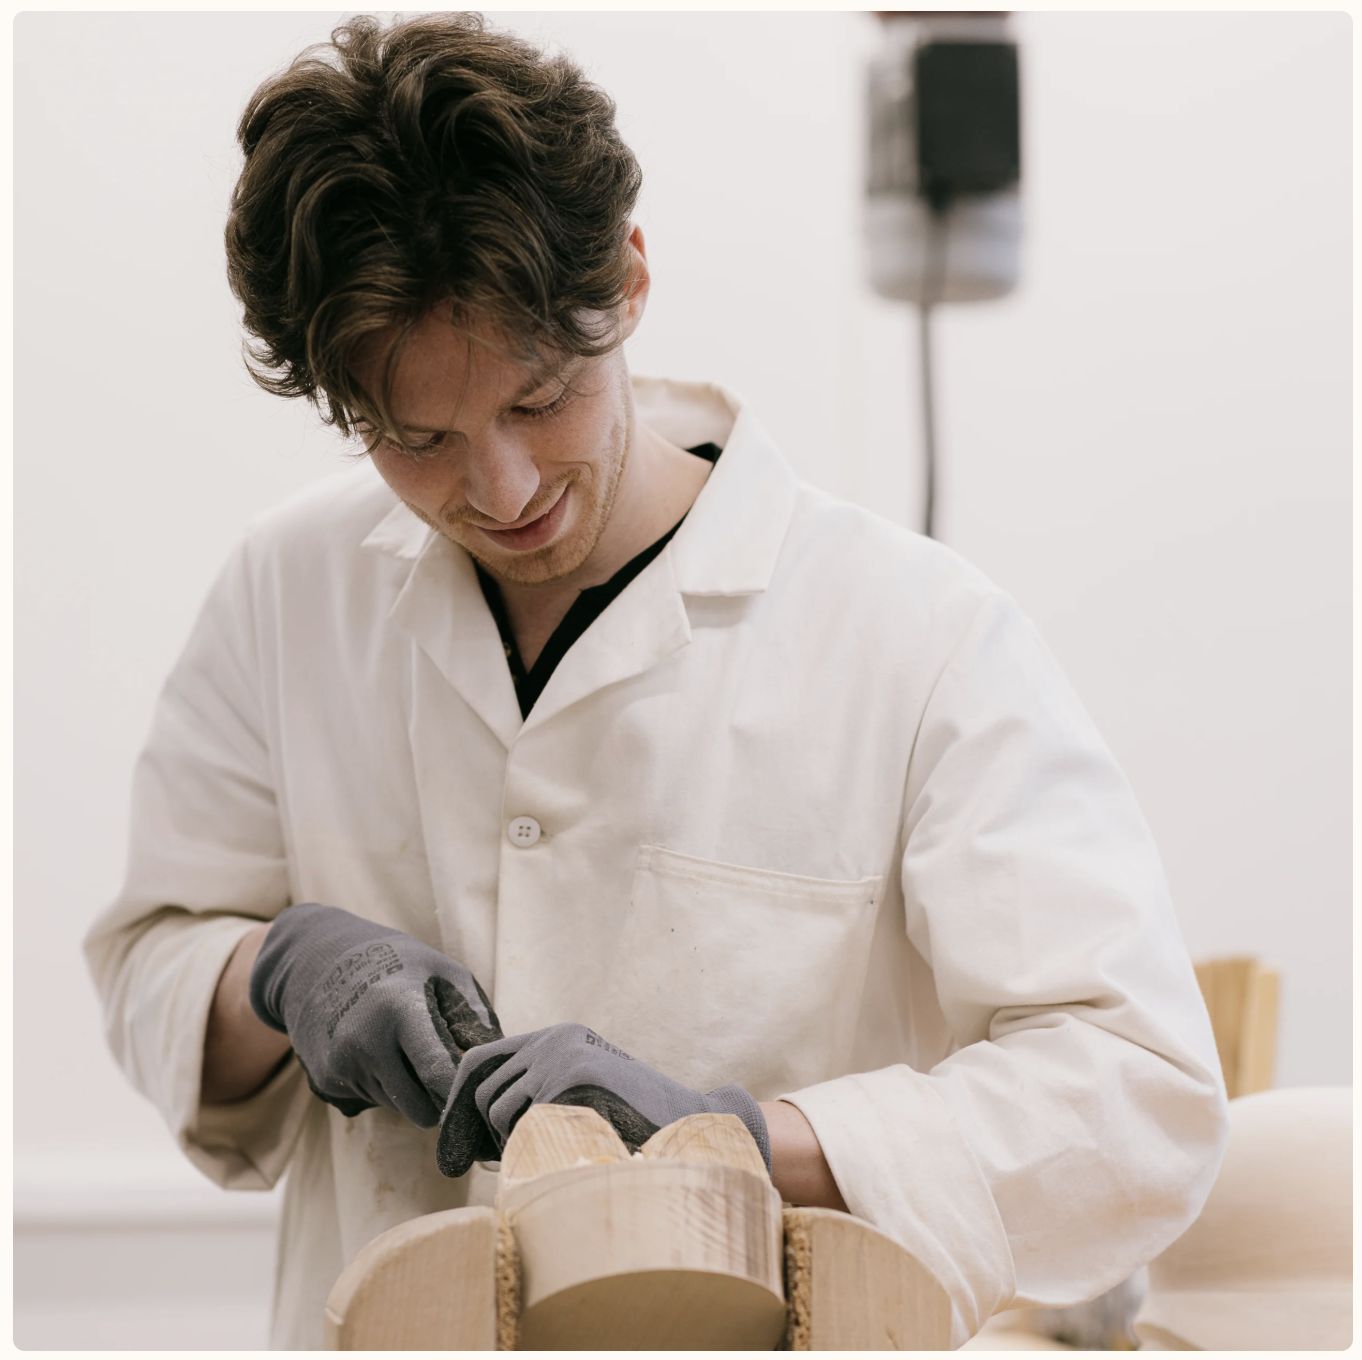
Hat making begins with the block maker, who carves the wood to create a form that the hatter will use to shape the hat. Each “form” has its own size, known as the “head entry”. The wooden form is designed and carved according to the artistic director’s specifications.

Maison Michel — 1. Block making
s04_1
Maison Michel — 1. Block making
s04_2
Maison Michel — 1. Block making
s04_3
Maison Michel — 1. Block making
s04_4

2. Moistening

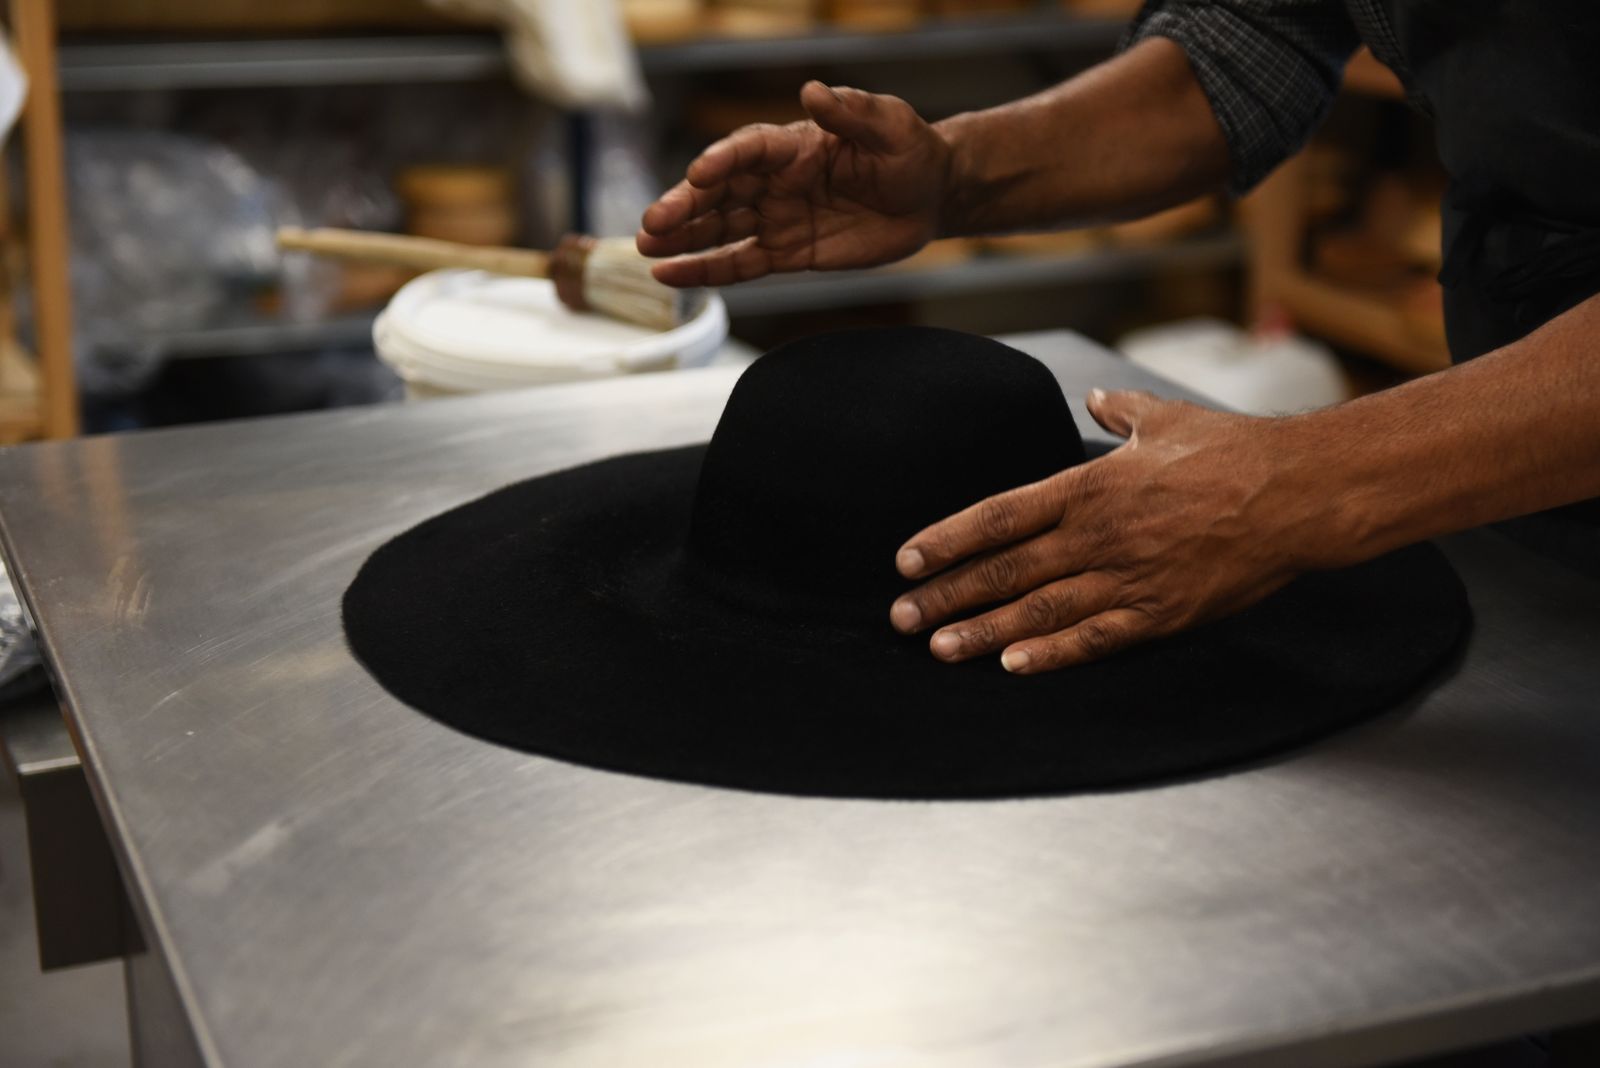
Once the shape has been chosen, the milliner places a cone of felt on it and coats it with a primer (gum arabic is used). This is an aqueous solution applied with a brush to give it rigidity. It is important that the gum arabic is evenly distributed so that the stiffness of the hat is consistent throughout.

Maison Michel — 2. Moistening
s05_1
s05_2
Maison Michel — 3. Heating
s06_1
Maison Michel — 3. Heating
s06_2

3. Heating

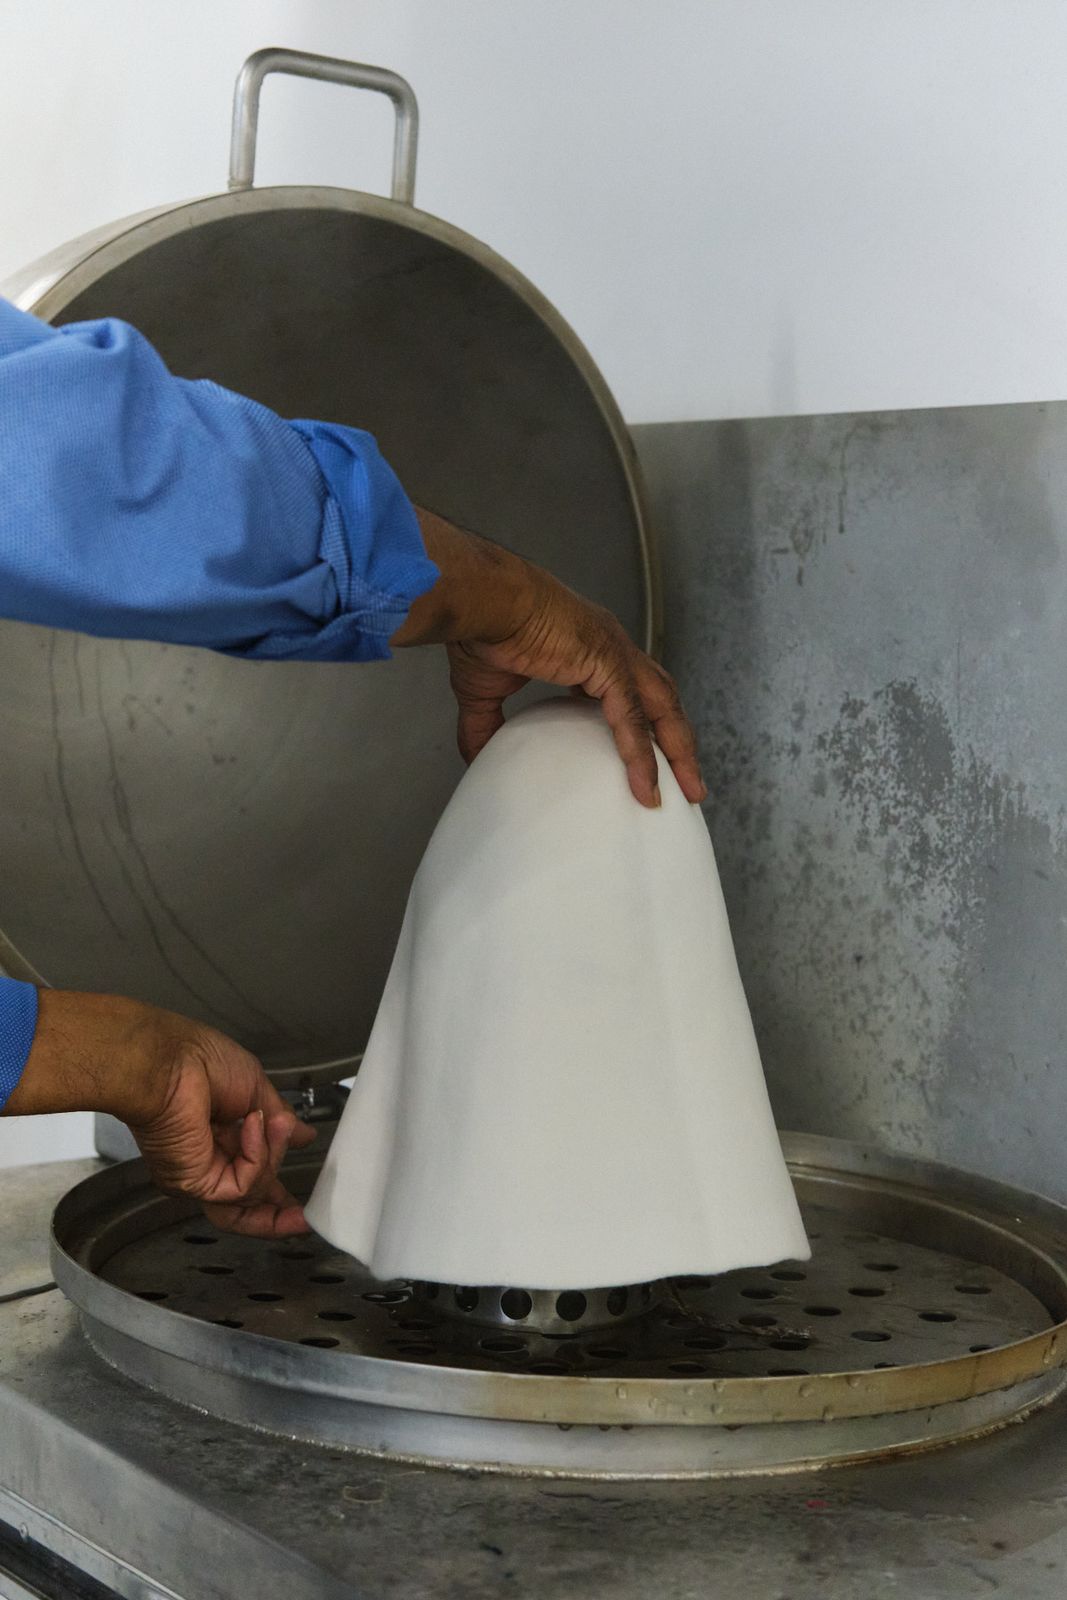
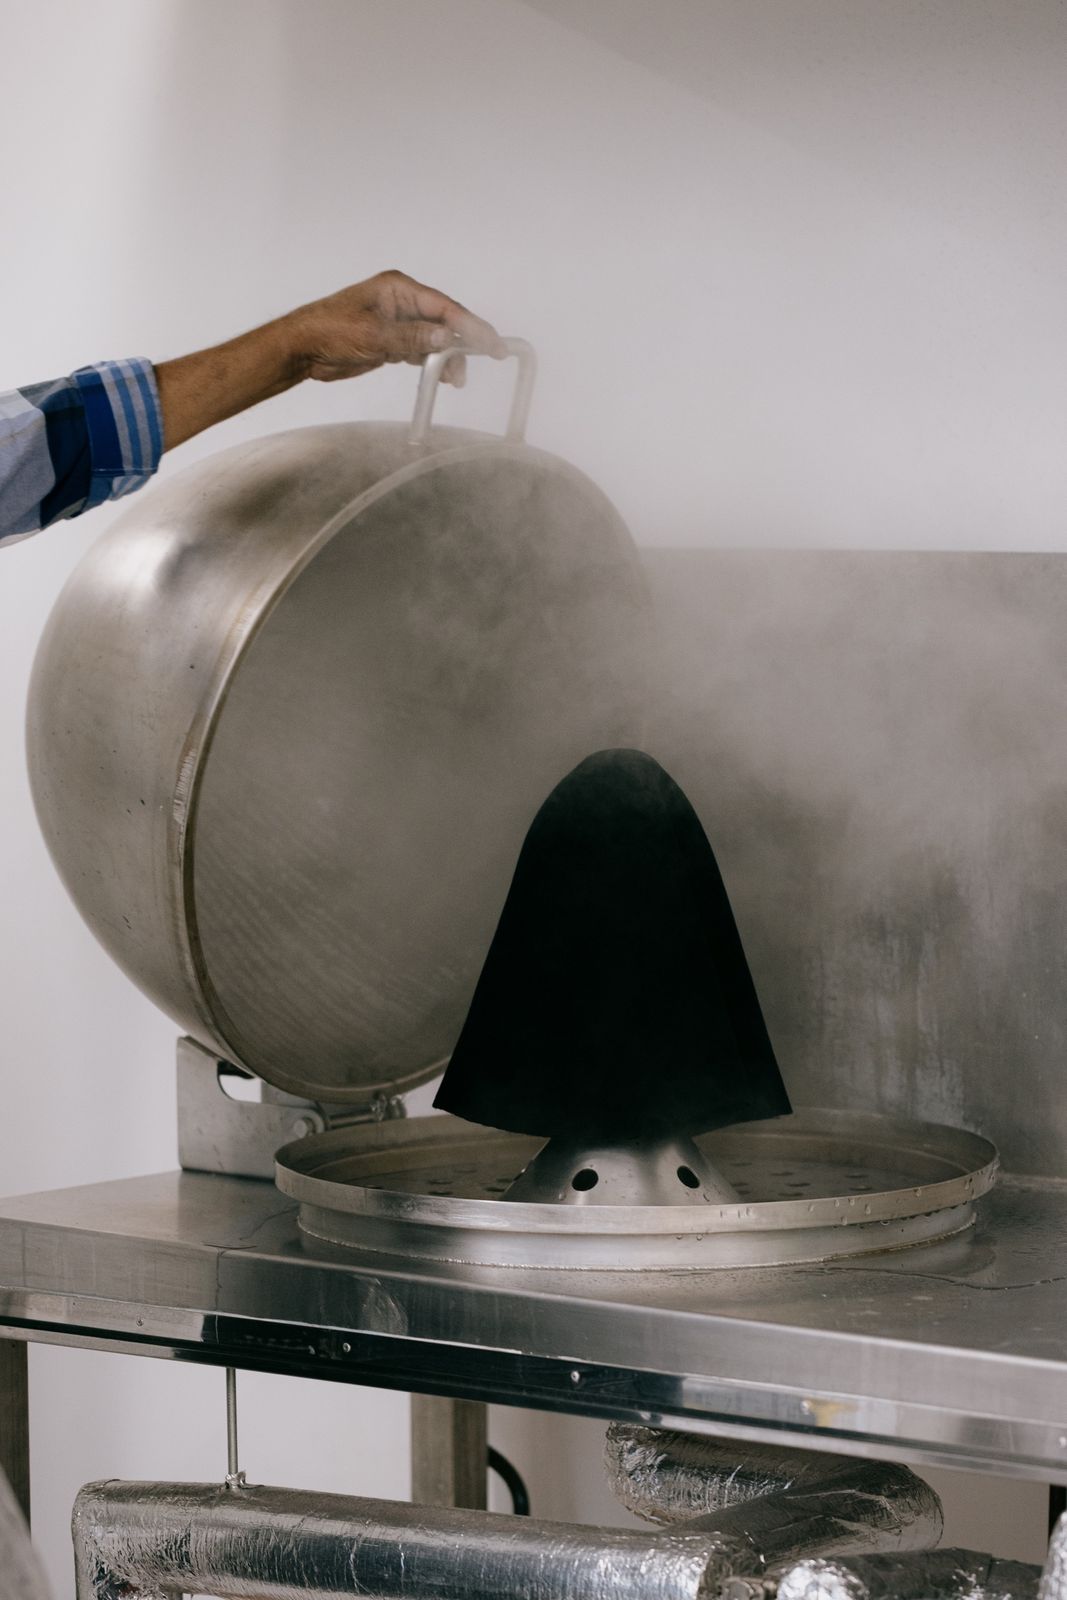
The primed felt cone is then placed under a steam bell at 100 degrees Celsius to soften it and give it the elasticity needed for moulding onto the wood.

4. Shaping

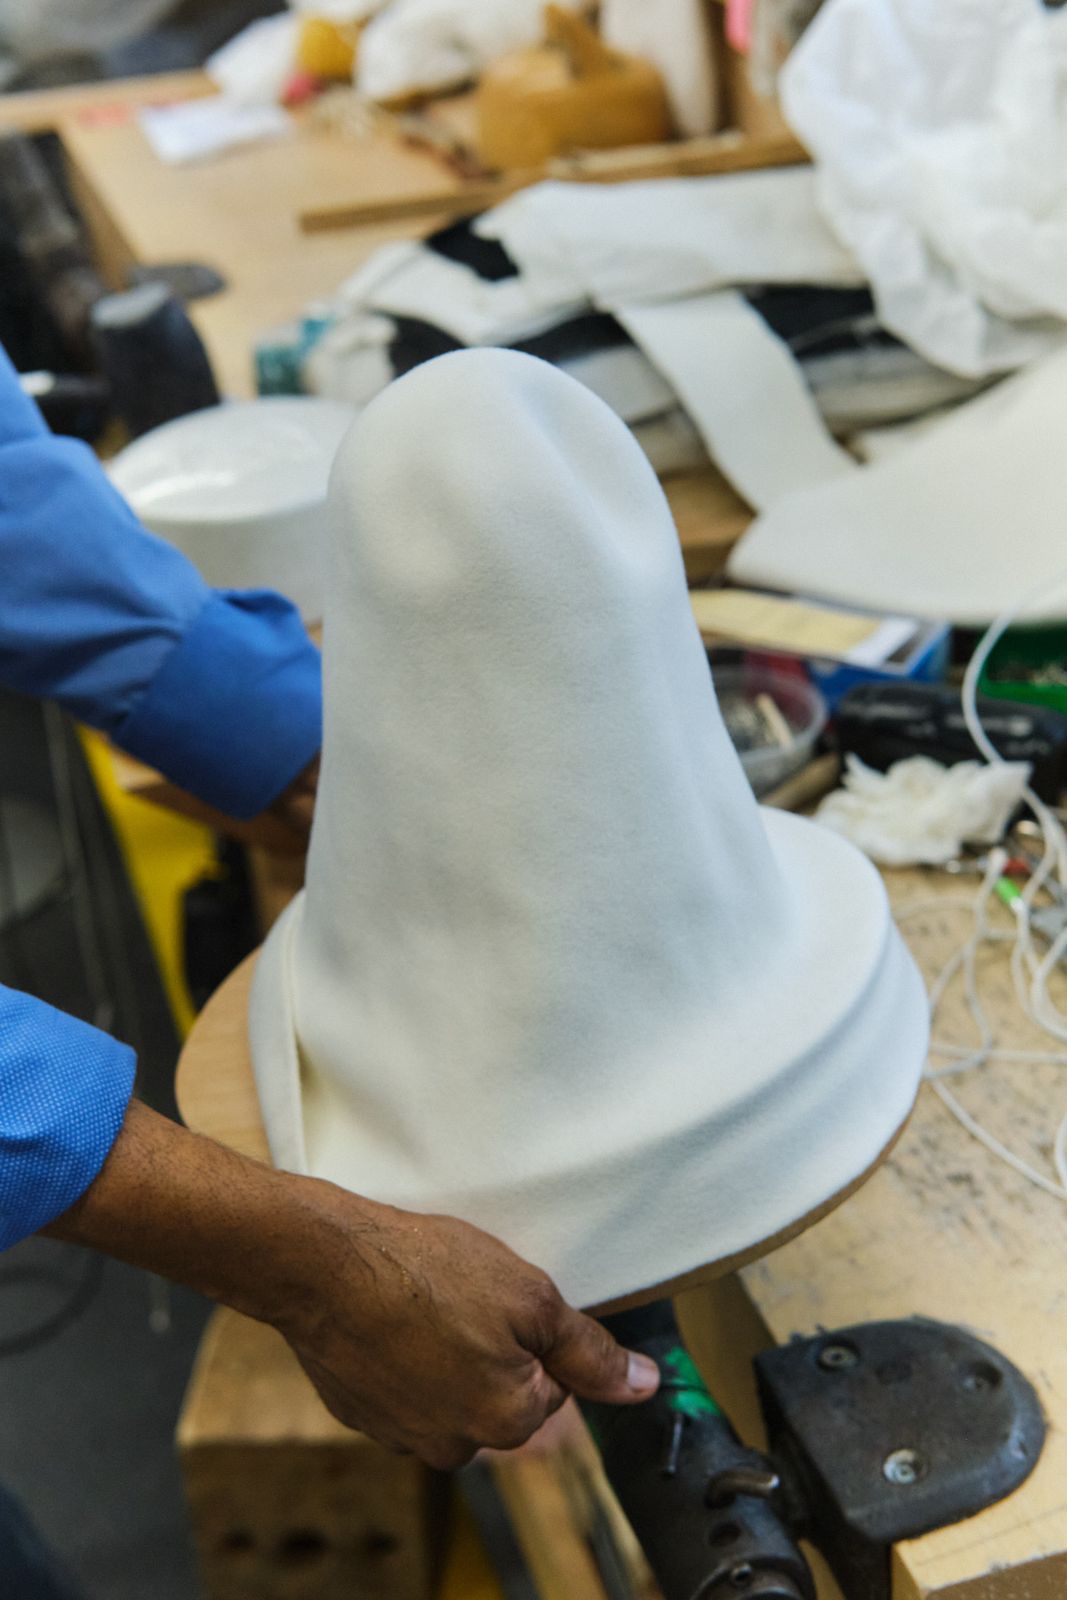
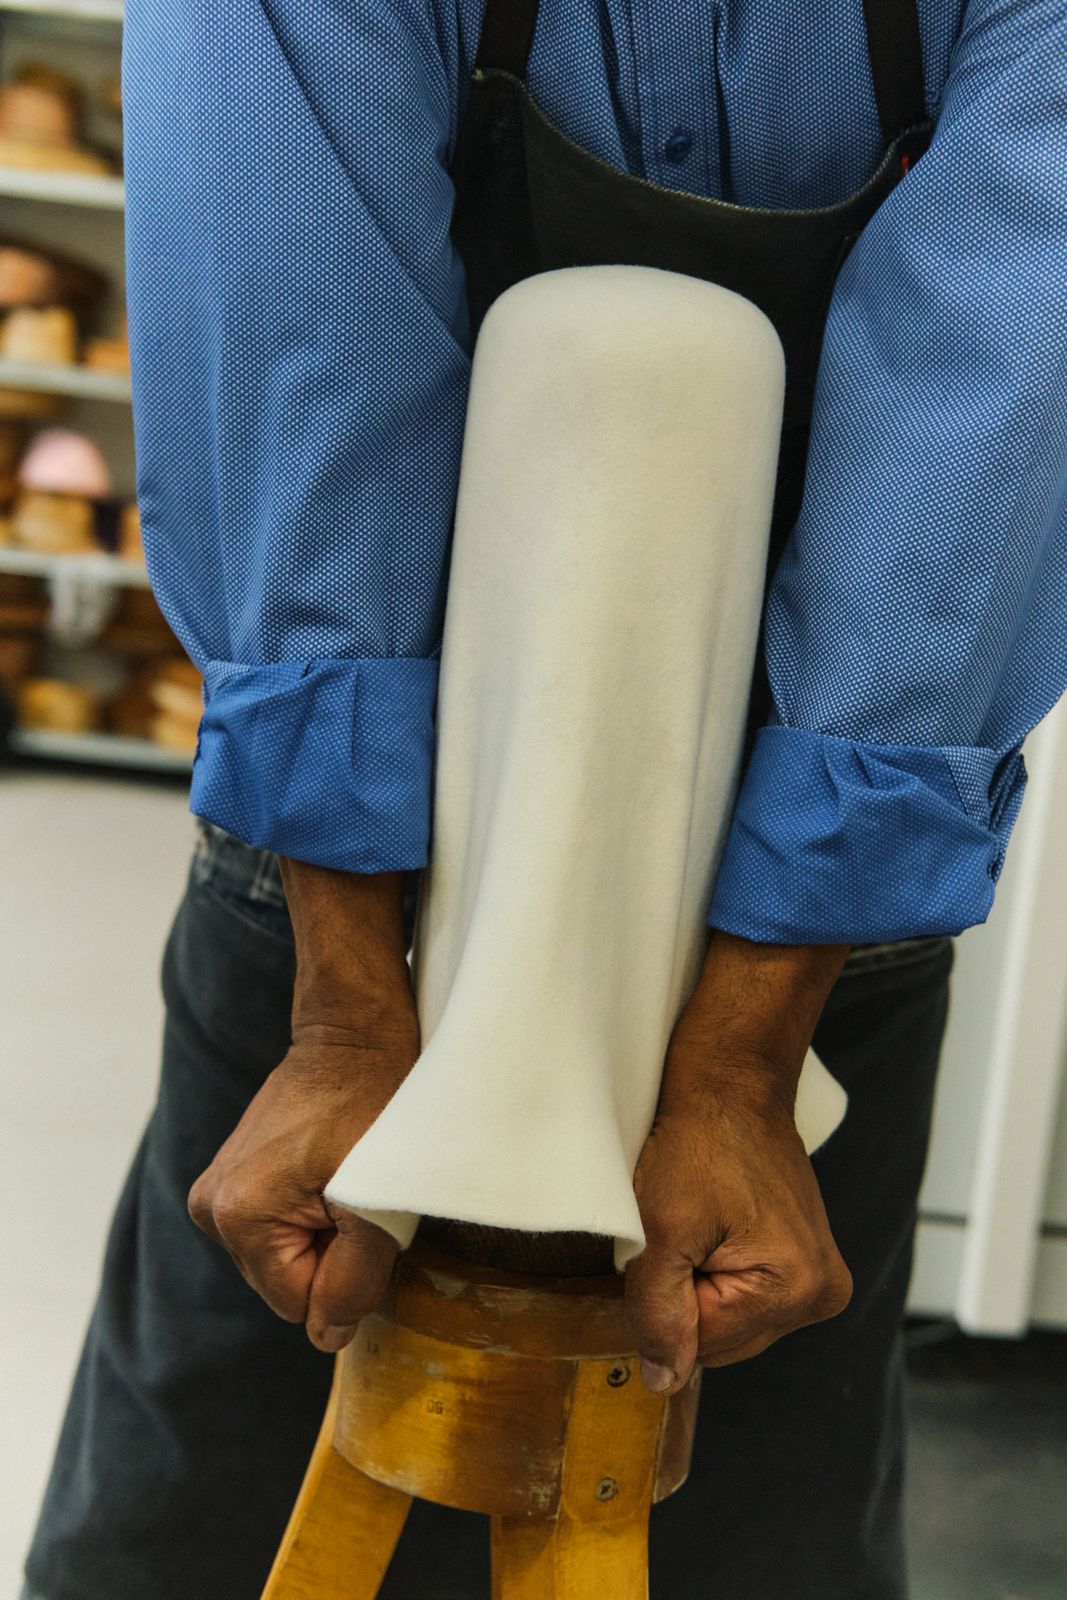
It is then stretched and shaped by hand on a rigid form (called a form or block) to obtain the desired shape.

Maison Michel — 4. Shaping
s07_1
Maison Michel — 4. Shaping
s07_2
Maison Michel — 5. Mascottage
s08_1
s08_2
Maison Michel — 5. Mascottage
s08_3

5. Mascottage

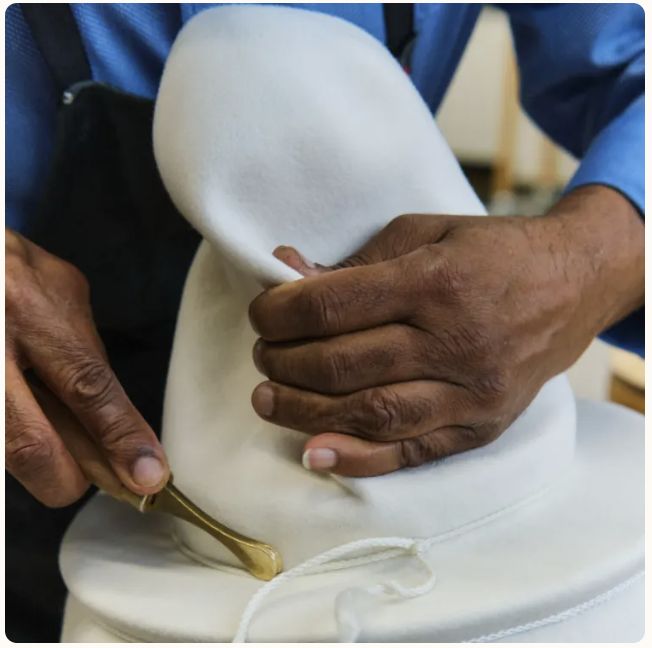
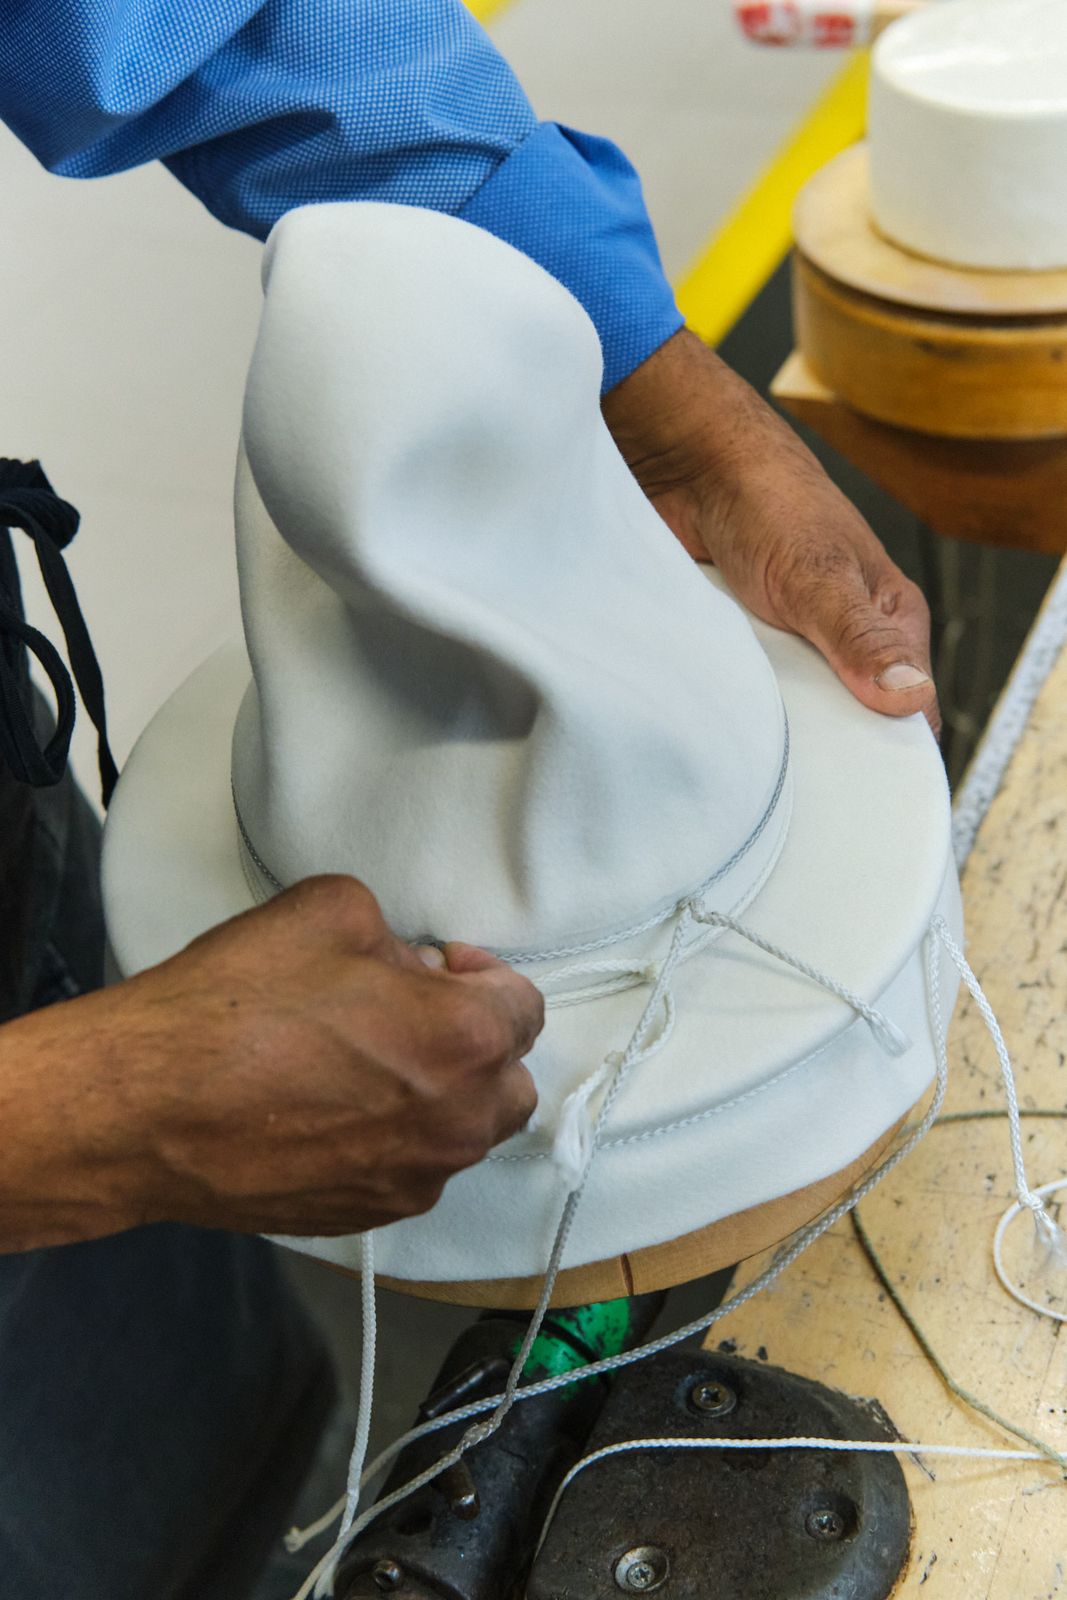
Once the felt has been stretched and pulled tight over the wood, the hatter secures it to the mould using string at the crown and the dorset. For the top of the hat, we use what are called joncs (rush strips) which are first moistened and then nailed down using small nails called argentines to mark the more precise shapes on the hat, a process known as mascottage.

6. Drying

After all these steps, the hat is placed in an oven called an étuve (steamer) to dry the material for the first time. It is removed after about half an hour.

7. Drying and fixing

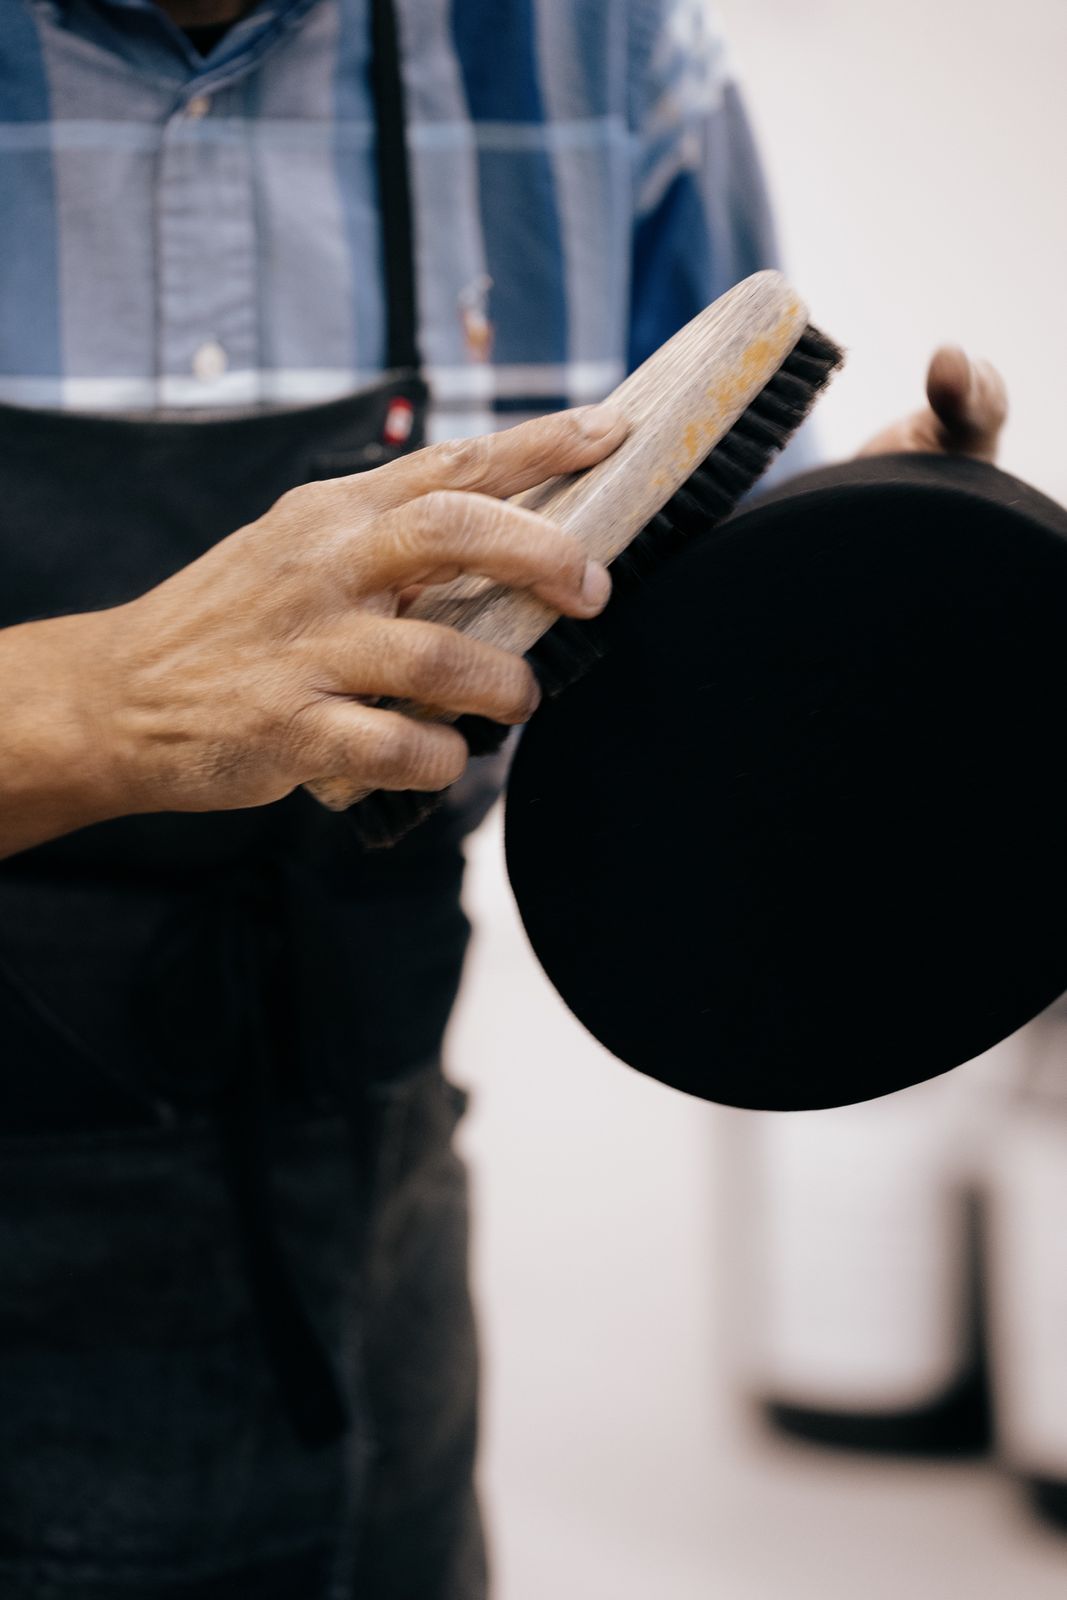
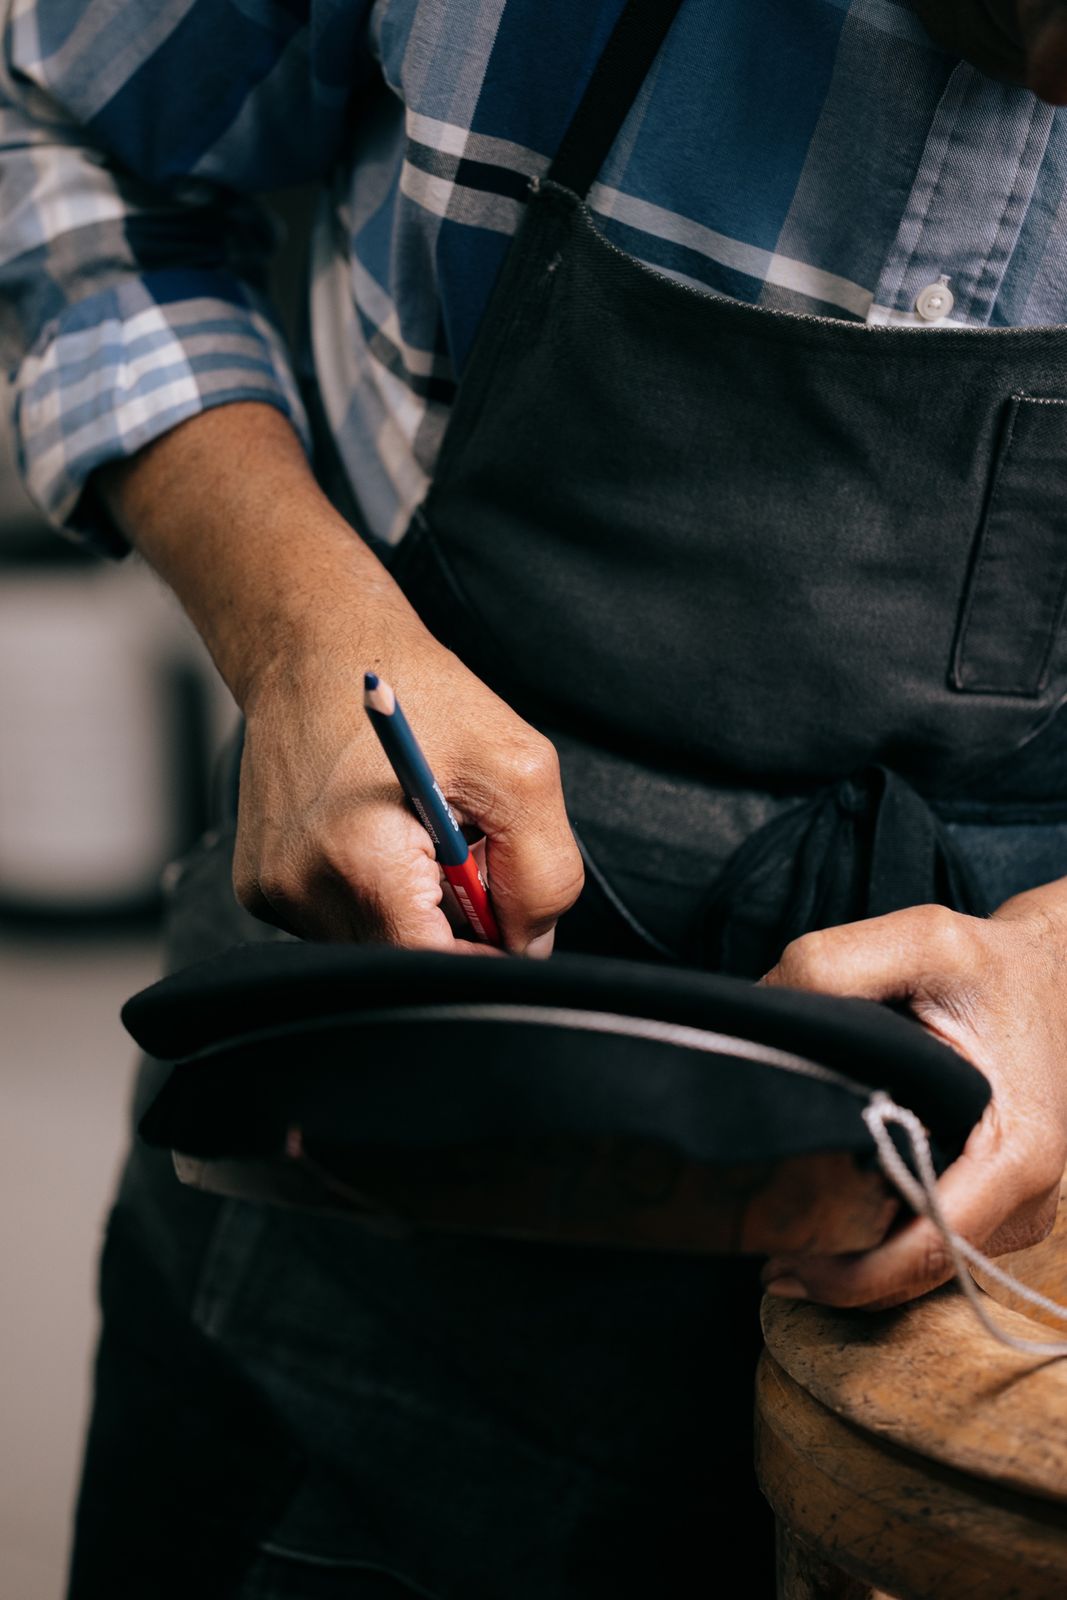
The argentines and joncs are removed and the hat is rubbed thoroughly to prevent any argentine holes. It is then placed in a warm room to finish drying and, once it is completely dry, a tool is placed between the form and the material so that the hat can be removed. It is important for the hatter to remember to mark the front and back of the hat, as this will be useful for the milliner later on.

Maison Michel — 7. Drying and fixing
s10_1
Maison Michel — 7. Drying and fixing
s10_2
s11_1
Maison Michel — 8. Millenery
s11_2

8. Millenery

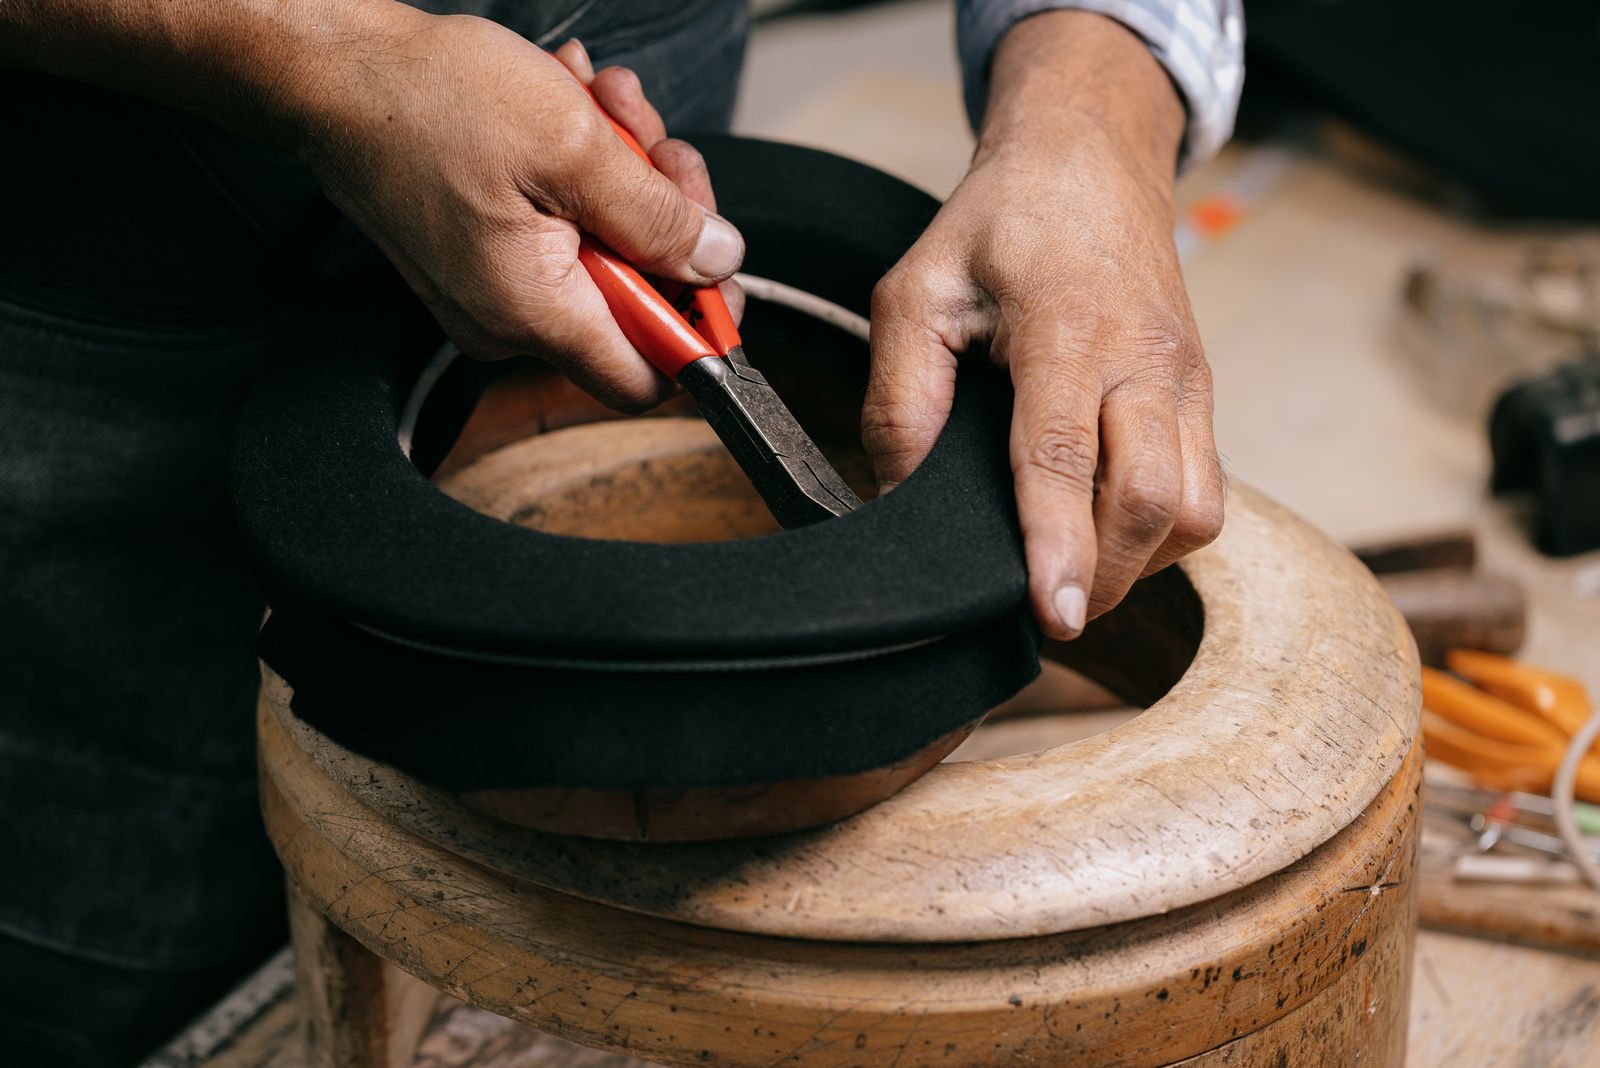
in once the hat has been moulded in this way. Using curved scissors, they will cut the edges and add braiding called grosgrains to the crown (i.e. the inside). On the outside, milliners also sew on a ribbon, braid or grosgrain, as well as other decorative trimmings such as beads, shells, etc.

Jeweller’s tools

Goossens

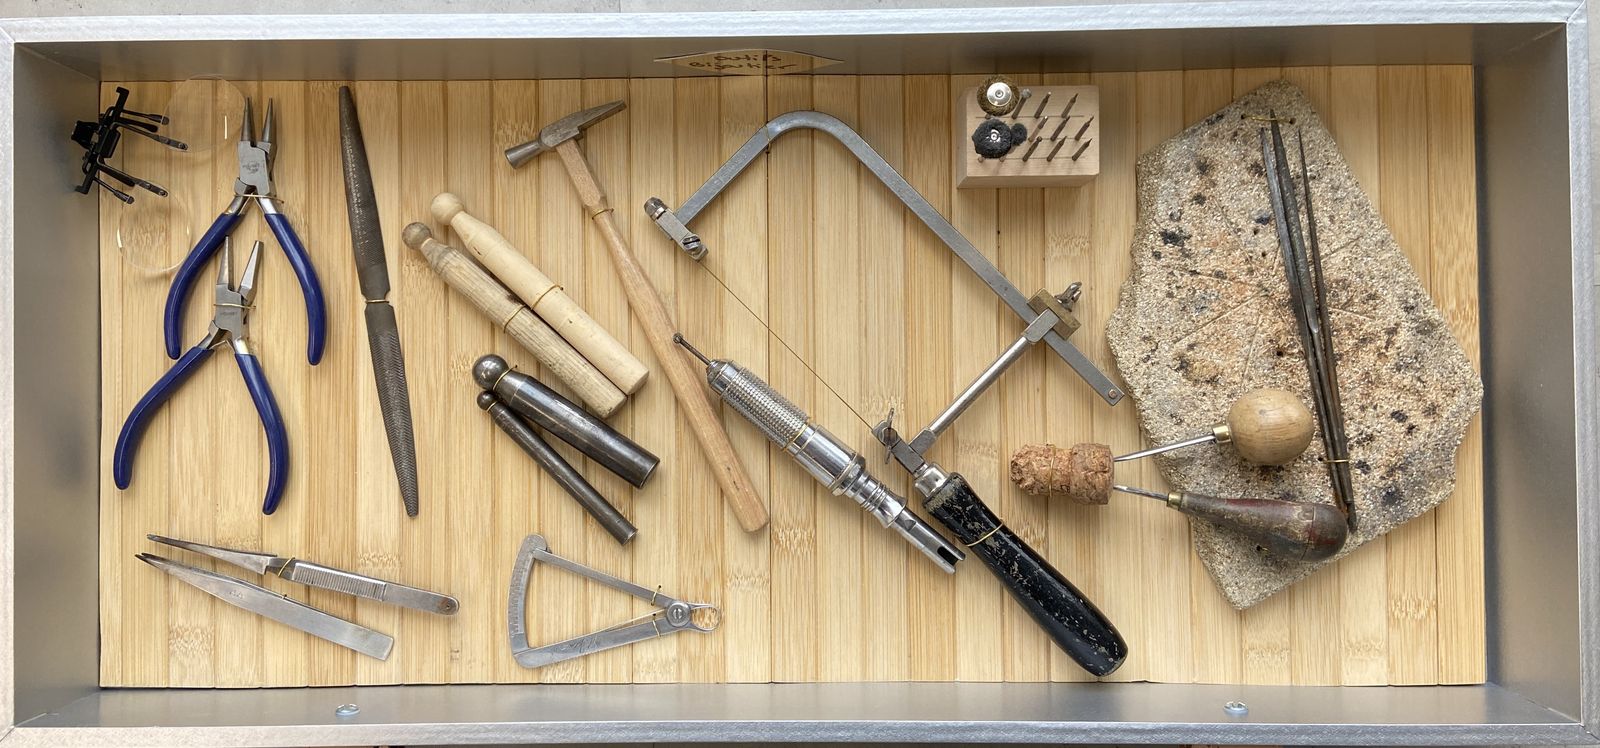
To craft custom high-jewellery pieces, the jewellers at Maison Goossens use a wide range of tools, often complementary to one another.

Goossens — figure
s13_1

The loupe is attached to protective glasses and is used for precision work. The protective glasses themselves are mainly used during the fraisage stage, to protect the face from projections of metal dust.

Pliers are used to close rings, twist wires or handle very small elements of material. Available in various sizes, they are particularly used for assembling a chain.

Files – flat, round, feuille de sauge, square – are used to file the metal in order to achieve a clean finish.

Hammers, of different sizes and shapes, are used—either by striking directly on metal plates or by using bouterolles—to create texture effects.

What is called a bocfil is a saw frame used to cut the material.

Similar to those used by a dentist, the drill bits (fraises) of various sizes in this panel are used to sculpt, drill and create material effects on the metal.
7. They are attached using a pièce-à-main, itself connected to a suspended motor.

8. For soldering, the elements are placed directly onto a refractory stone (i.e. one that does not react to heat).

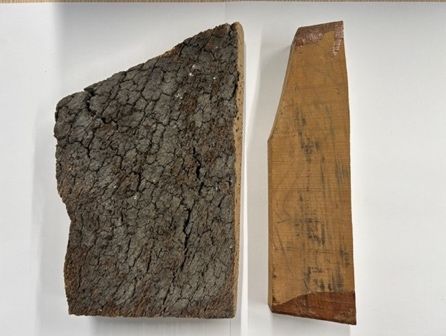
9. Échoppes, here mounted on a cork handle to avoid injuries, are used for engraving, stone setting, or creating texture effects such as guilloché (i.e. repetition of raised geometric patterns). They come in different shapes: flat, ongettes or burins.

10. Bouterolles, here in burin or steel, come in various sizes and are used to create curved or rounded (ball-shaped) forms on the metal.
11. The compas dixième is used to measure the thickness of metal.
12. « Brucelles » and « presselles à feu » are used to handle very small elements that are difficult to manipulate by hand and to carry out quick, direct soldering.

Feather

Lemarié

1. Feather working techniques

Lemarié — 1. Feather working techniques
s17_1

1. Feather working techniques (continued)

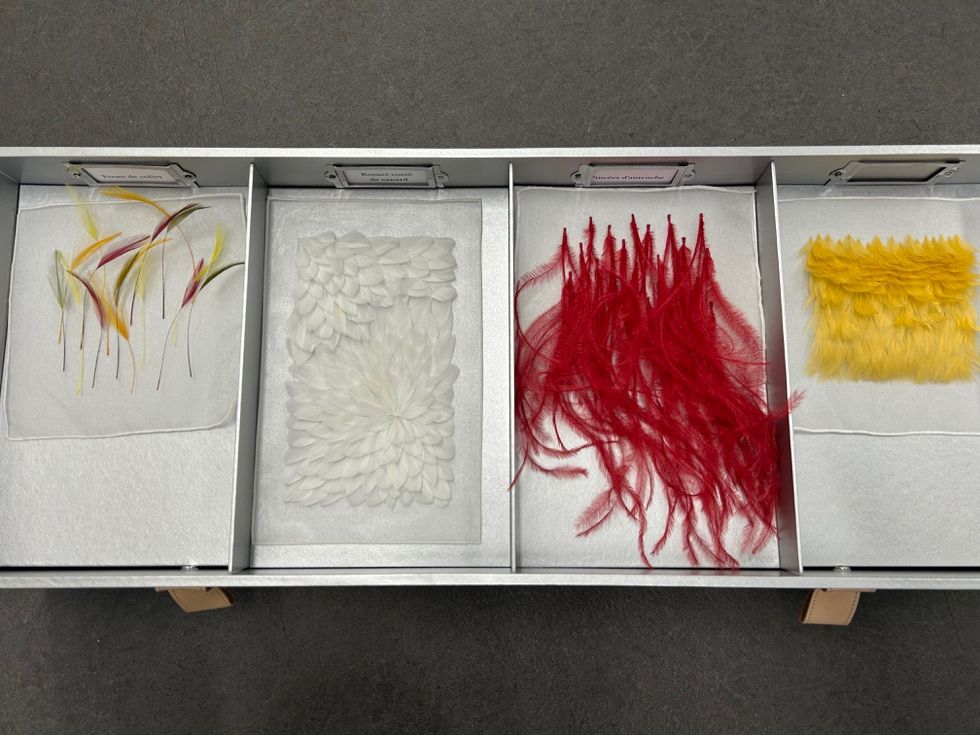
Neck hackles (sample 1) : There are also neck feathers or hackles, where part of the feather is removed to leave only the head.

Upturned feathers (samples 2 and 4) : When we say that a feather is glued “à la retroussette” (with the curl facing up), this means that the feather is placed on its reverse side i.e. on the convex side.

Flat-laid feathers (samples 2 and 4) :When laid flat, the feather is placed right side up.

Pinches (sample 3) : They are created by selecting the barbs of a single feather. They are cut from their common base to be glued onto the same fabric.

s19_1
Lemarié — 2. Feather working process
s19_2

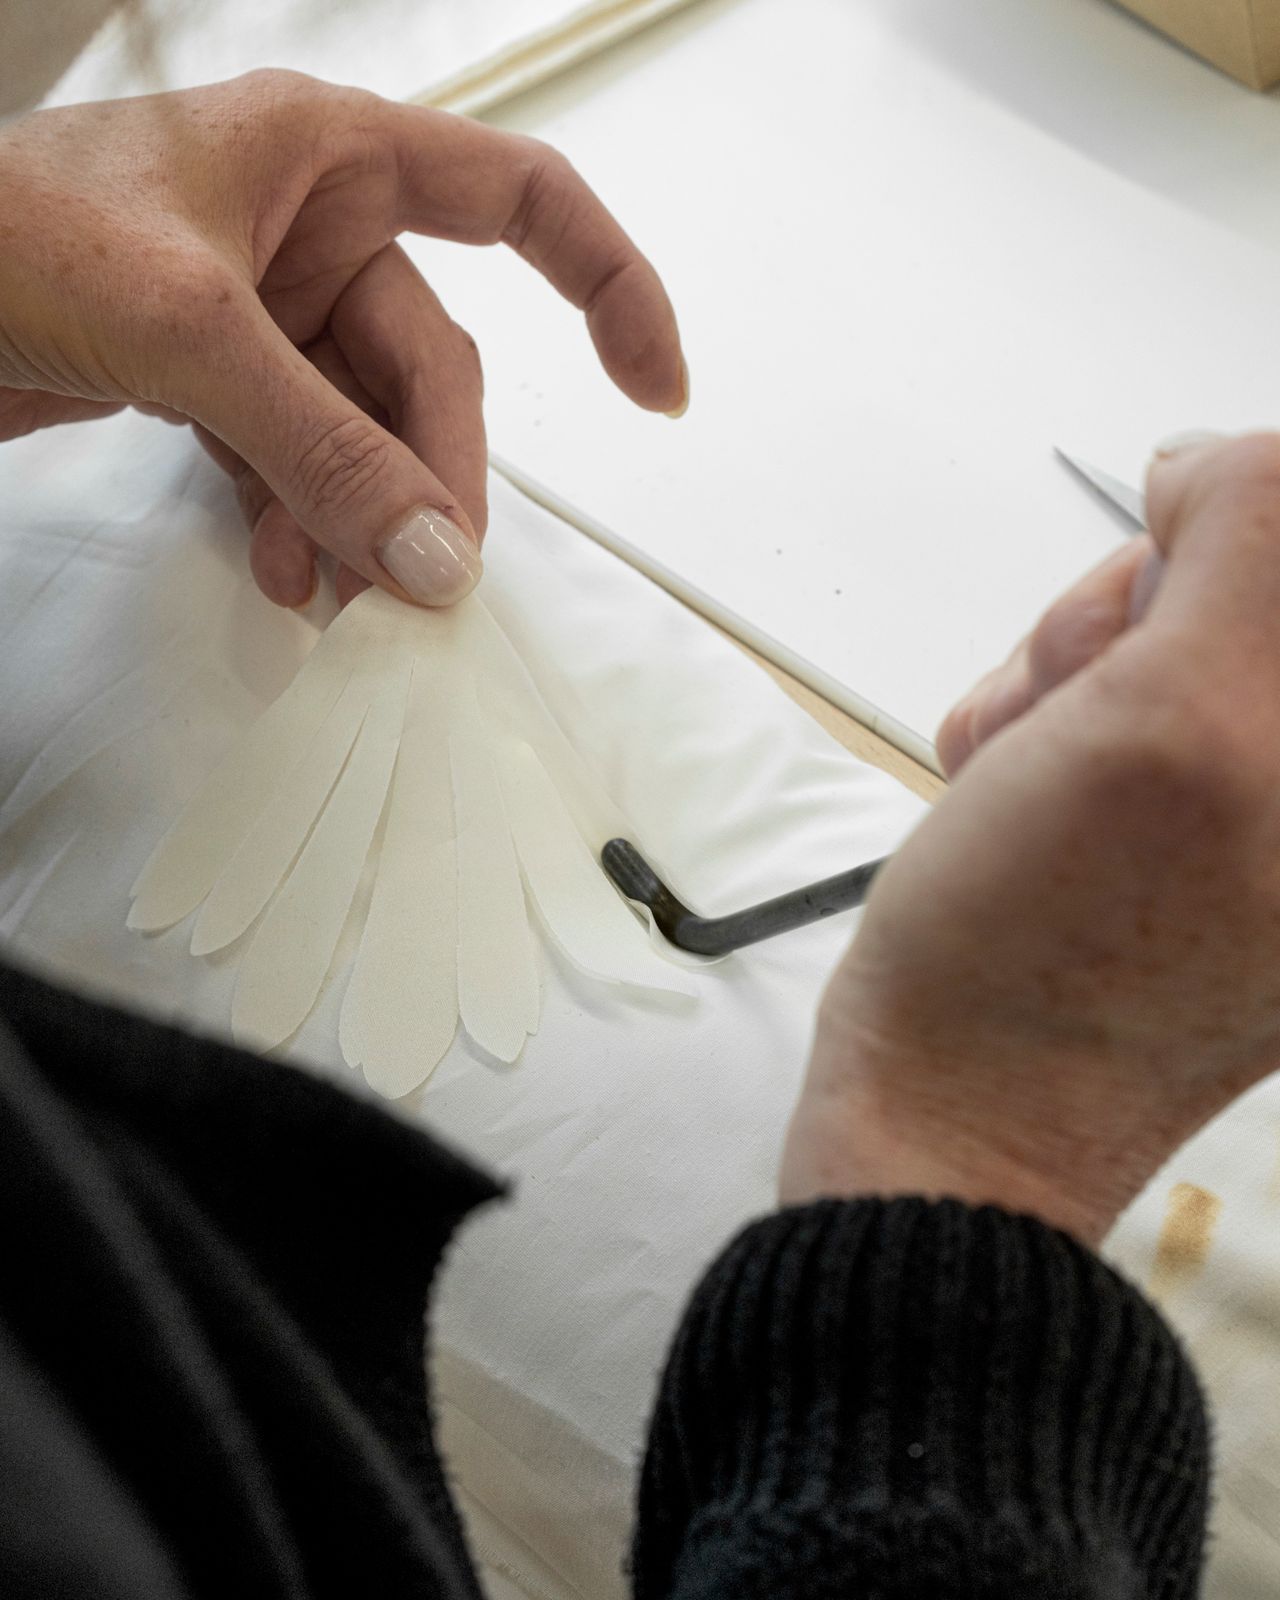
2. Feather working process

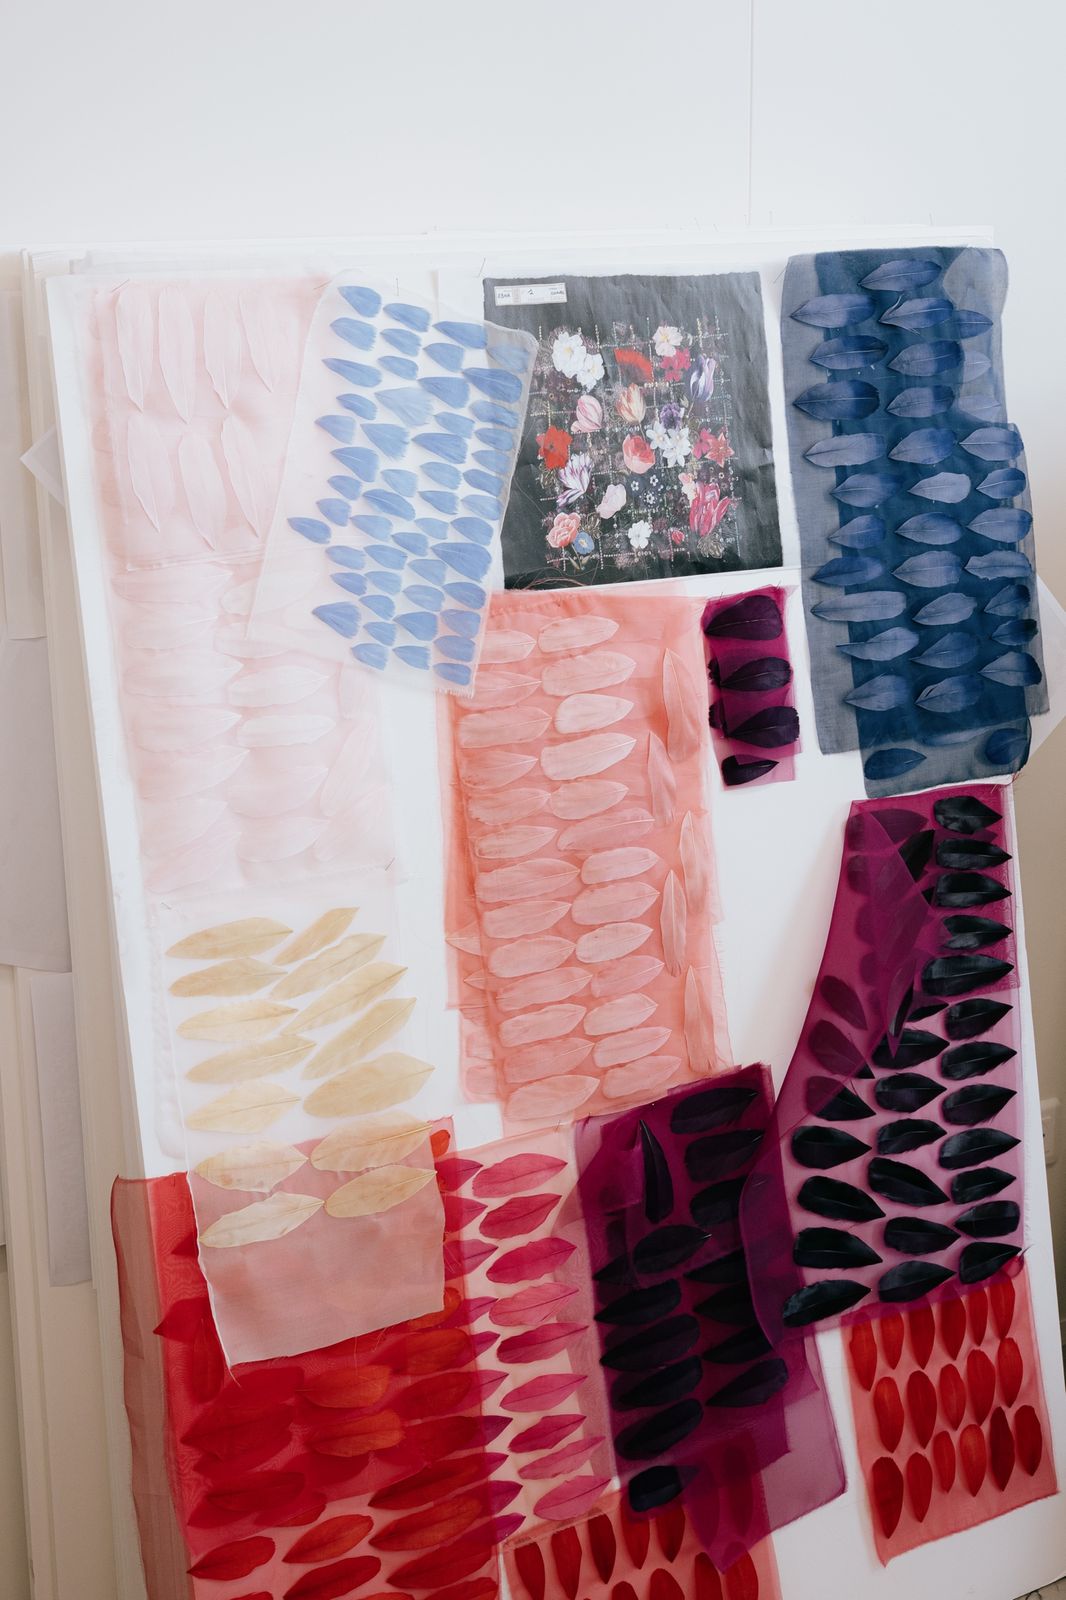
All feather workers start with a base of organza from which they create everything; there is no model other than the one created for the fashion show. It is essential for feather workers to know this organic material and its reactions like the back of their hand.

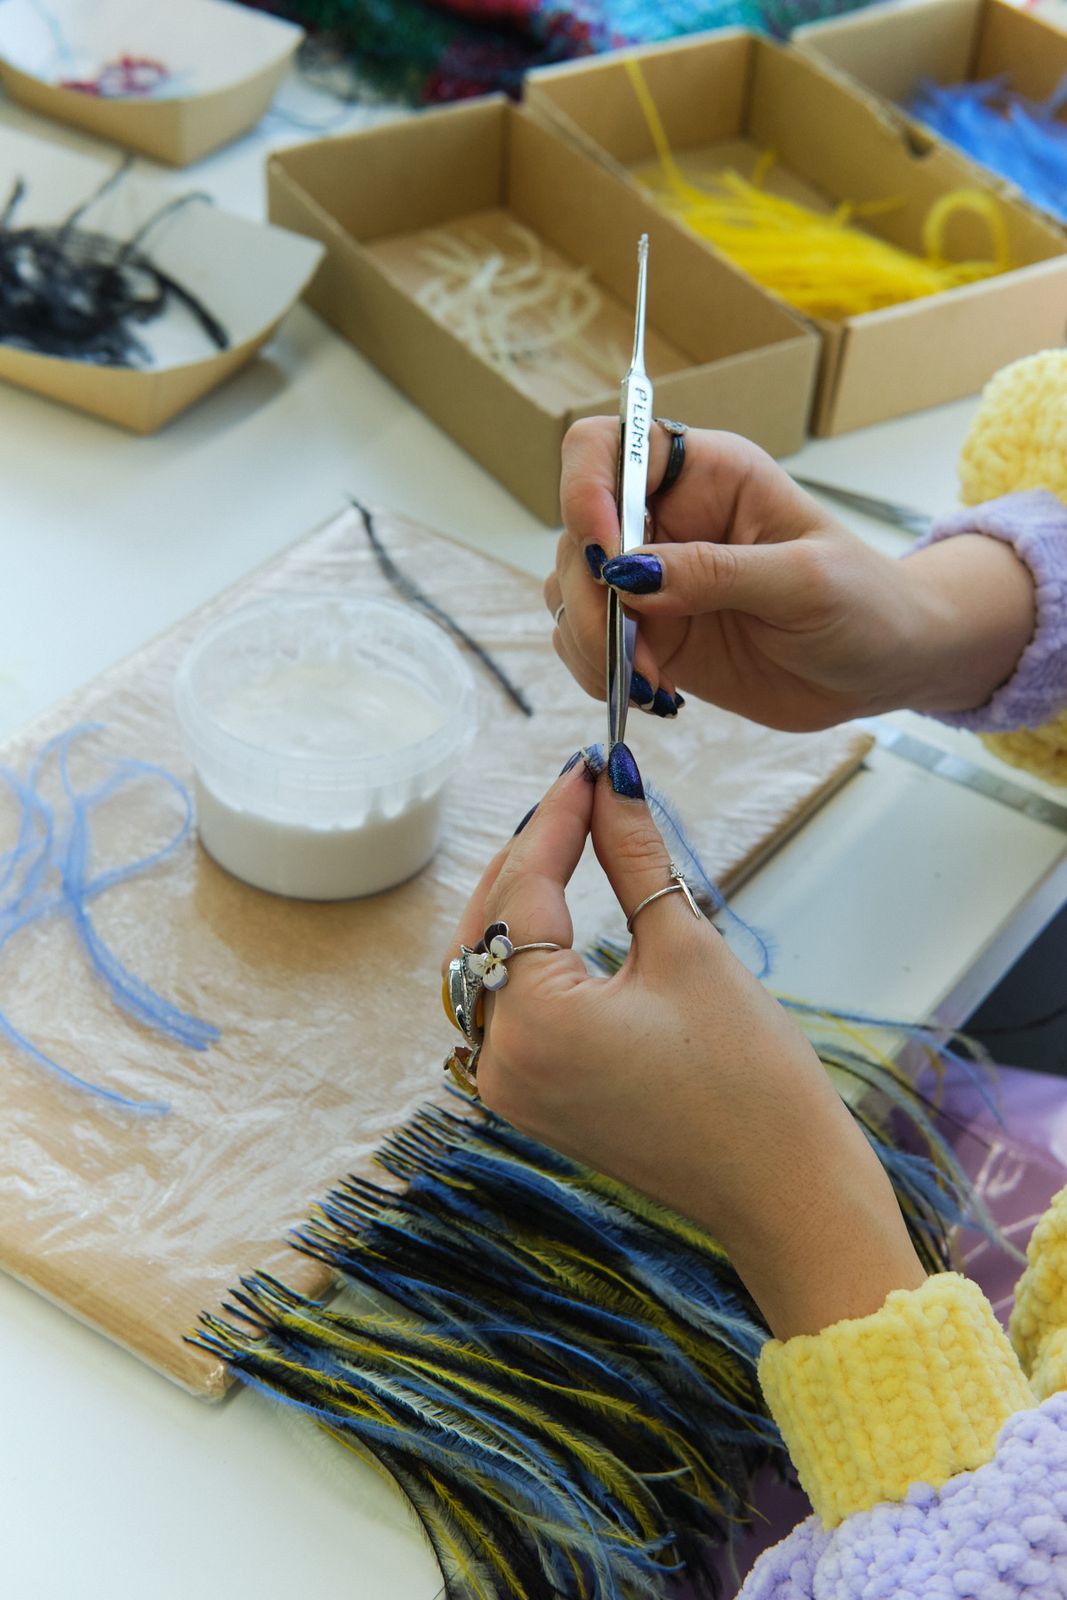
Before any work can begin, feather workers first receive feathers ordered from suppliers. They must steam them, which is an essential step in restoring their original shape and shine.

The feathers are then sorted, selected, washed, disinfected, and dyed.

Lemarié — figure
s20_1
s20_2
Lemarié — figure
s20_3
Lemarié — figure
s20_4
Lemarié — figure
s20_5

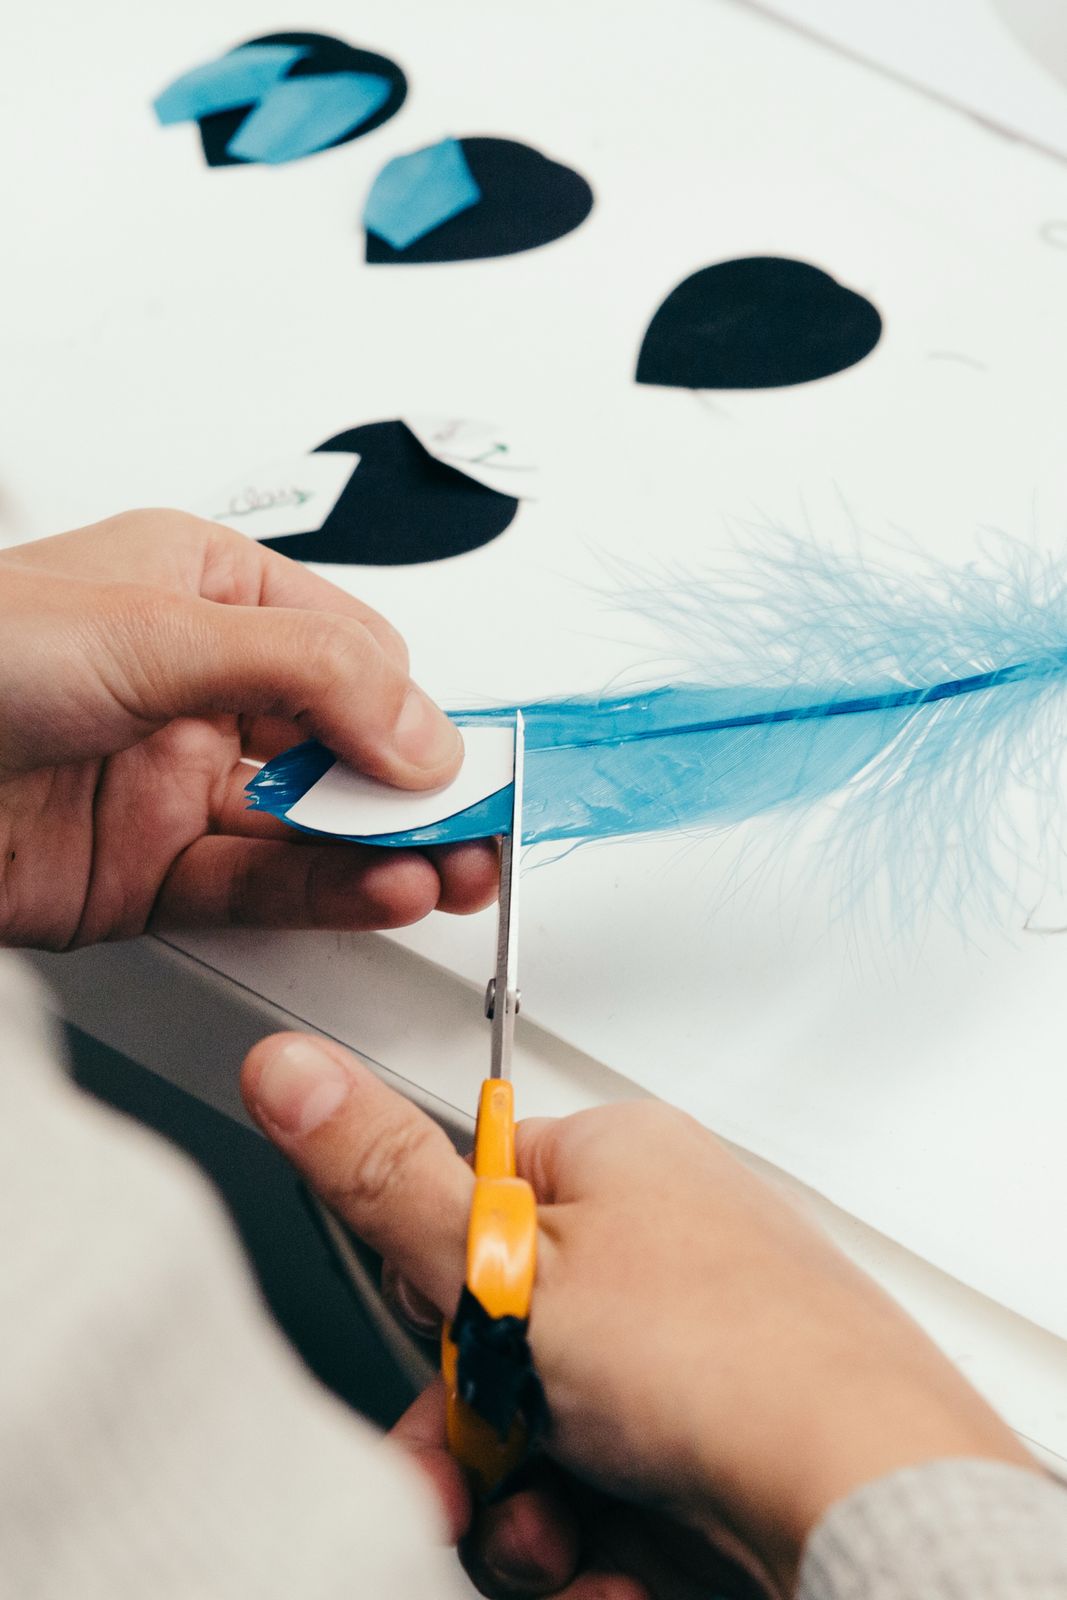
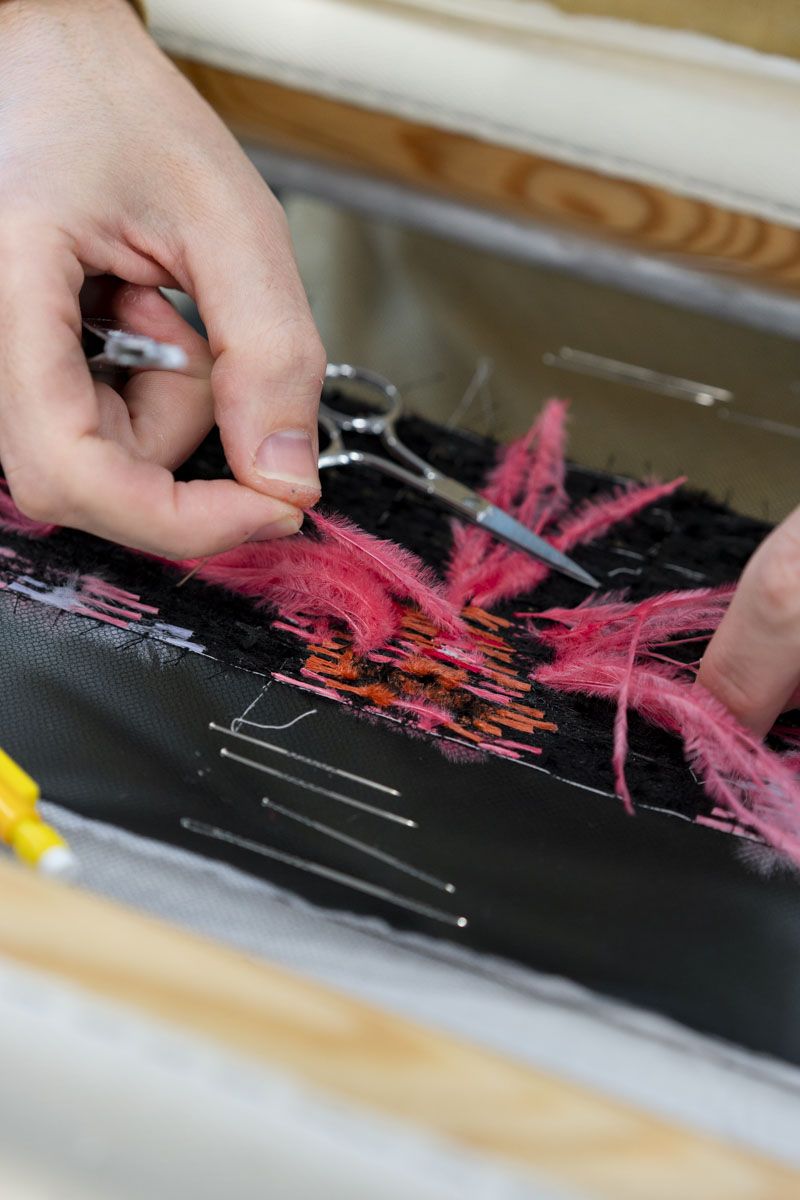
They may then be cut or curled to achieve the desired shape. Finally, they are glued and sewn.

Lemarié — figure
s21_1
Lemarié — figure
s21_2
Lemarié — figure
s21_3
Lemarié — figure
s21_4

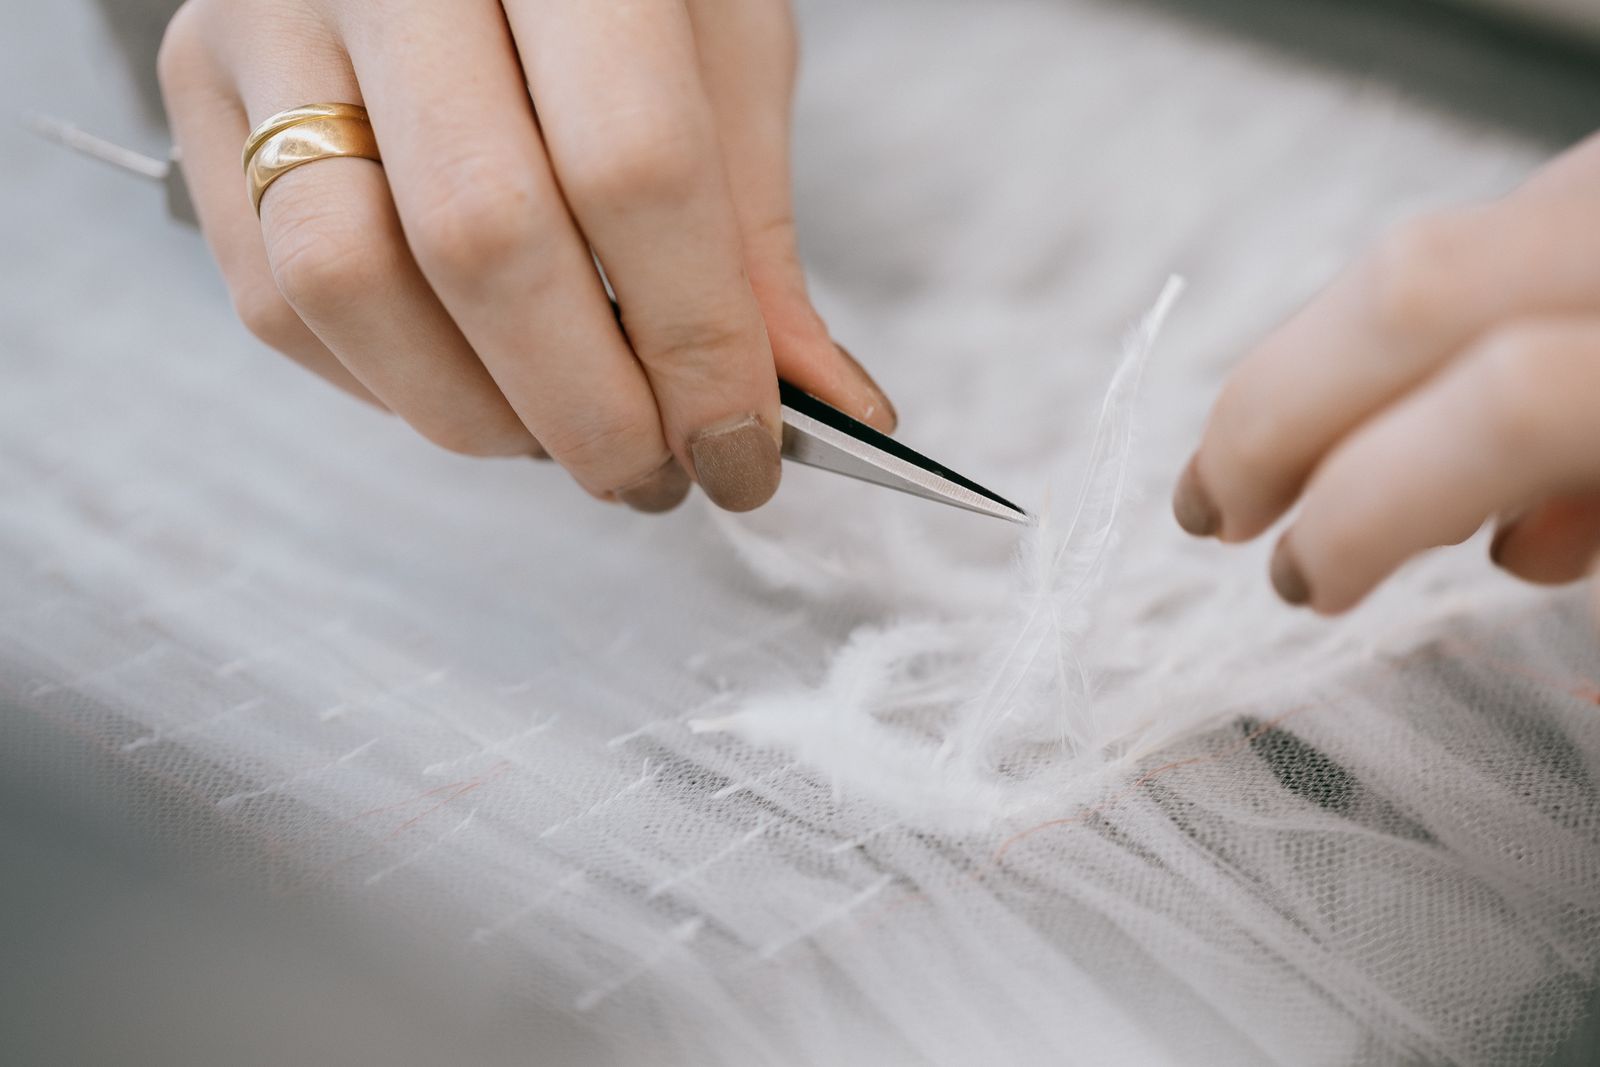
The feather worker may remove the quill (the central stem) from a feather to make it more flexible, trim it (even it out), or assemble the elements by hand, one by one, to form patterns, ruffles, or volumes.

The material is extremely light and fragile, and reacts to heat, humidity, and movement, which requires great technical skill.

Lemarié — figure
s22_1
s22_2
Lemarié — figure
s23_1

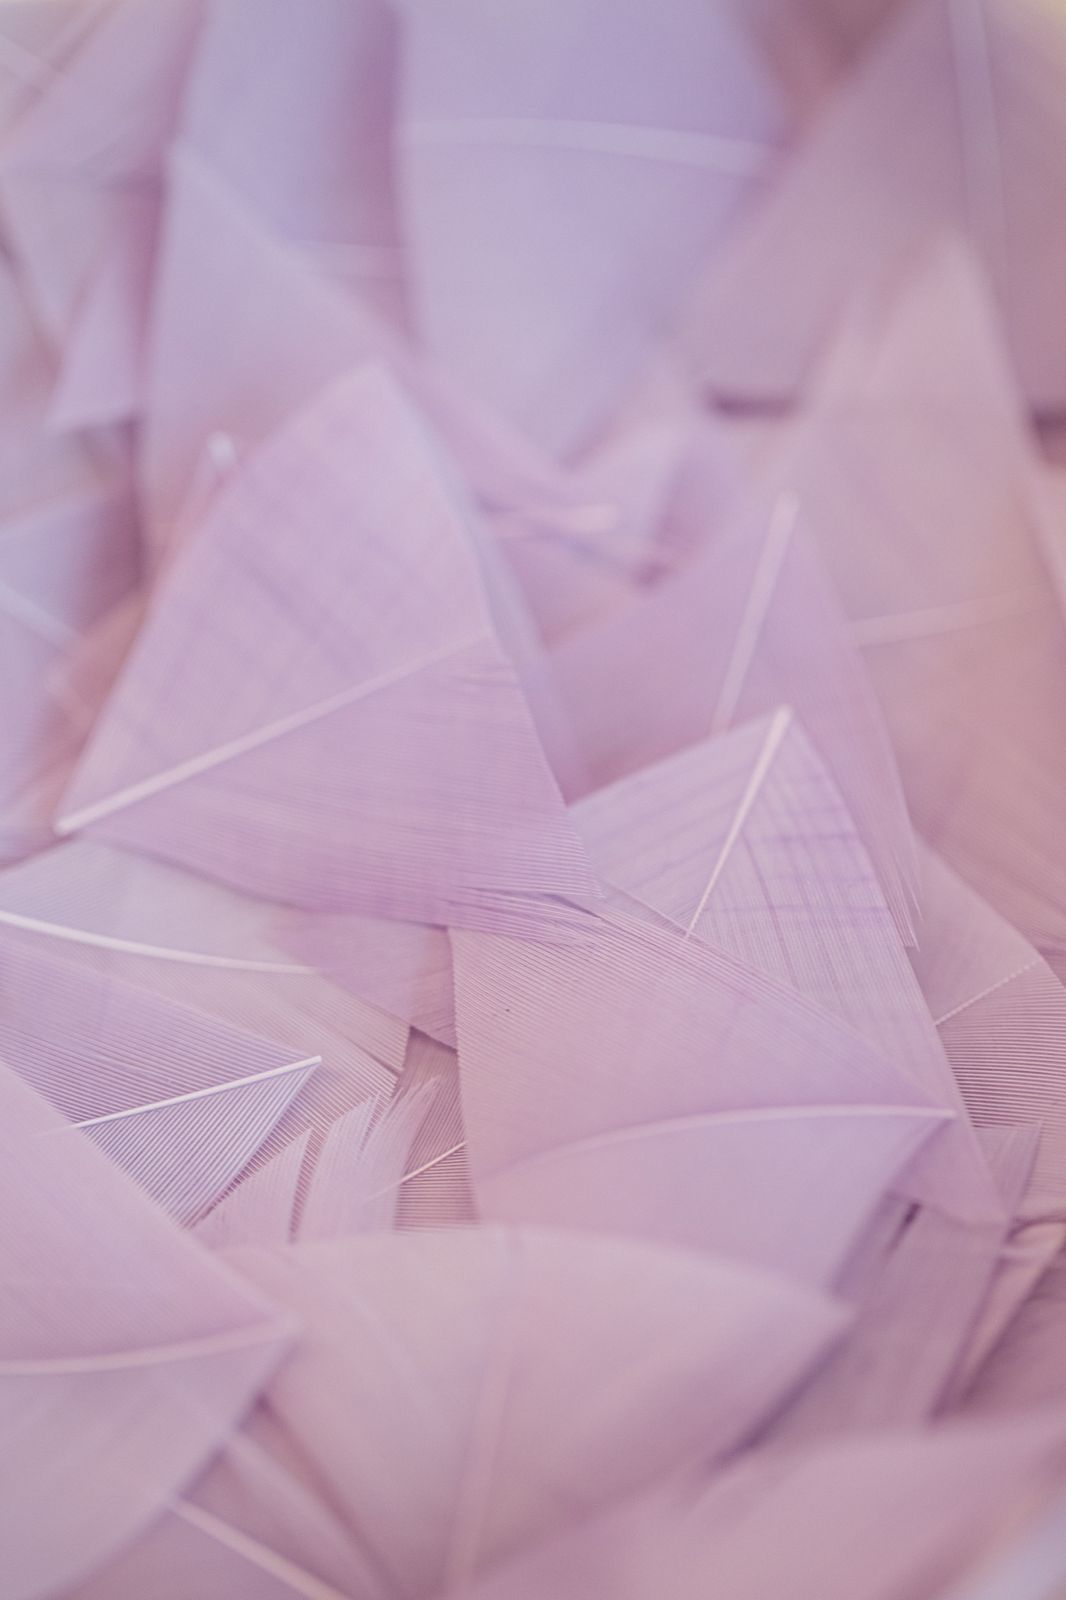
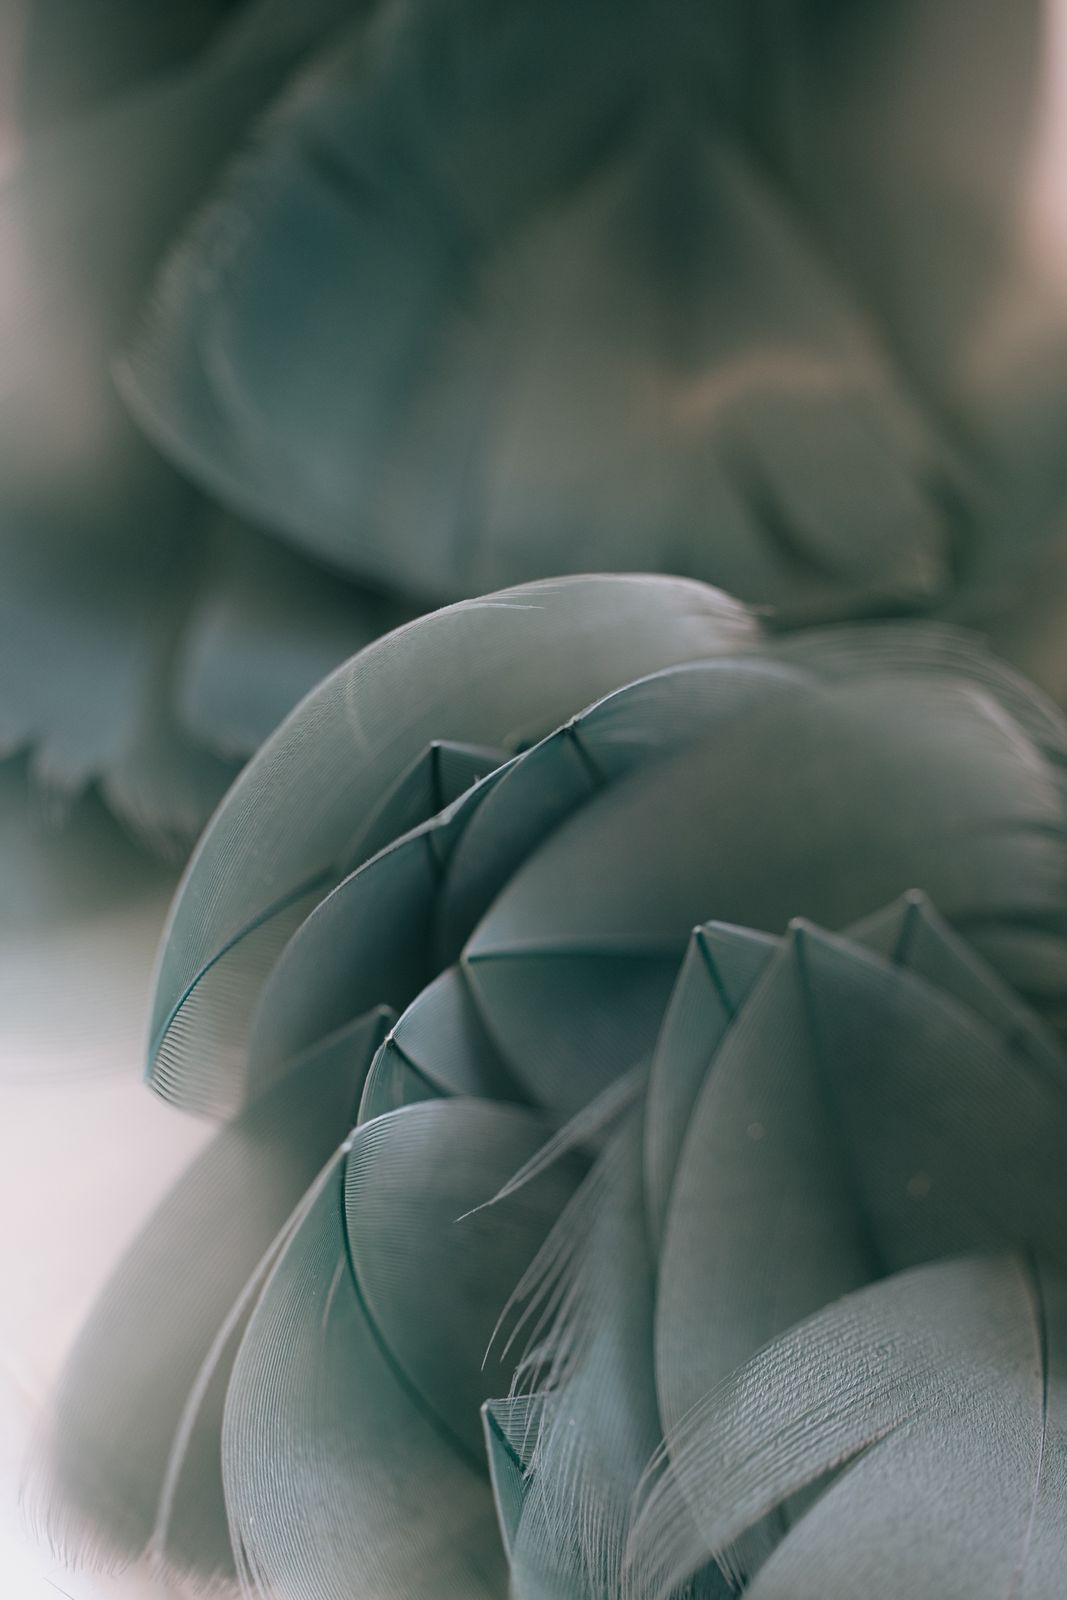
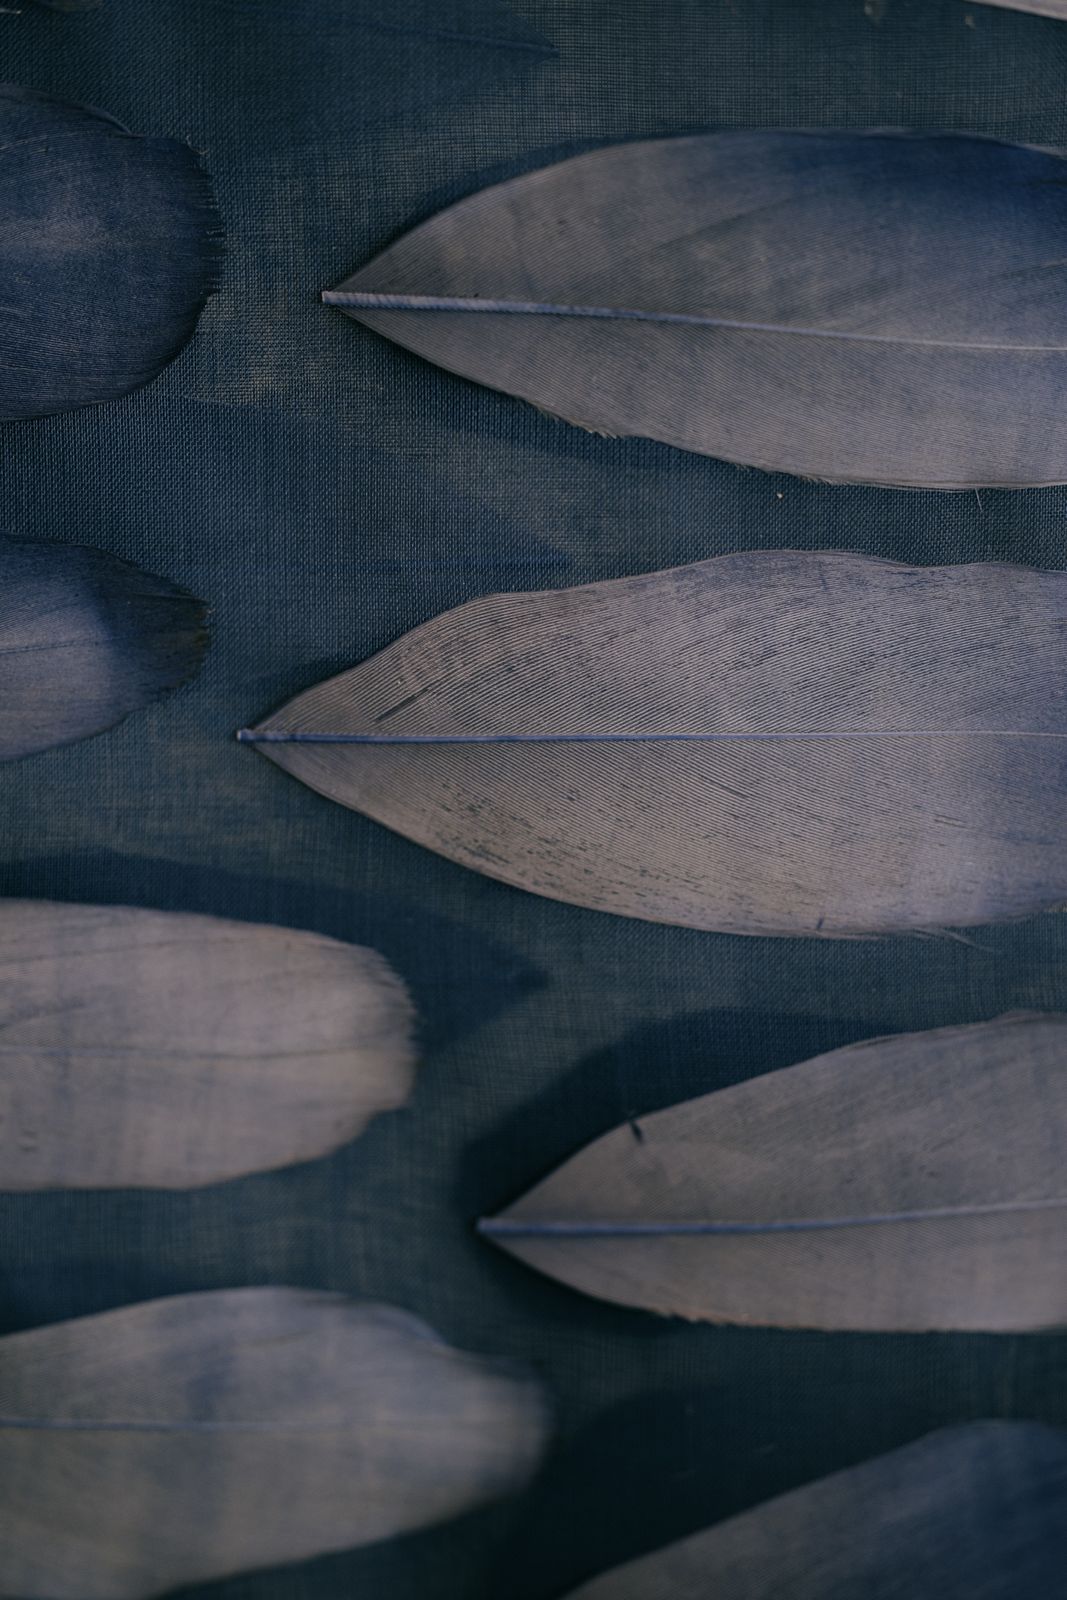
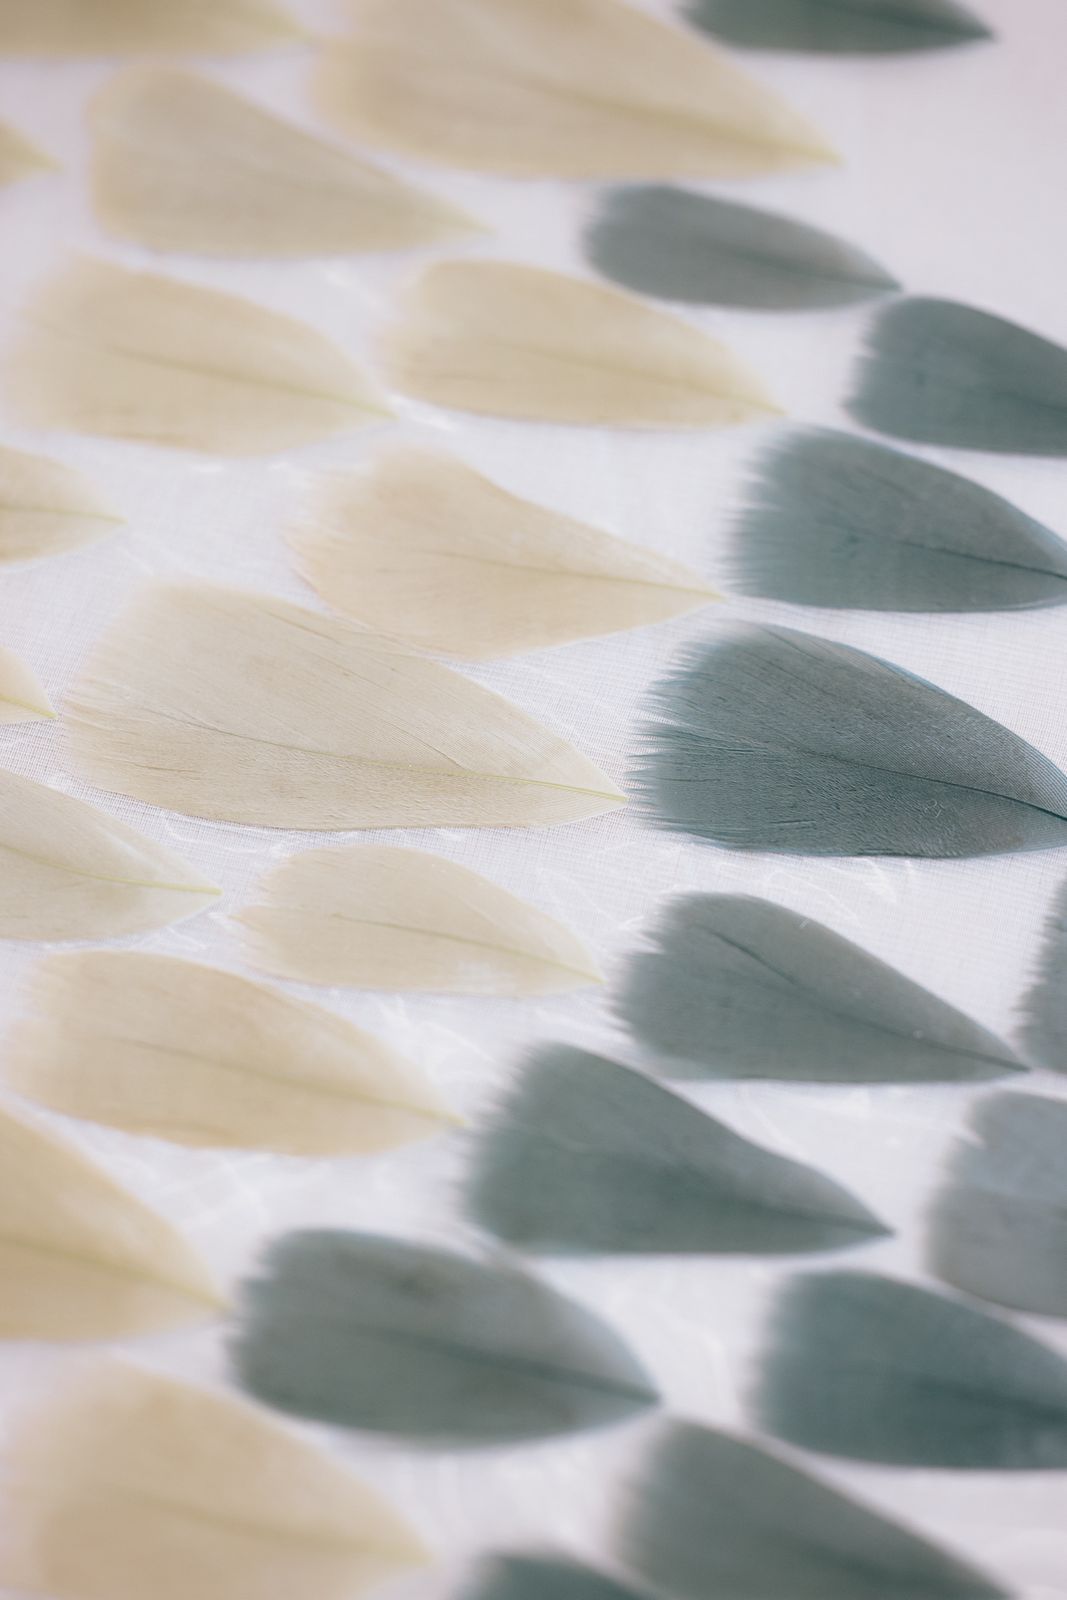
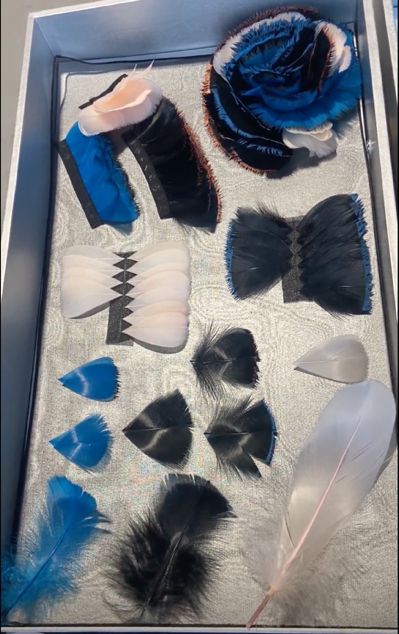
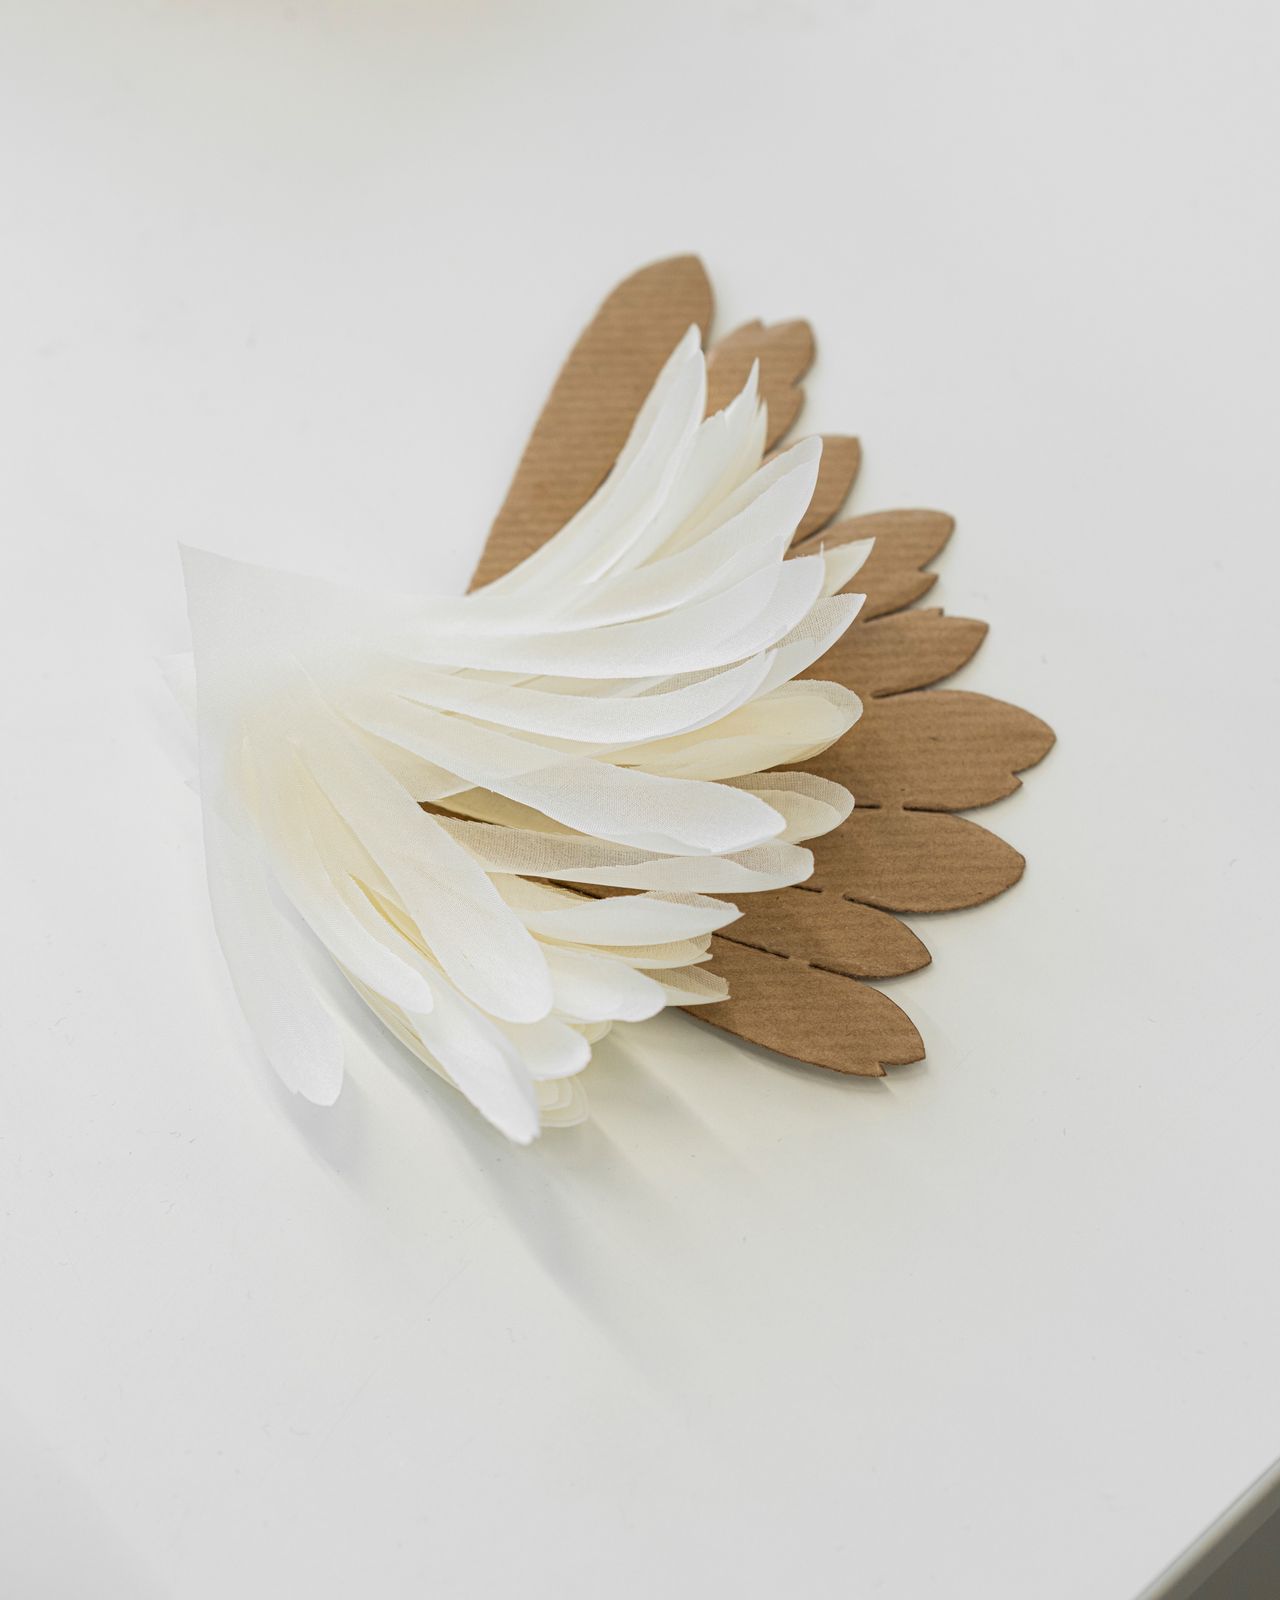
In this specific feather work, there are two different types of feathers: white feathers, which are large flight feather, and shell feathers that have been dyed.

The feathers are first dyed blue and copper at the edges. They are then cut and glued.

Underneath the white feathers, a small strip of organza is visible, onto which the feathers are glued at regular intervals.

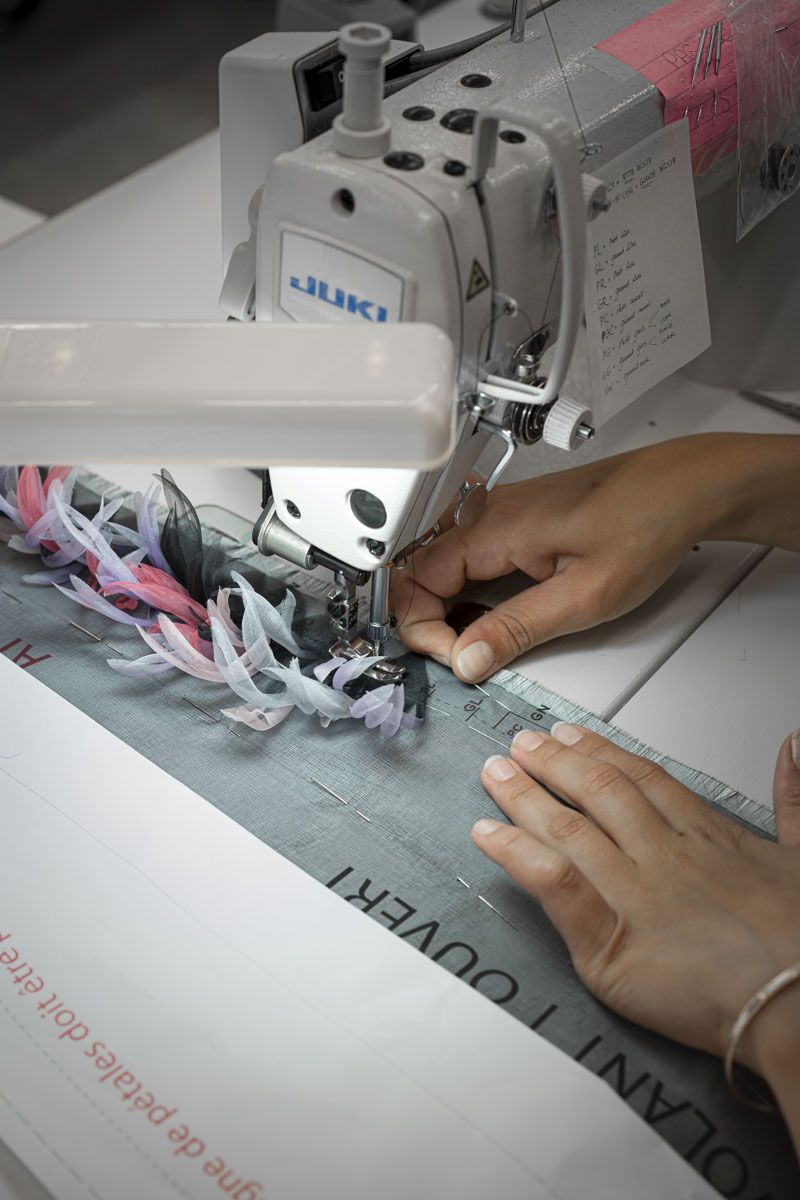
Once this gluing is completed with the other feathers, the organza fabric is folded over and a machine stitch is made. These small feather trims are used to form a rosette to create this feather flower, once again using machine stitching.

Each element can be shot separately

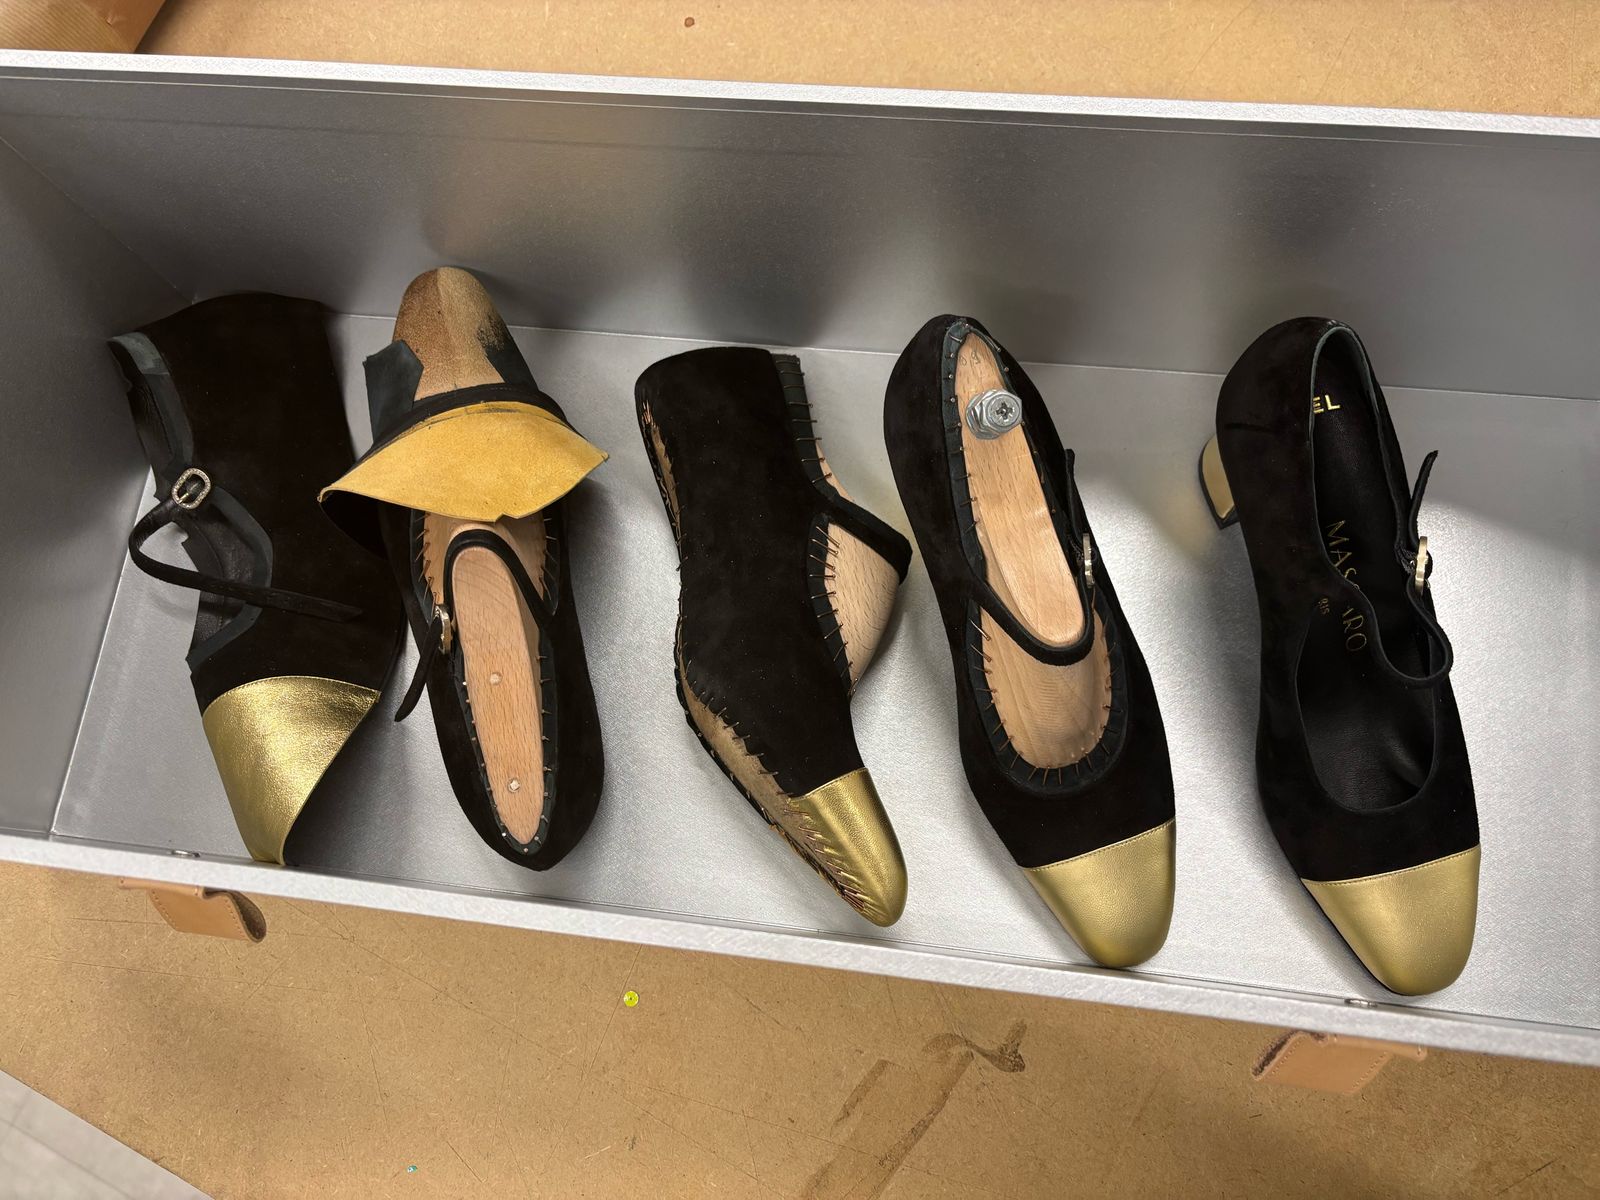
Massaro — bespoke shoes lined up on the bench

The shoemaking process

Massaro

Massaro — figure
s25_1

The creation of a bespoke shoe is carried out in five stages.

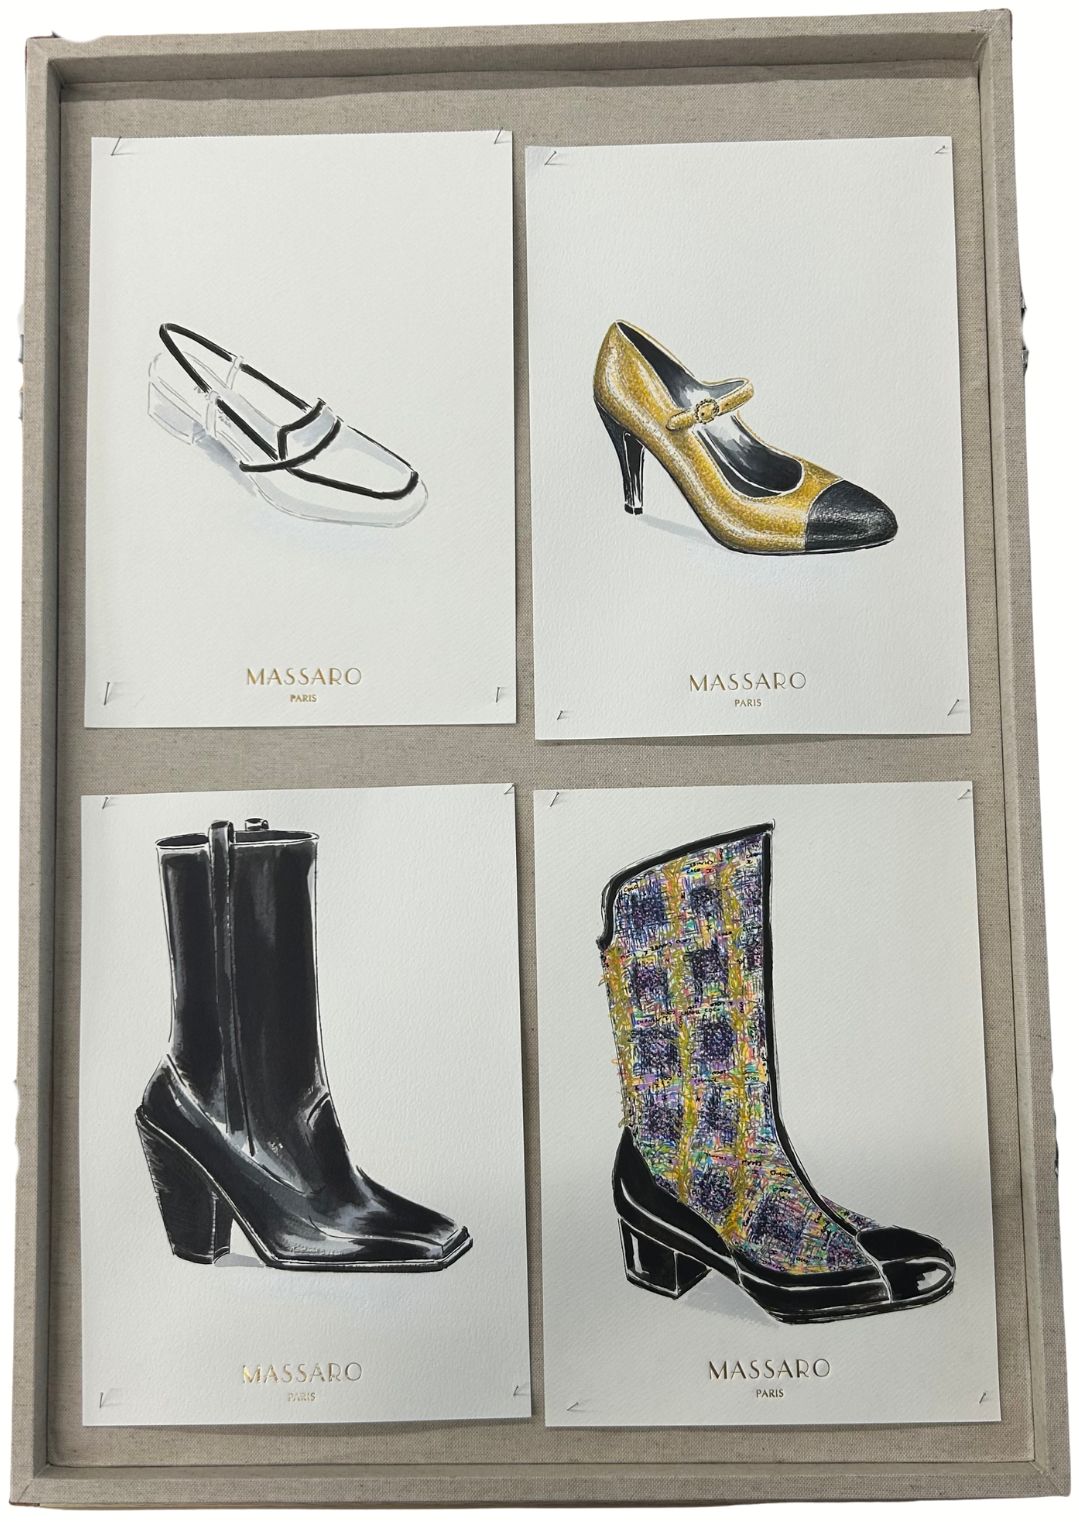
Every creative process begins with a briefing involving the client and the designers. Together, they produce a sketch that includes the measurements, as well as all the materials and accessories desired by the client.

One of the designers then recreates the materials, colours, and overall appearance of the shoe. After this initial meeting, the shoe-making process can begin.

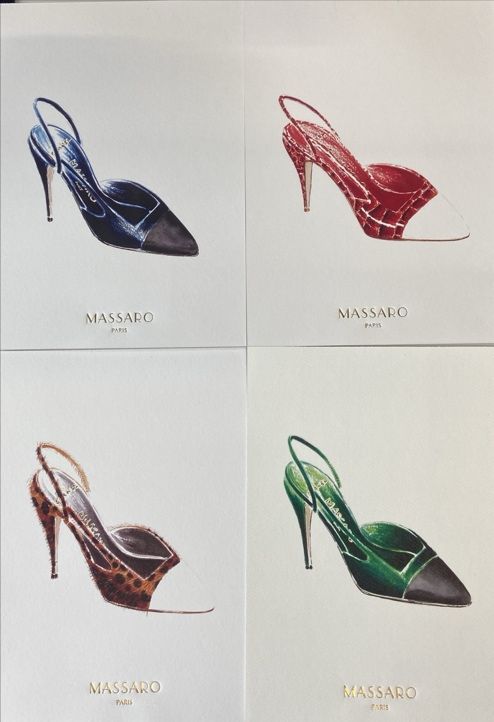
Métiers d’Art 2026 slingbacks presented on the runway in New York. They were inspired by the original 1960s design and are crafted in faux crocodile, faux leopard, and blue and green goatskin.

Massaro — figure
s25_2
Massaro — 1. The wooden last making
s26_1
Massaro — 1. The wooden last making
s26_2
Massaro — 1. The wooden last making
s26_3

1. The wooden last making

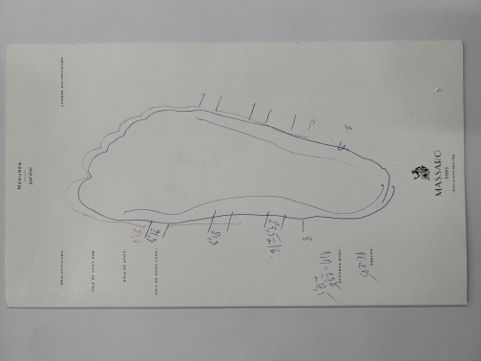
Before anything else, the last maker needs to take very precise measurements of the client’s feet using Massaro’s proprietary measurement sheet.

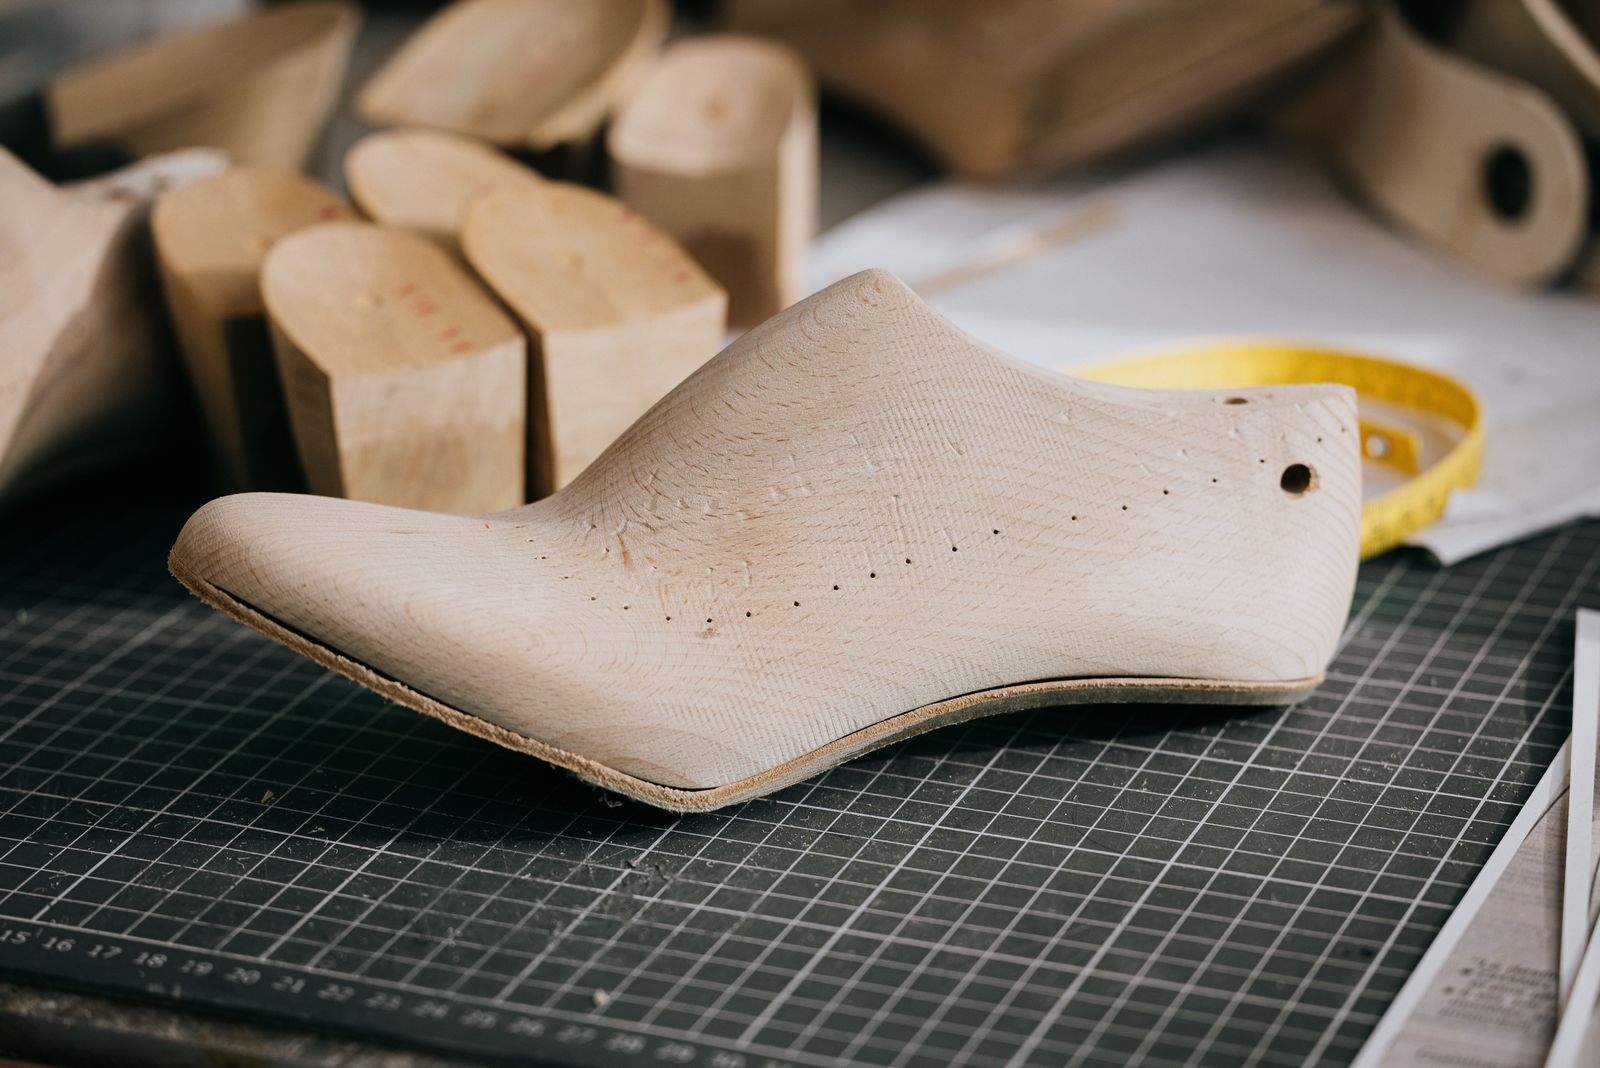
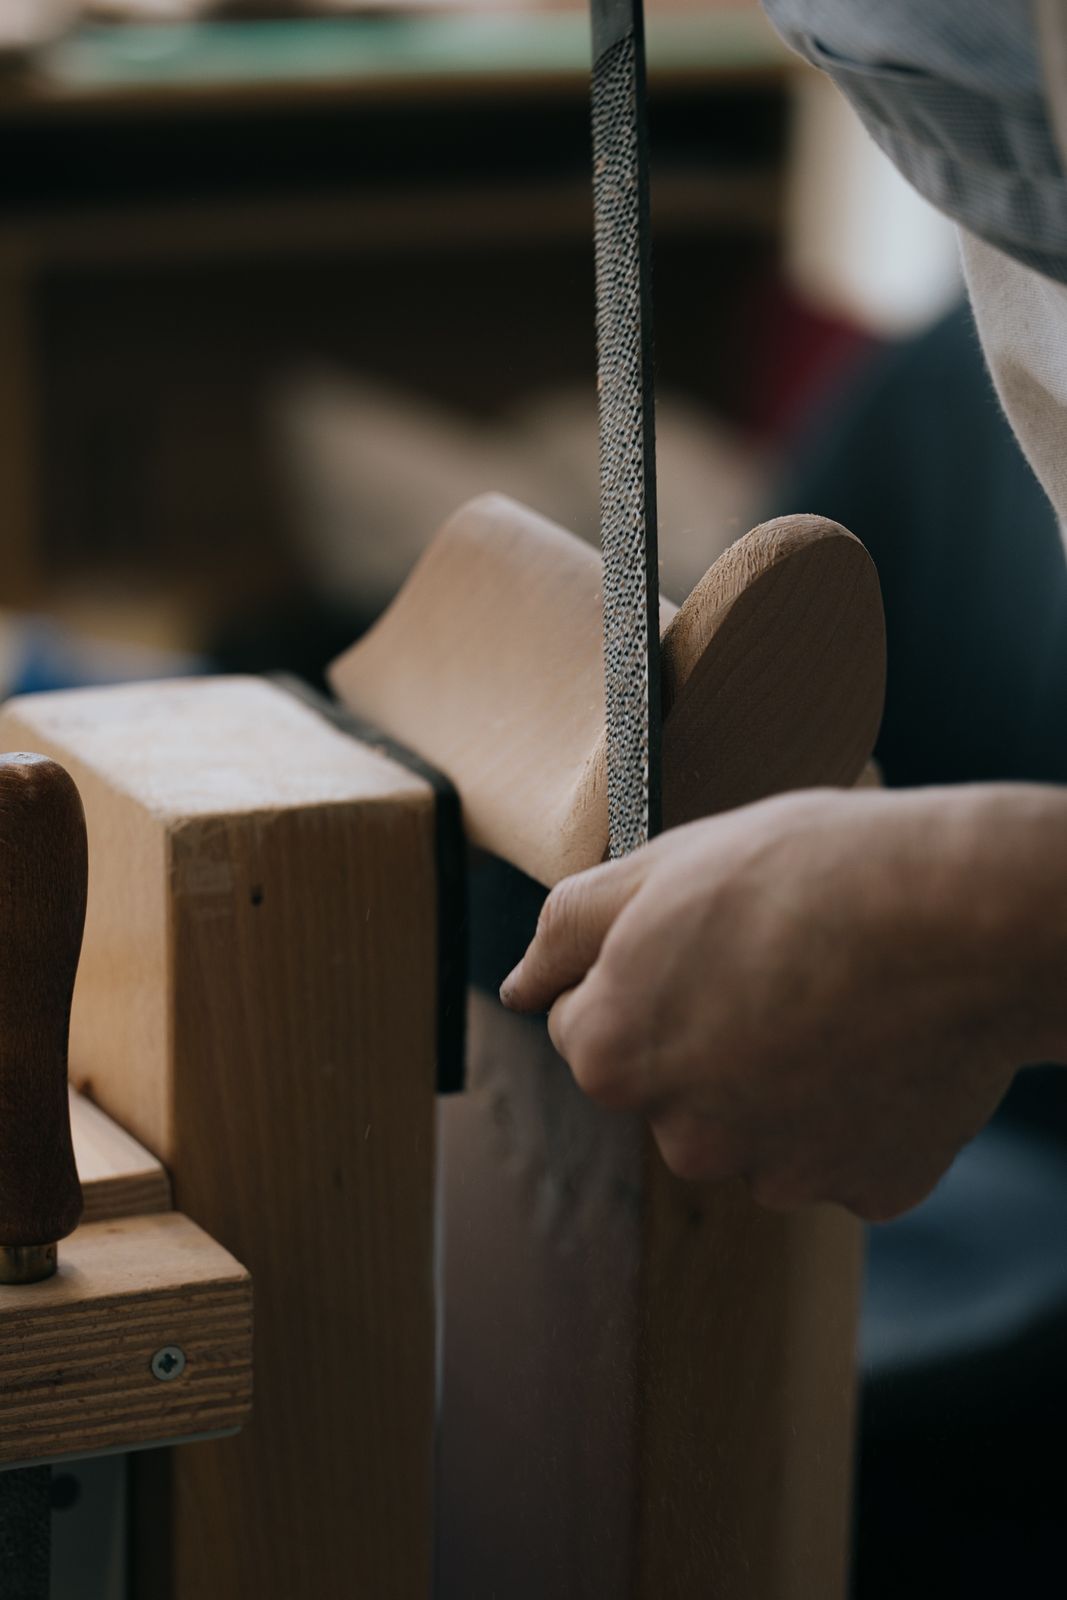
Once the measurements have been taken, the last maker transfers them onto a block of wood and carves it to create the shape of the shoe.

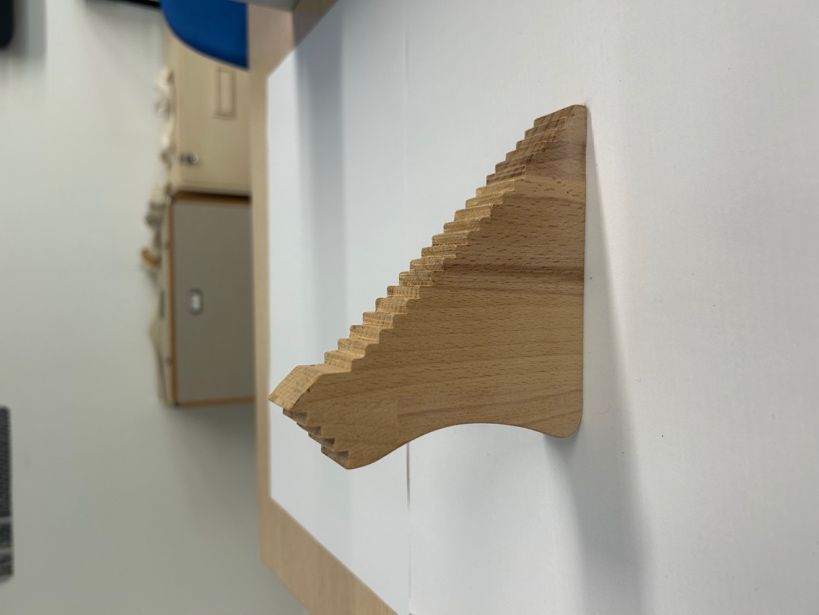
If the shoe features a high heel, the last maker sculpts it after measuring the desired height using a small wooden staircase-like tool.

The shoe’s arch is calculated according to the height of the heel.

1. The wooden last making (continued)

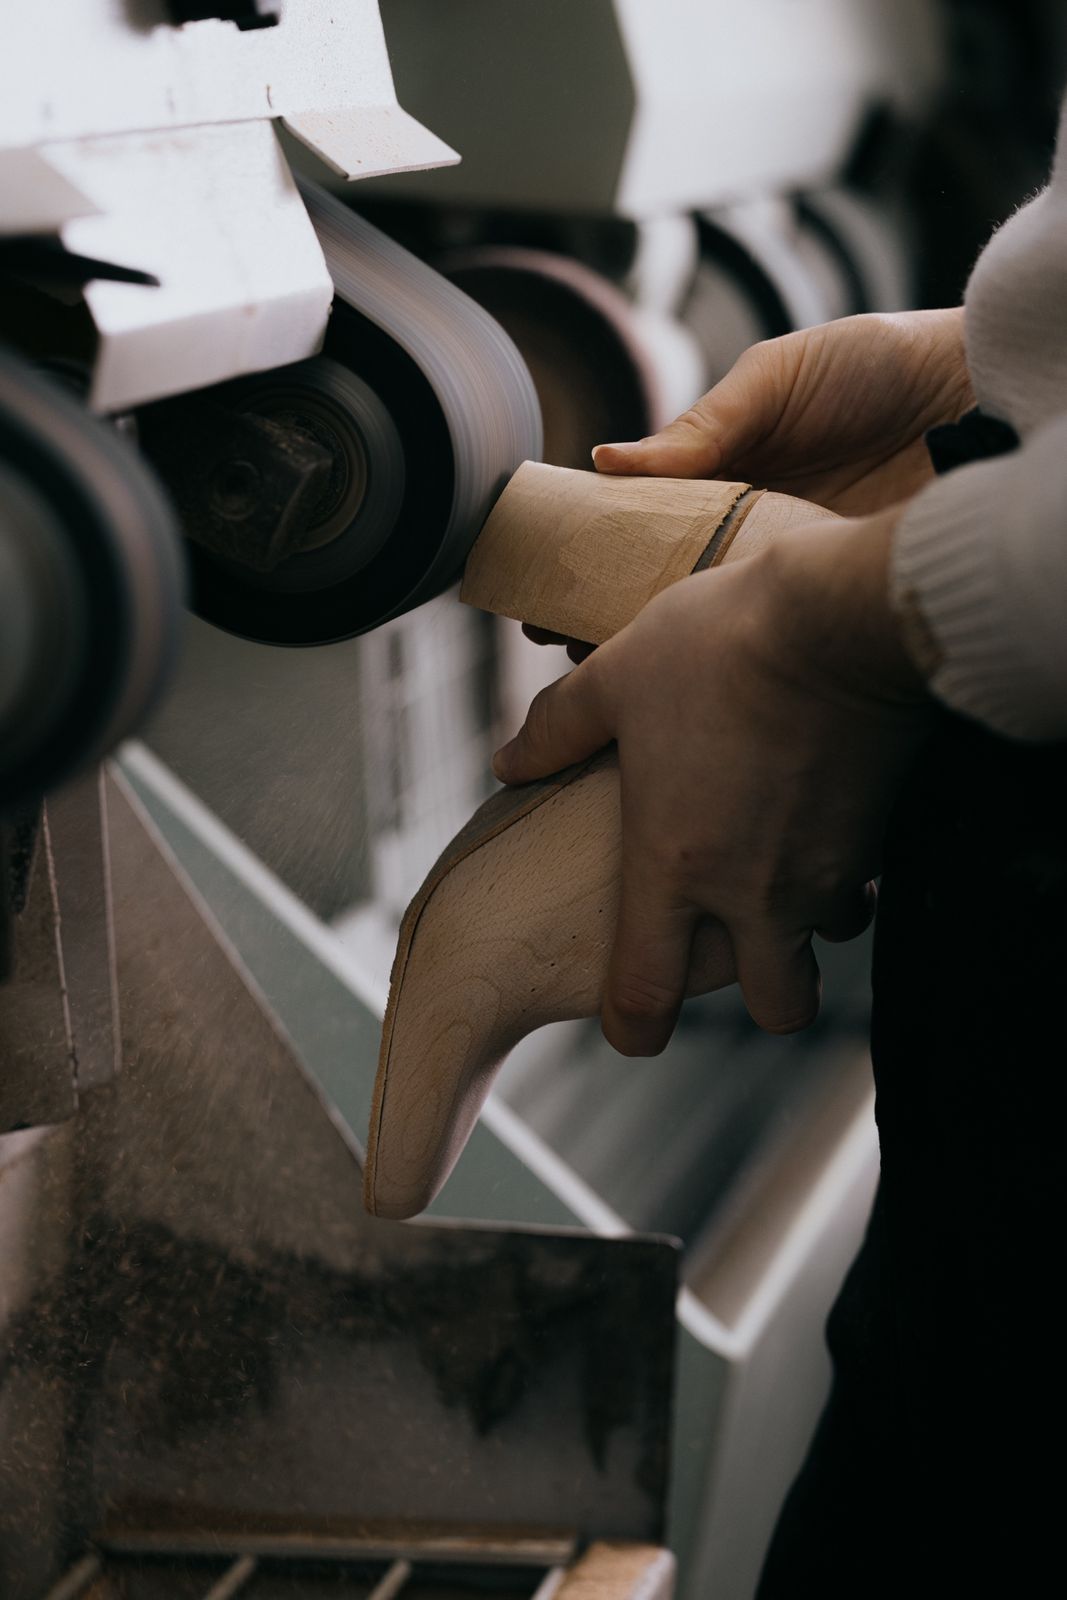
The last maker begins with a rough shape, carving it by hand before refining it with machinery. The final details are always finished by hand. It generally takes between four and six hours to carve a last from beechwood or hornbeam wood.

s27_1
Massaro — 1. The wooden last making
s27_2
Massaro — 1. The wooden last making
s27_3
Massaro — 1. The wooden last making
s27_4

2. Pattern Making

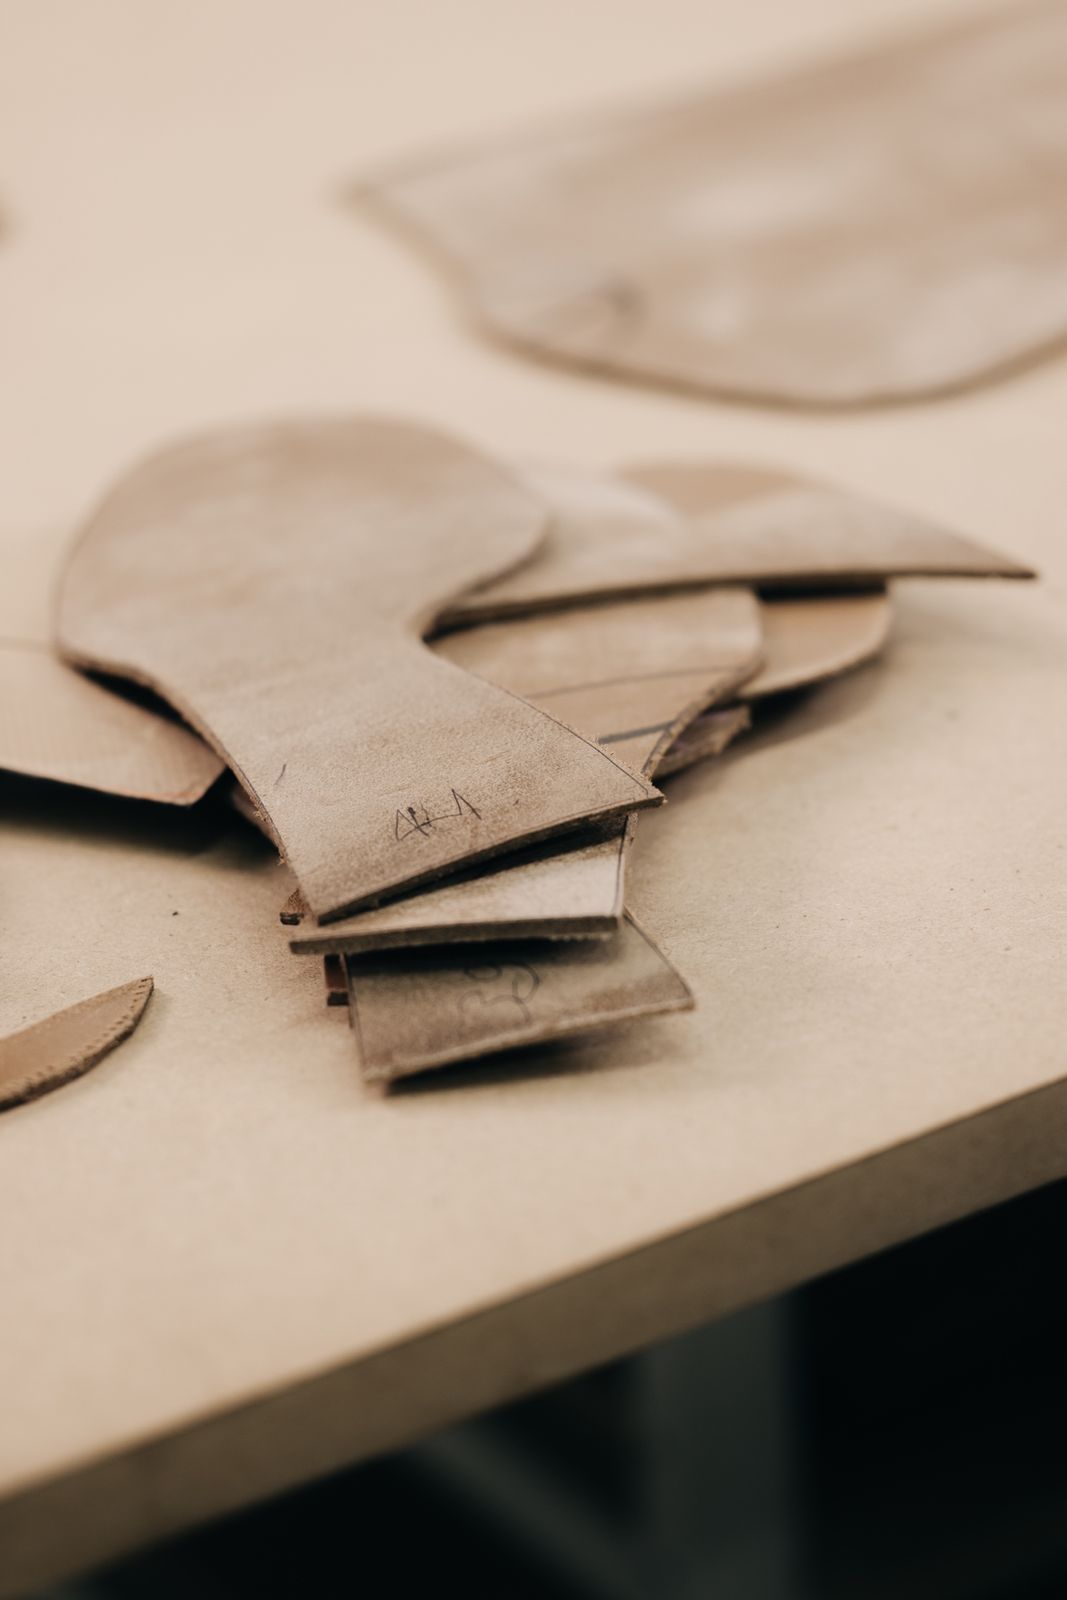
Once the last has been sculpted, the pattern maker-cutter draws the chosen shoe design directly onto the last. This is meticulous work, as the design must remain as faithful as possible to the original sketch.

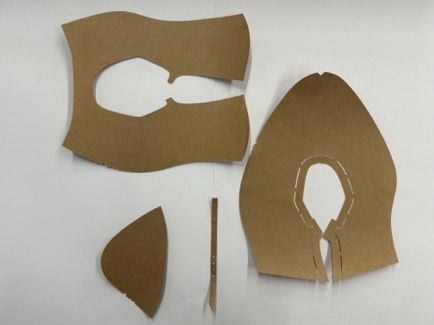
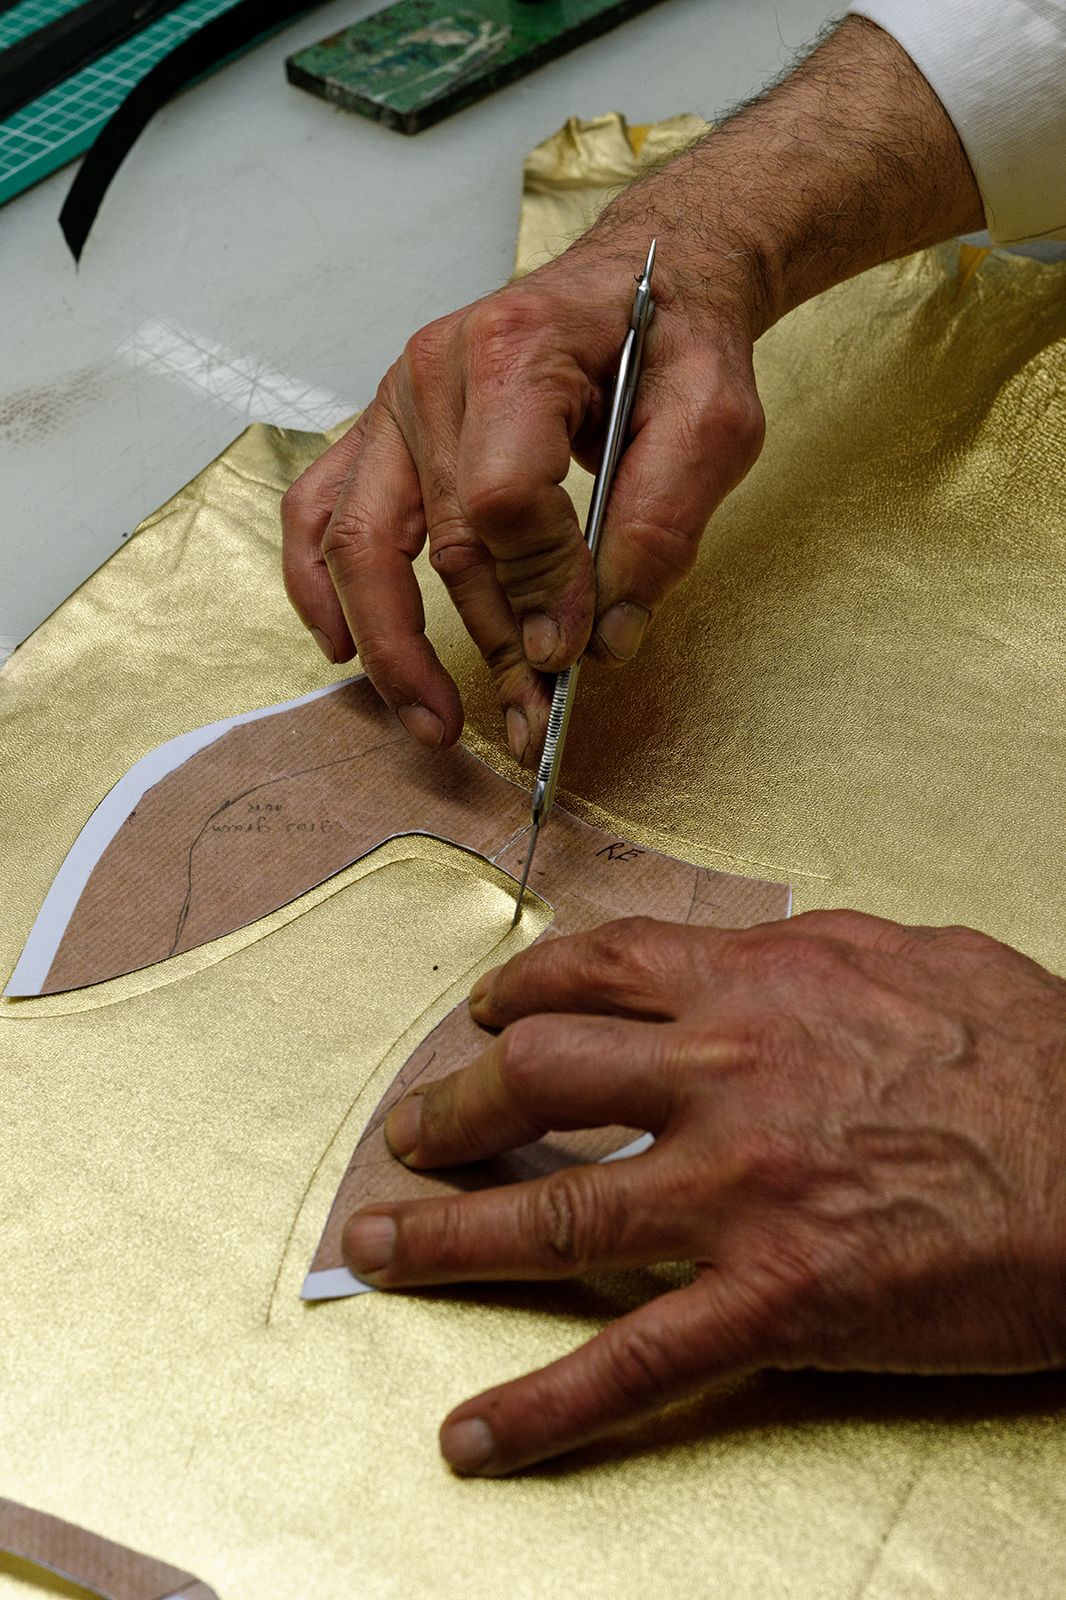
After completing the drawing stage, the pattern maker-cutter creates the patterns using paper or adhesive tape, transforming the design from a three-dimensional form into a two-dimensional one.

Using these patterns, the pattern maker-cutter can then cut the materials and create the upper part of the shoe, known as the upper.

Massaro — 2. Pattern Making
s28_1
Massaro — 2. Pattern Making
s28_2

3. Assembling the Materials

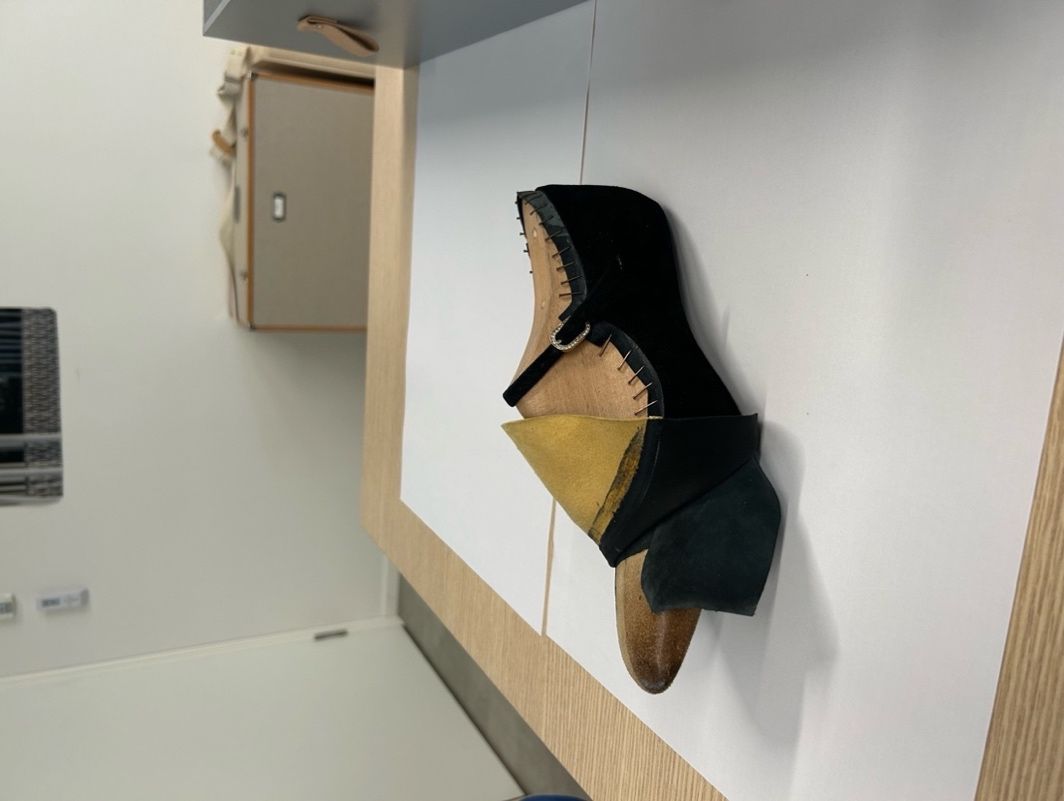
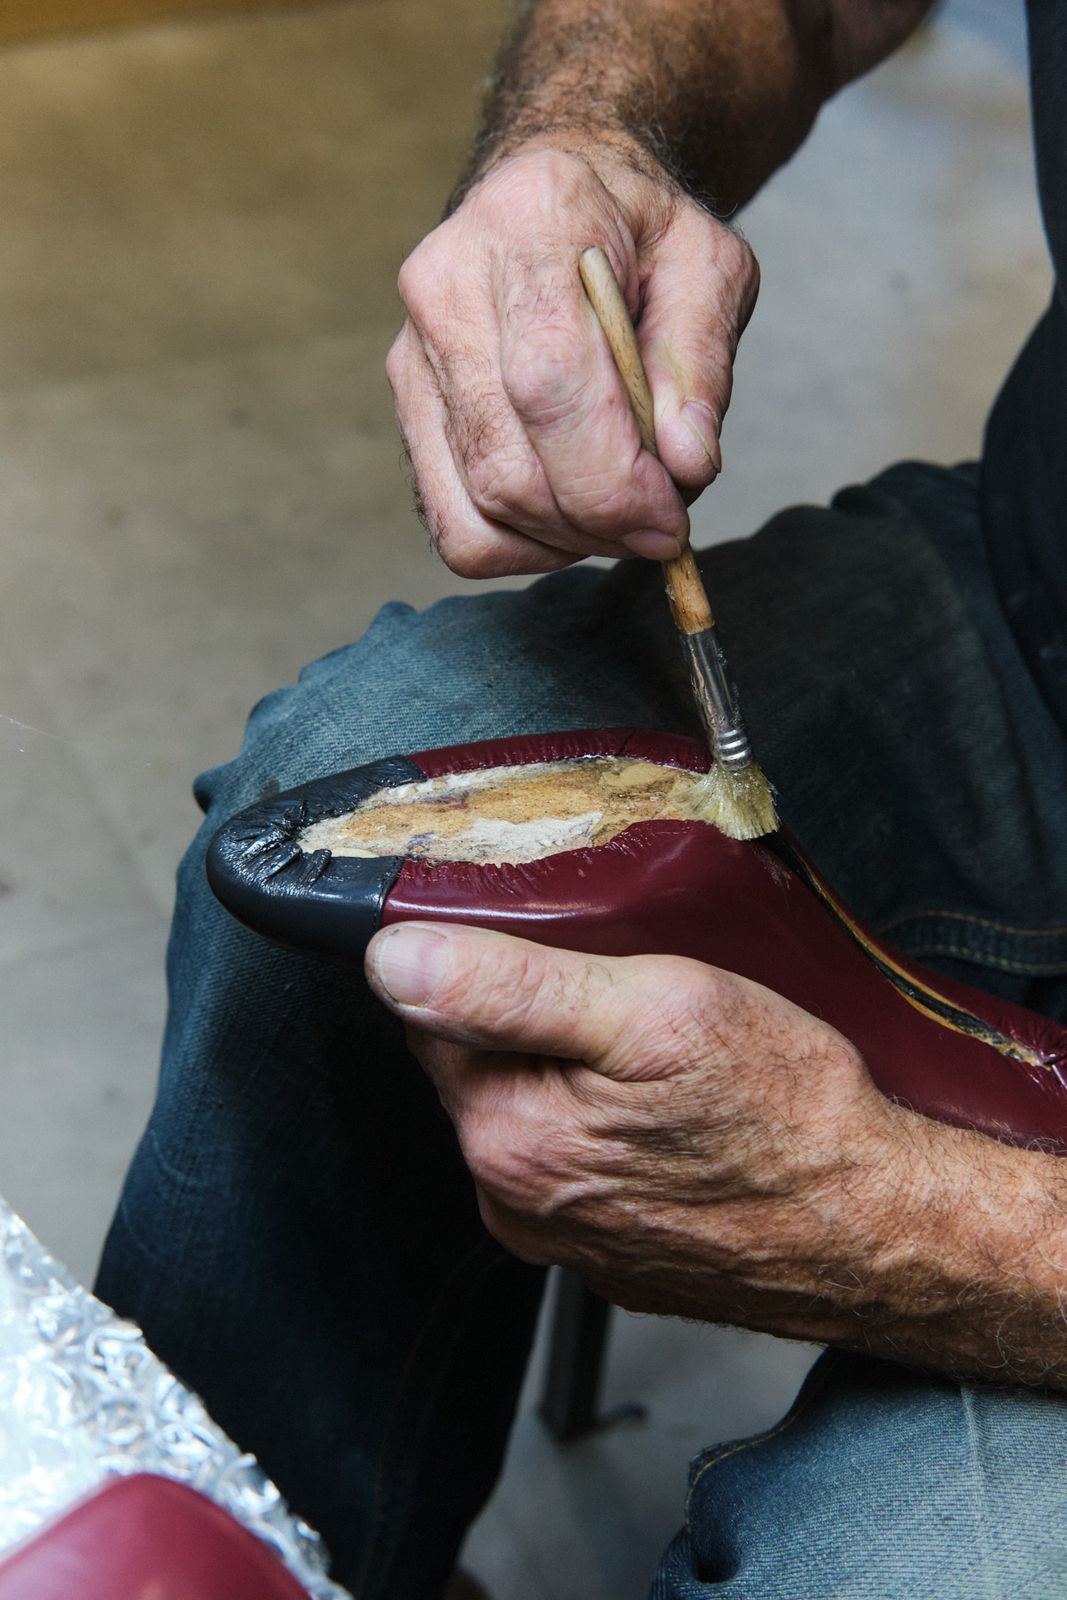
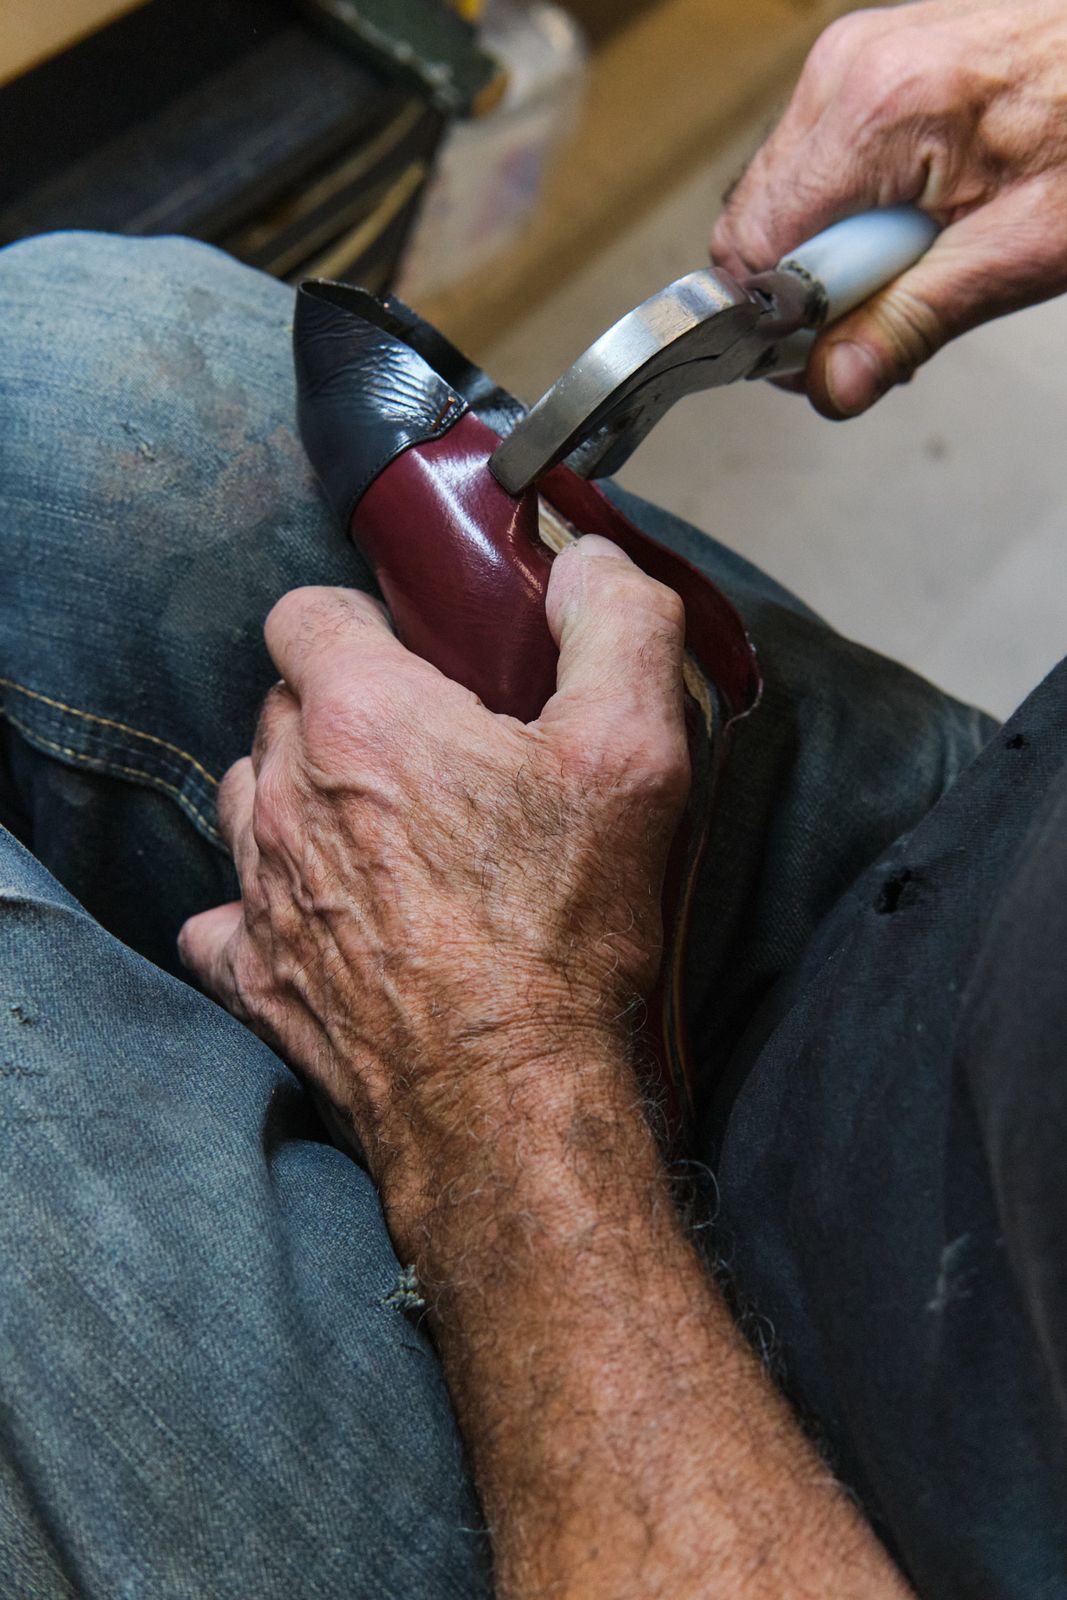
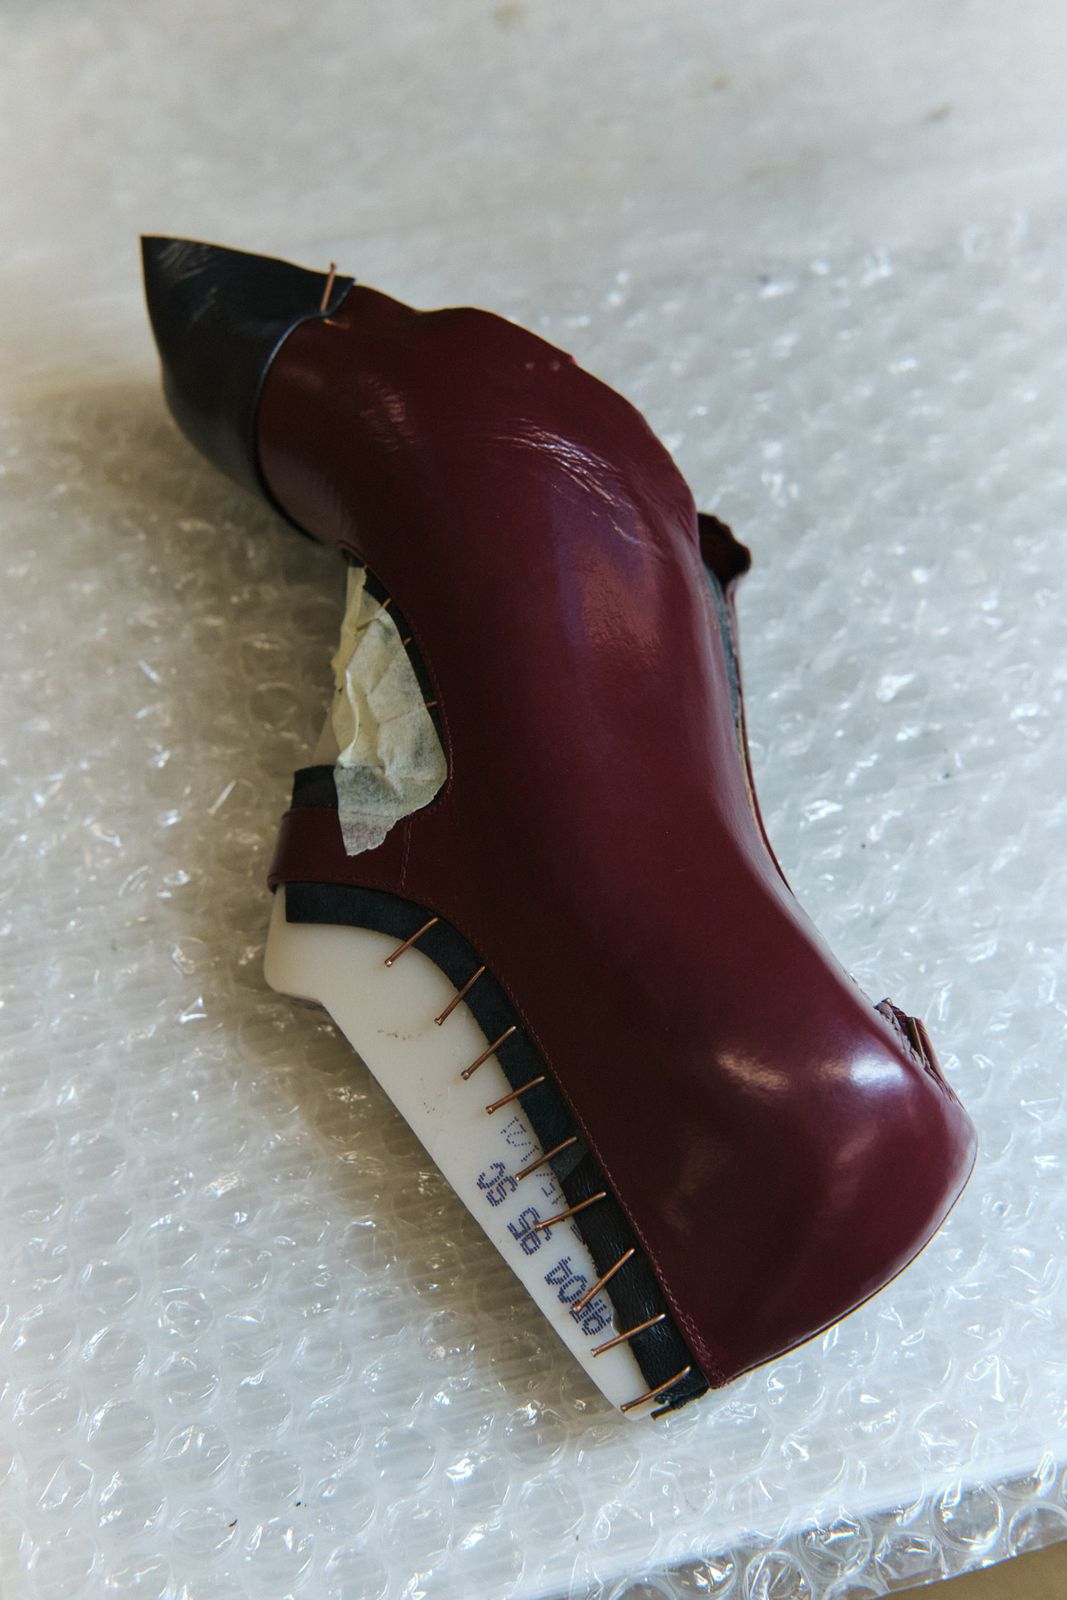
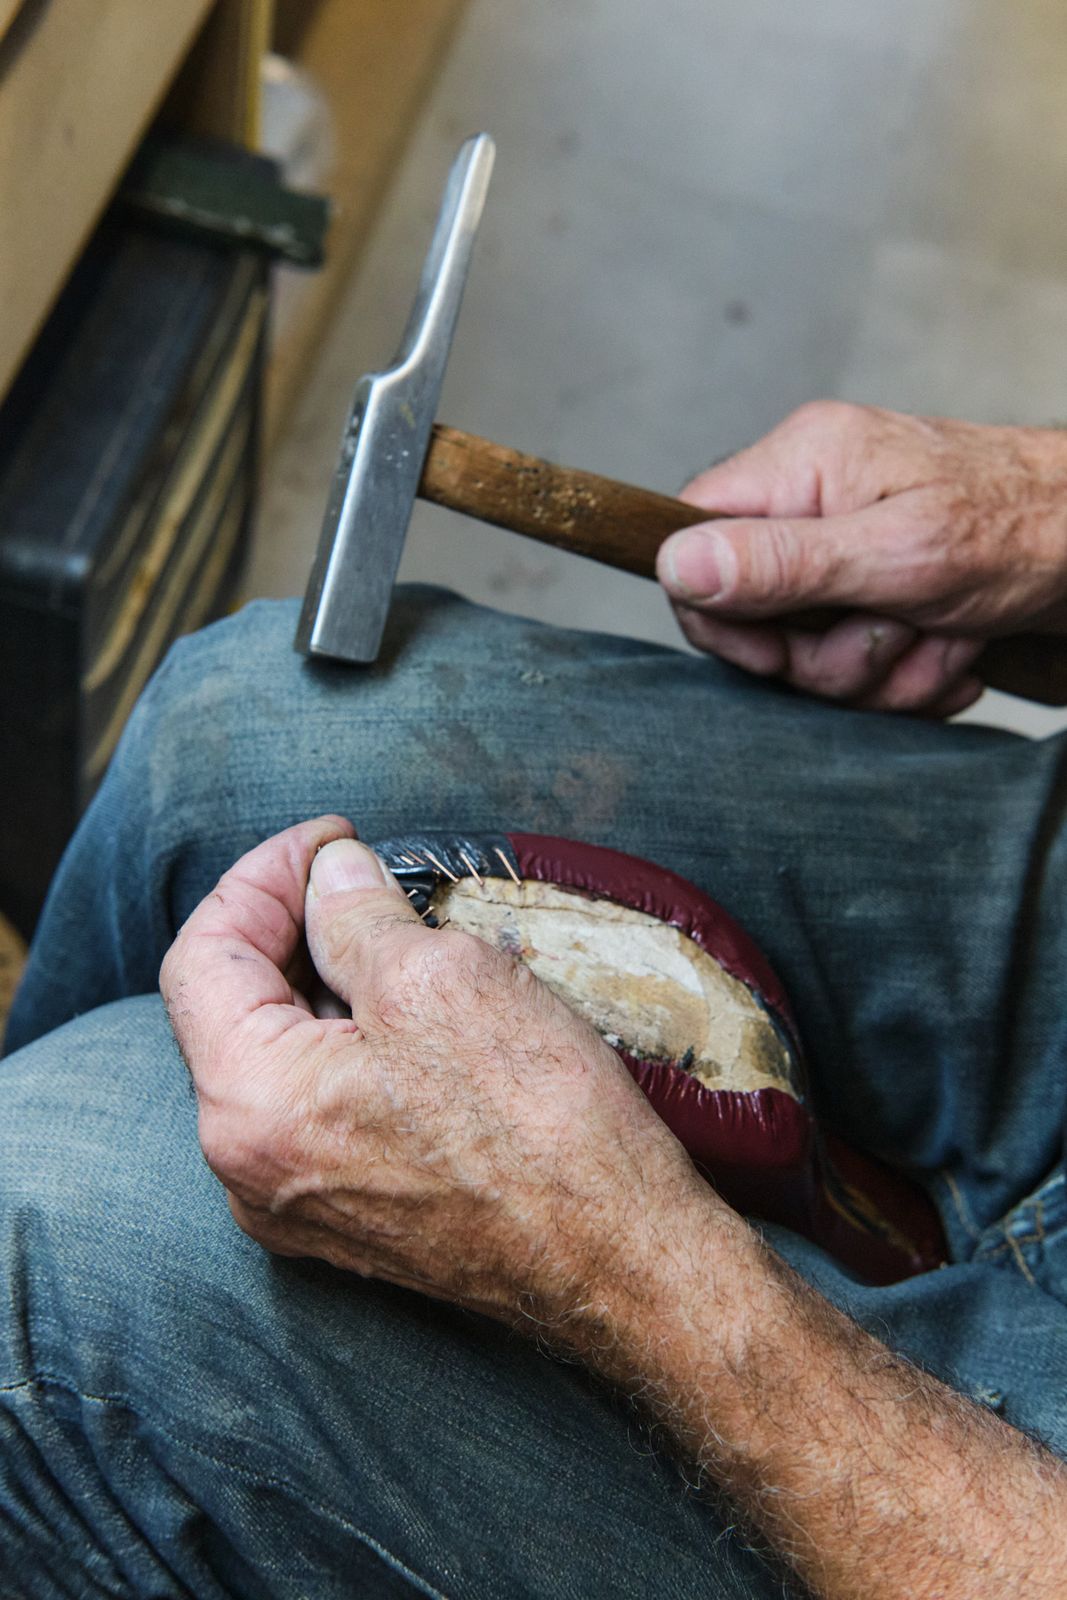
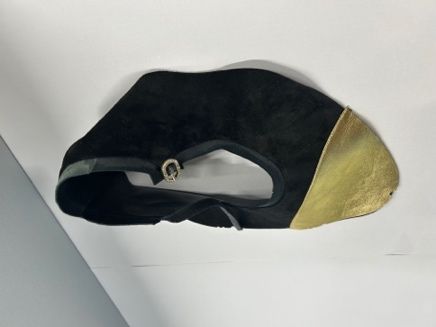
The shoemaker assembles all the leather pieces previously cut by the cutter. They stretch and shape every part of the upper so that the material fits snugly over the last. The upper is then attached using small nails known as “tacks”.

This stage requires great dexterity and meticulous attention to detail: once shaped and stretched over the last, the upper must perfectly follow the contours of the last.

Massaro — 3. Assembling the Materials

s29_1 · s29_2 · s29_3 · s29_4

3. Assembling the Materials (continued)

Massaro — 3. Assembling the Materials
s30_1
Massaro — 3. Assembling the Materials
s30_2
Massaro — 3. Assembling the Materials
s30_3
Massaro — 3. Assembling the Materials
s30_4

3. Assembling the Materials (continued)

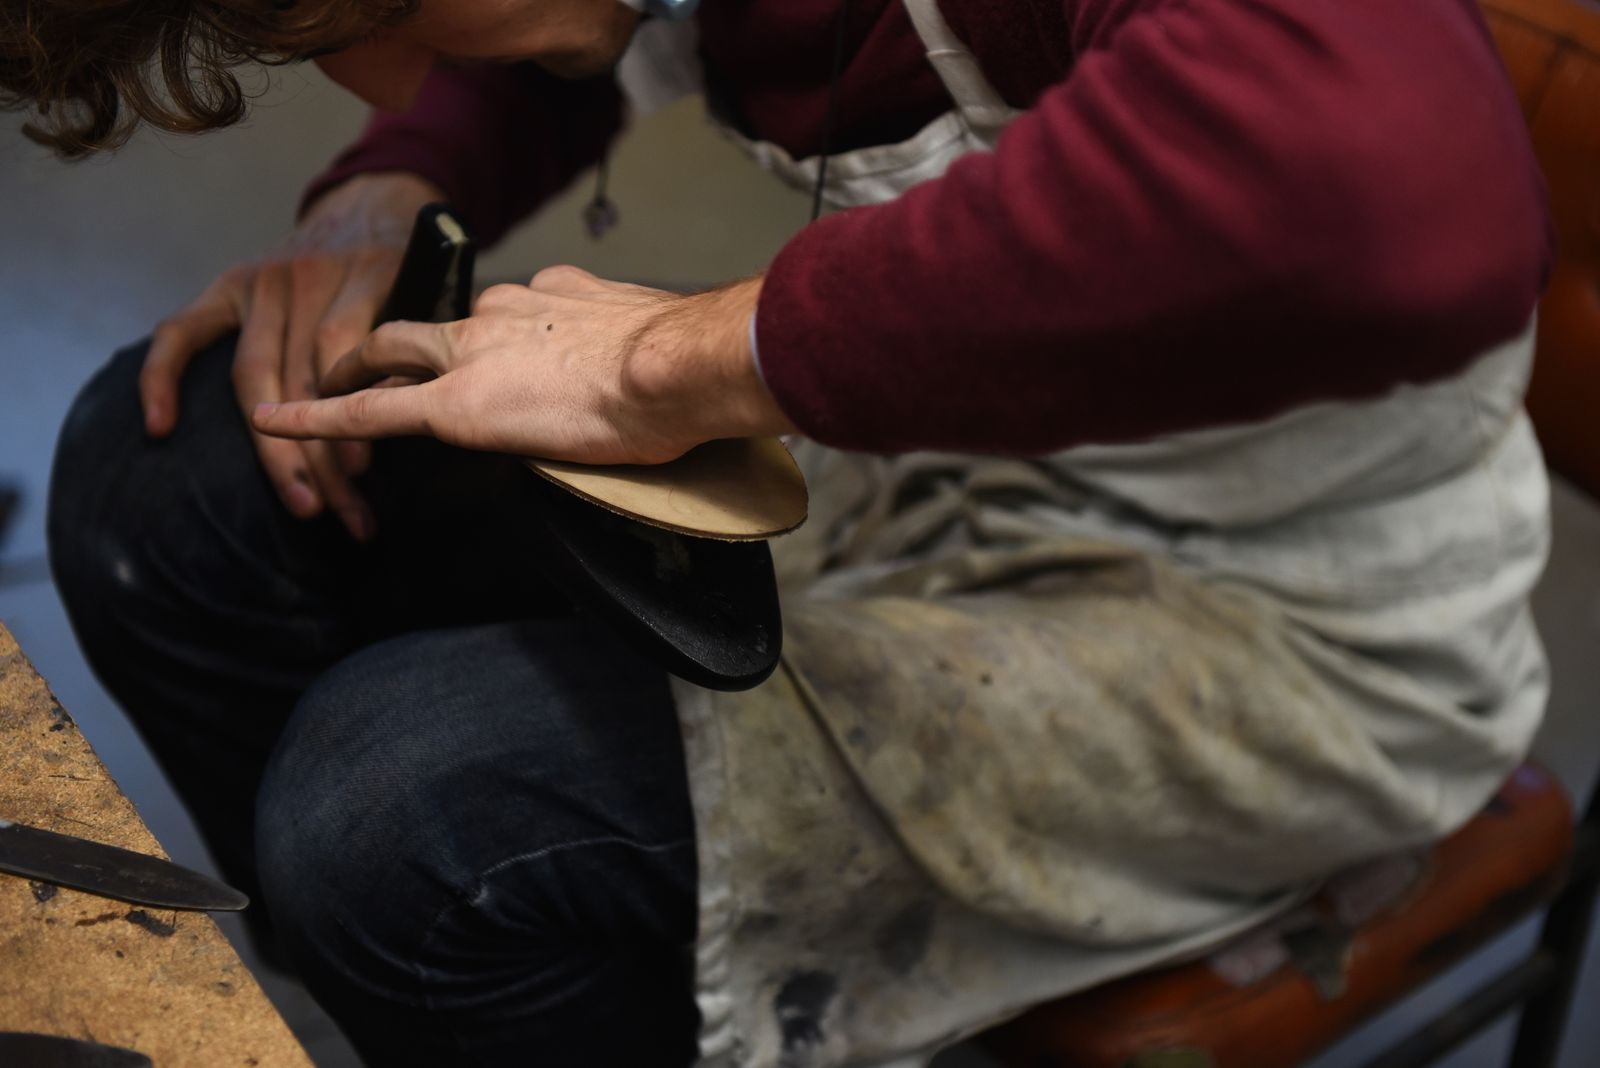
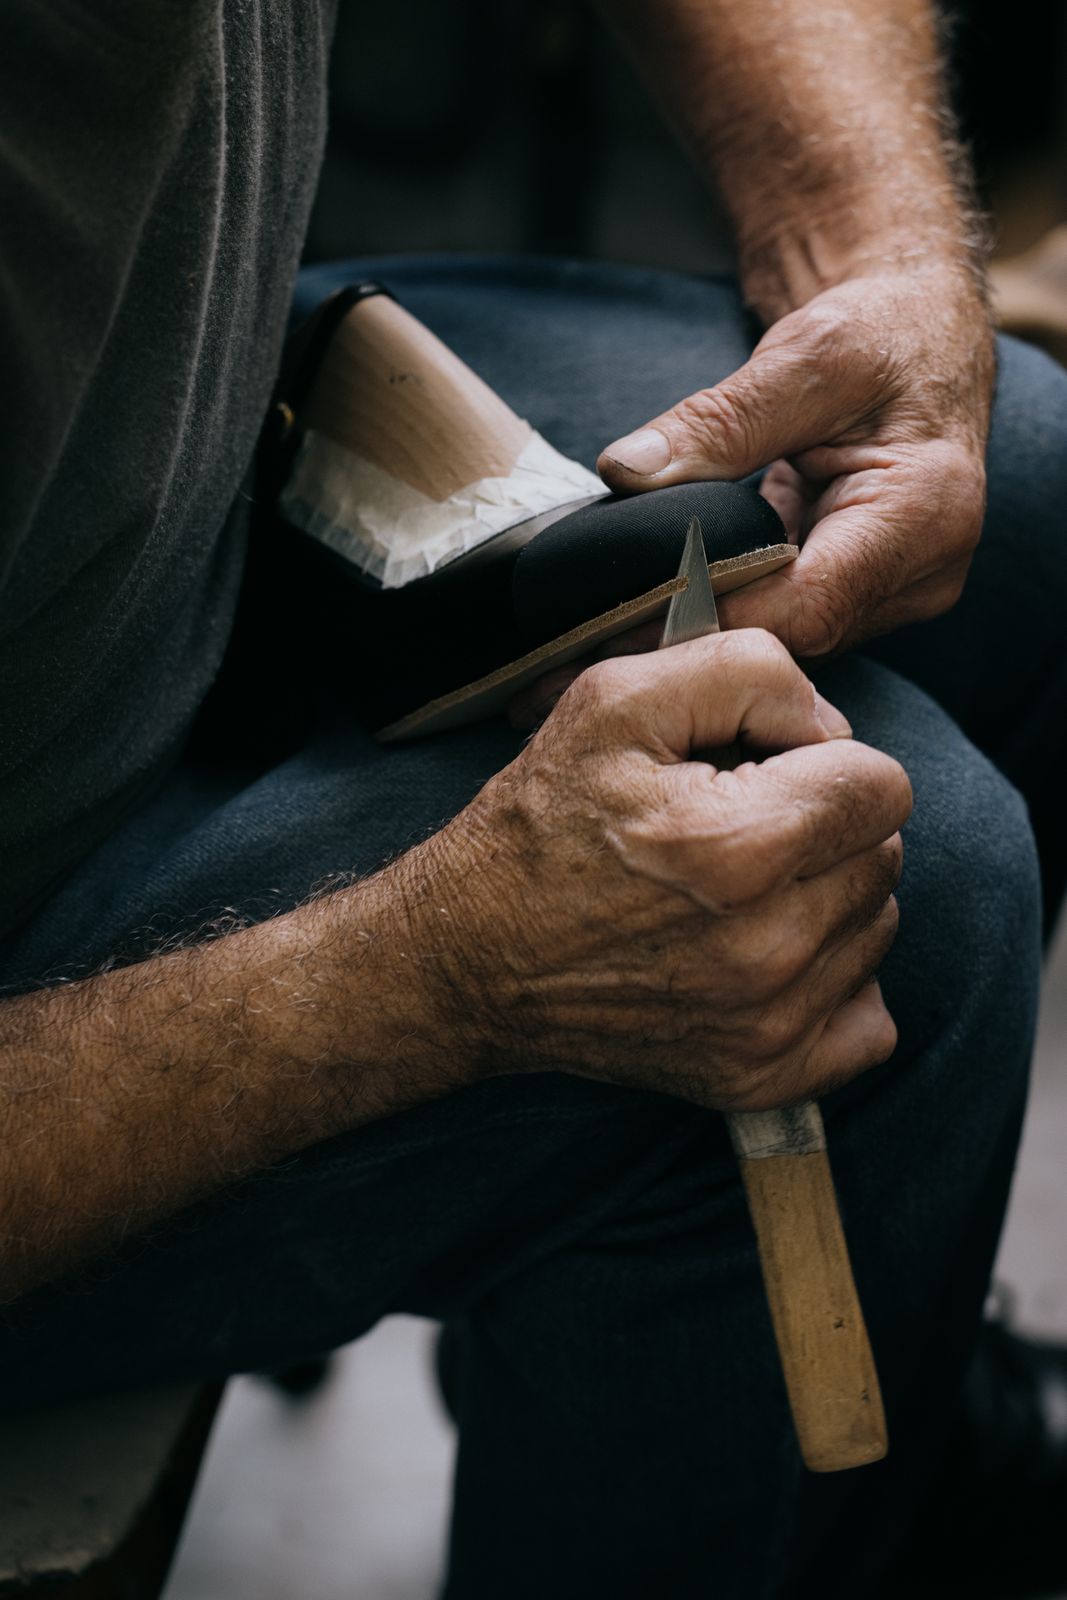
Finally, the sole craftsman also creates the sole. Starting with a piece of raw leather, they polish and dye it to complete the exterior of the shoe.

Massaro — 3. Assembling the Materials
s31_1
Massaro — 3. Assembling the Materials
s31_2
Massaro — 3. Assembling the Materials
s31_3

4. Finishing

The shoe then passes into the hands of the finisher, also known as the bichonneur. Their role is to refresh, clean, and polish the shoe. Every detail is carefully inspected to ensure that no threads are left protruding and that no imperfections remain.

Once this stage is complete, the shoe is ready to be delivered to the client.

The production time varies depending on the model, but it generally takes around fifty hours of work.

Massaro — the archive wall of more than 6,000 pairs of wooden lasts

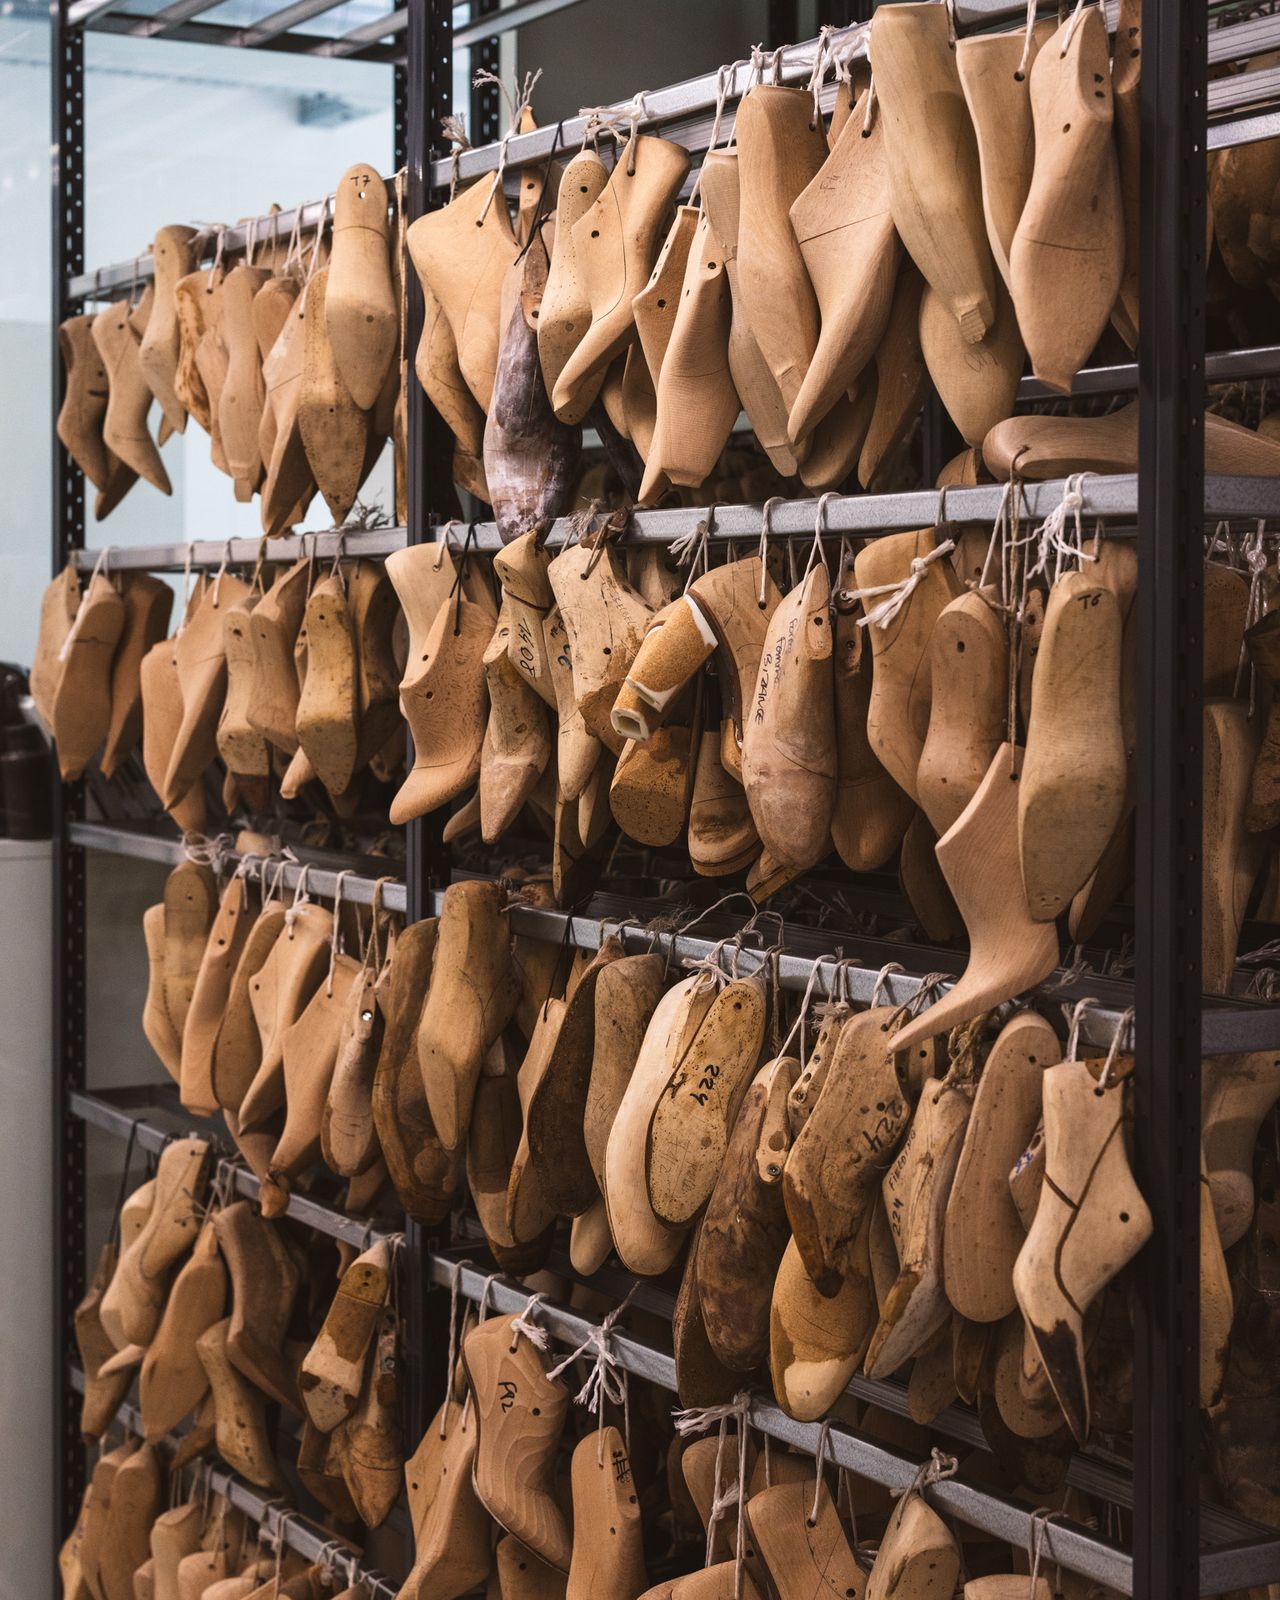
Once the order has been delivered, the lasts join the Massaro archives. These archives are exceptionally rich, containing more than 6,000 pairs of lasts, each marked with the name of its owner and preserved since the beginning of the 20th century.

This extensive collection also enables the artisans to use them as training tools for new recruits.

s33_1

Lesage & Atelier Montex — the pricking machine head

The embroiderer

Lesage & Atelier Montex

1. The brief

It all starts with a brief from the artistic director of a fashion house, whether that is Chanel or another Maison, on the theme of the upcoming fashion show. The workshops can collaborate with houses from across the entire fashion, luxury, and decoration industry.

Each collection gives rise to a specific brief that can take different forms: a mood board, images, a painter, a painting, colours, places, etc.

2. Sampling

Following this brief, the artistic director and all the artisans at the Maison (embroiderers and pattern designers) will work on the theme and embark on what is known as the sample creation period, which can involve over 50 samples for a collection, depending on the creative team’s inspiration. These samples are then used to define the look of the next collection and whether the sample will be used on part of the garment or on the entire garment.

Each sample has its own label detailing all the materials used to make it.

3. Gathering materials

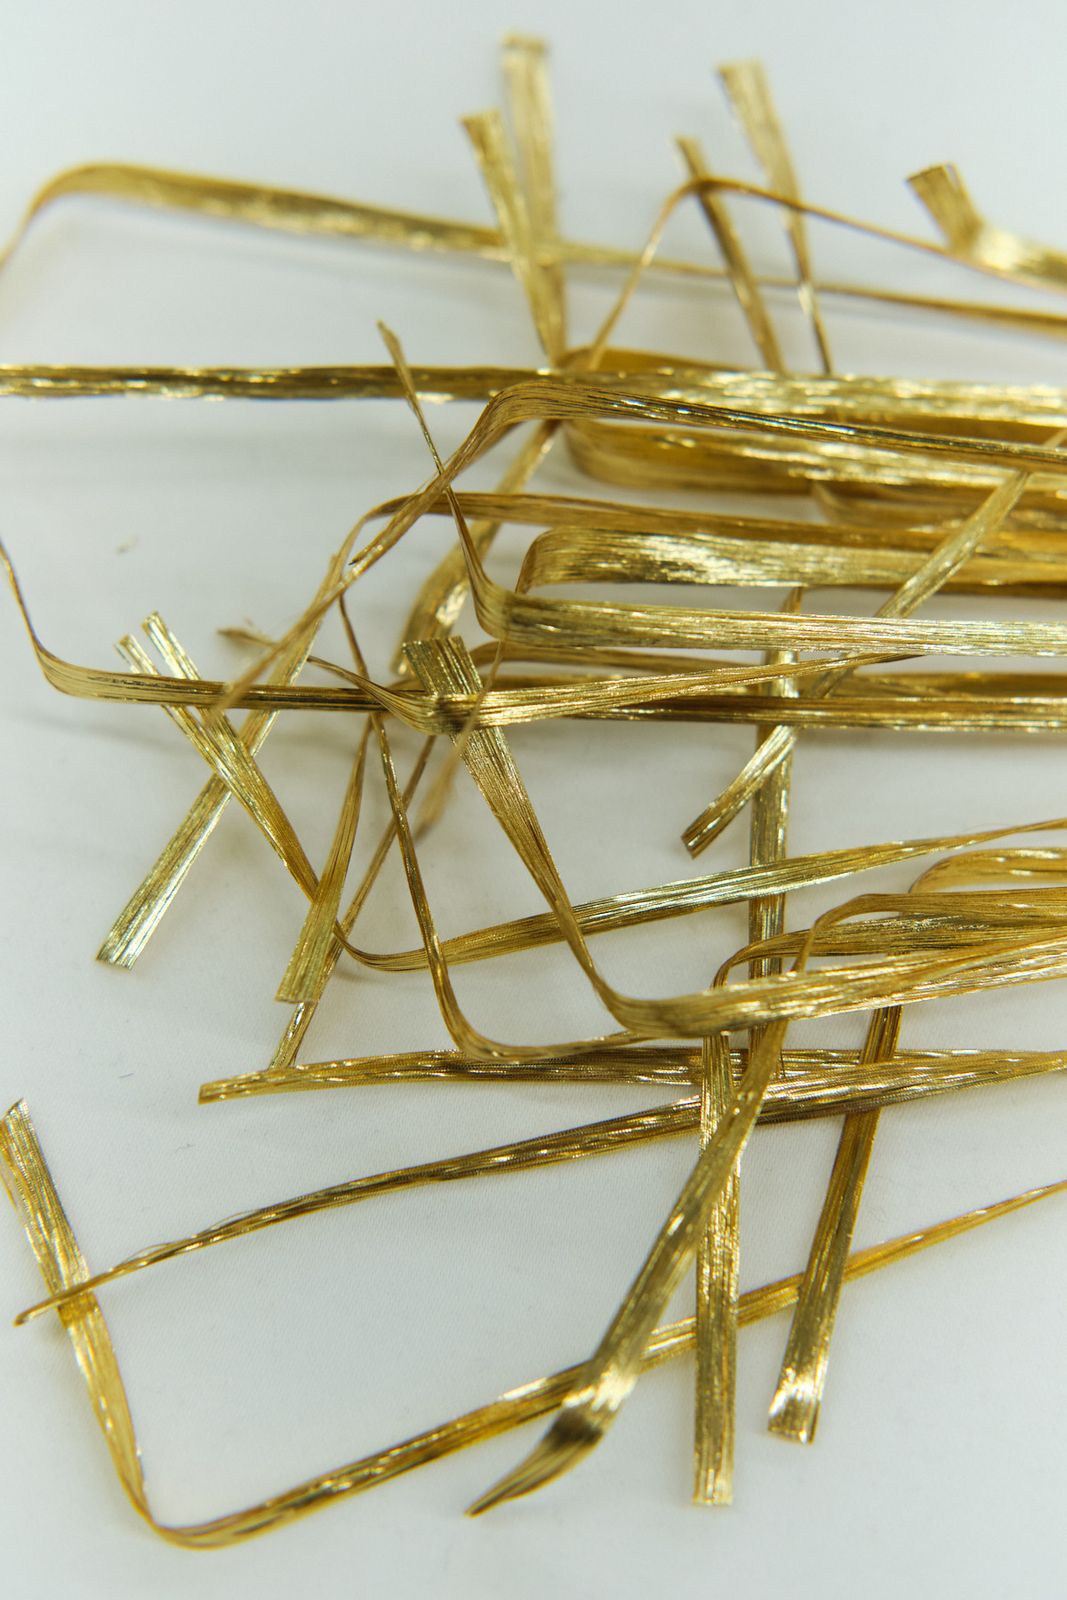
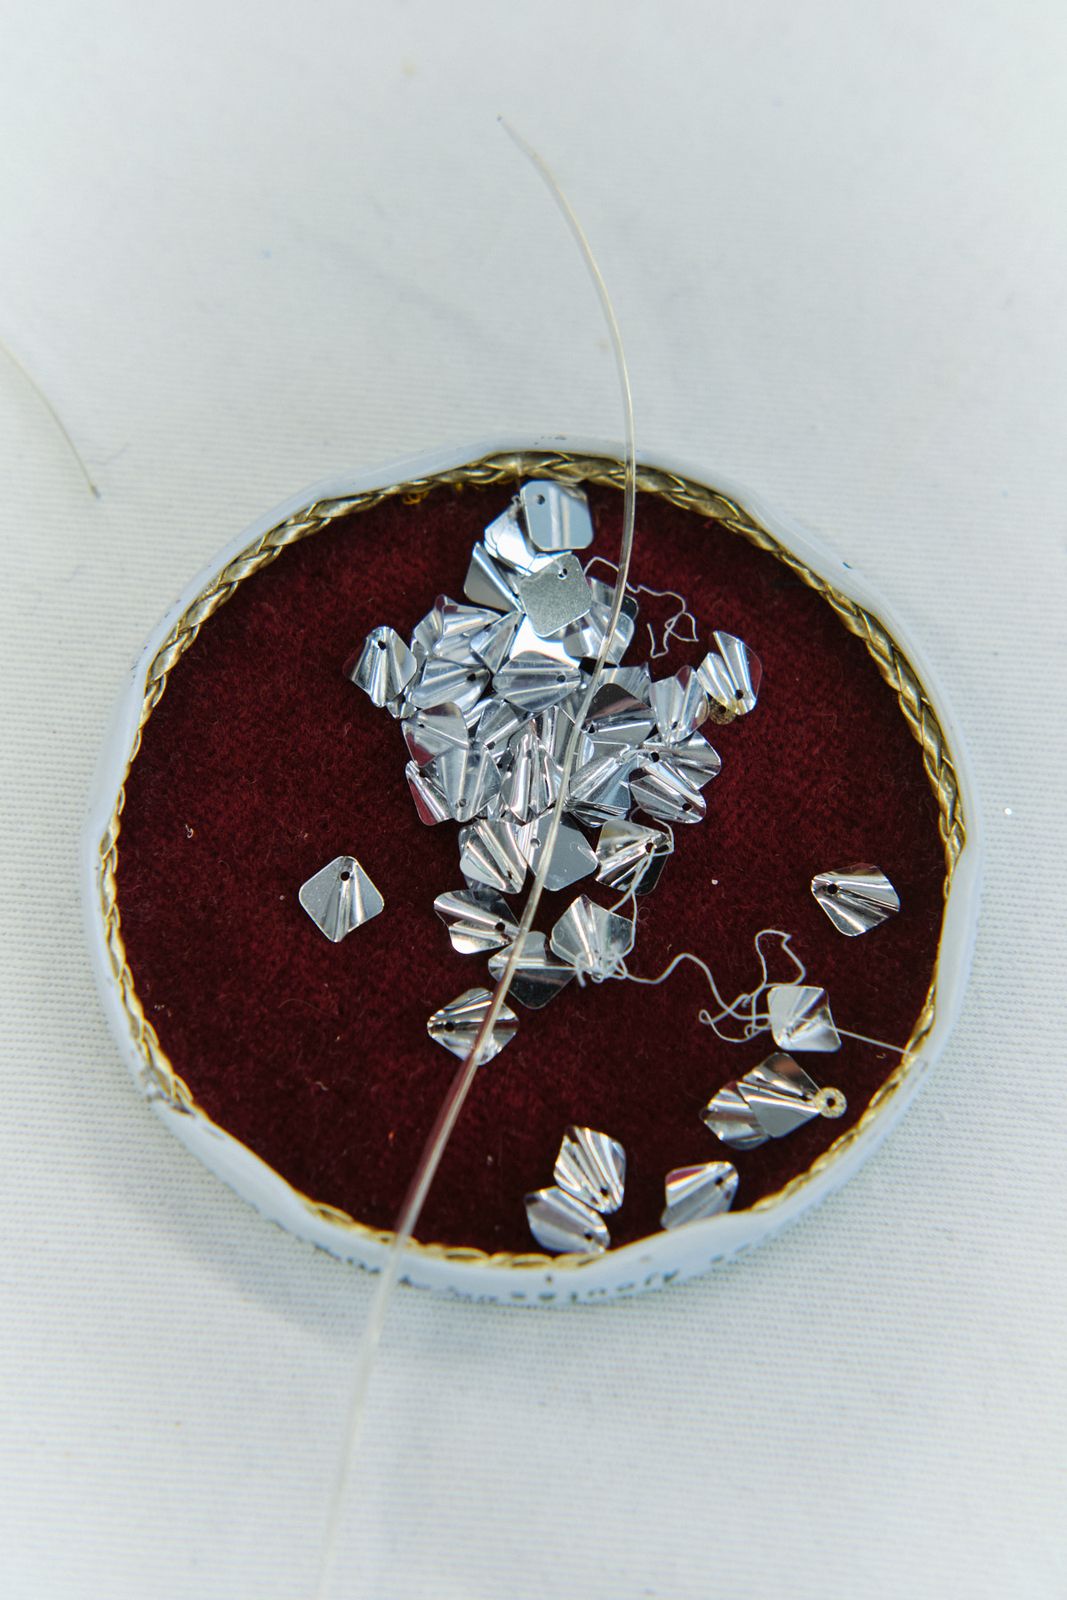
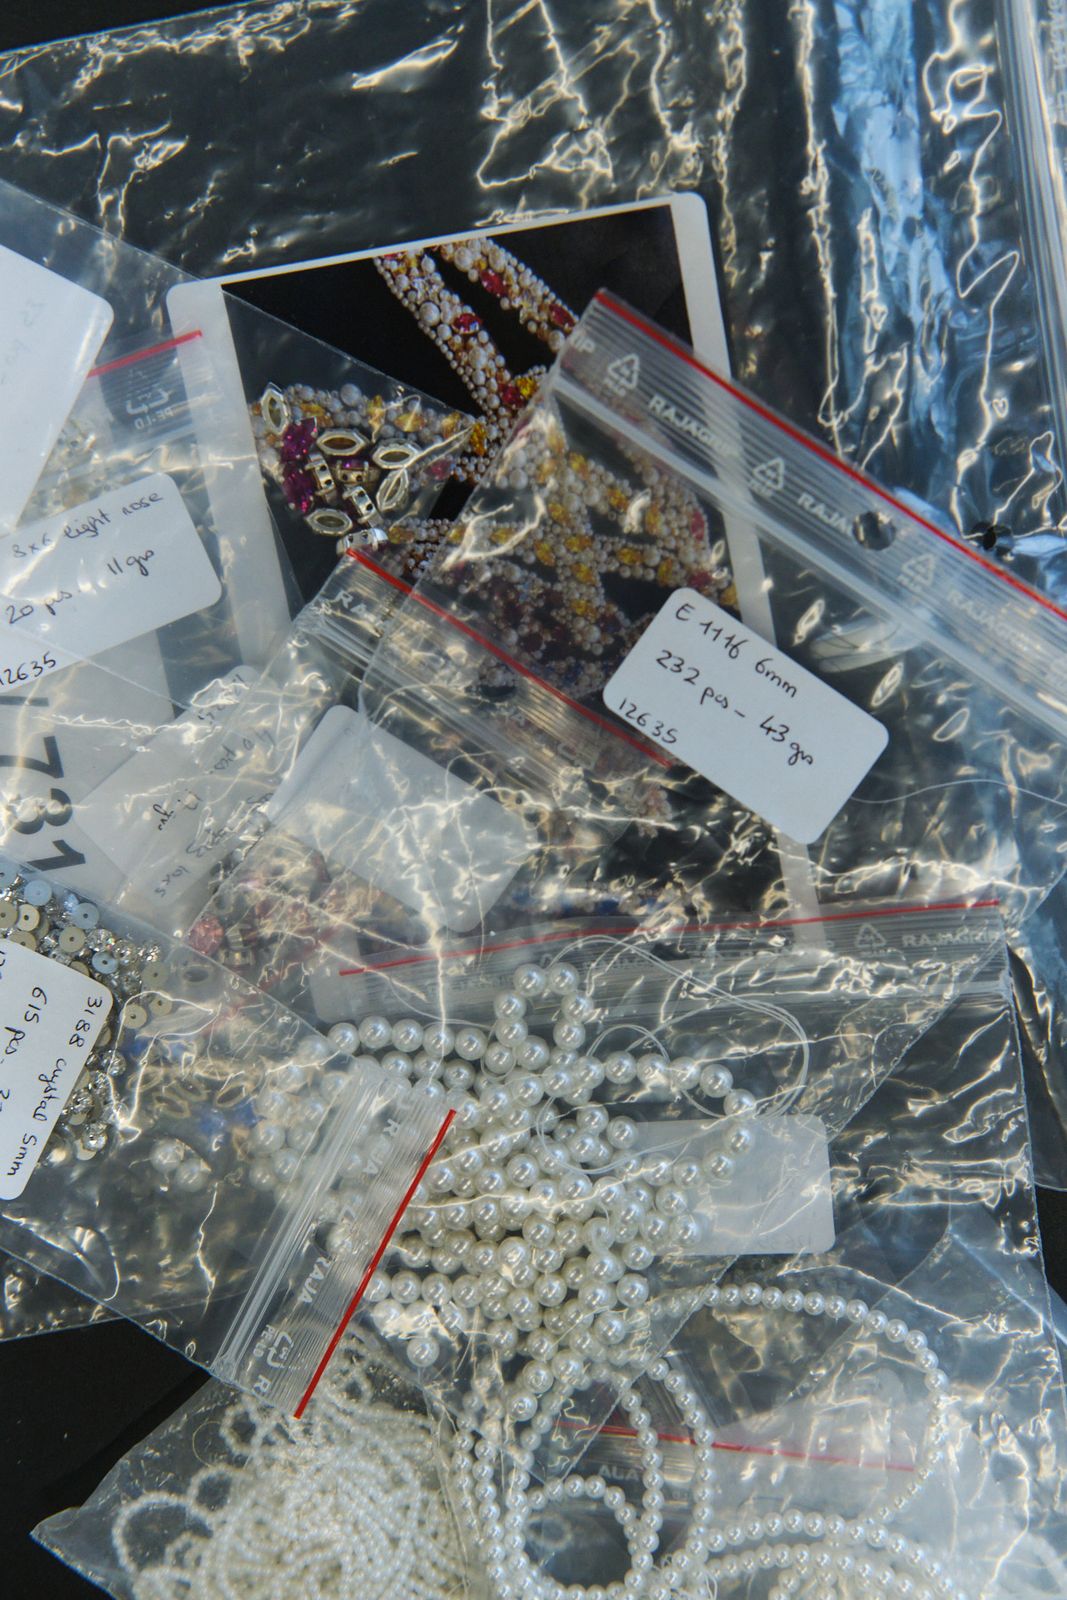
To make these samples, the embroiderers have access to all kinds of materials, which they select with their creative teams. The designs are also discussed along with the choice of materials.

All types of materials can be used in order to meet the initial brief and provide the best interpretation in embroidery of the ideas of the artistic directors.

Lesage & Atelier Montex — 3. Gathering materials
s37_1
Lesage & Atelier Montex — 3. Gathering materials
s37_2
Lesage & Atelier Montex — 3. Gathering materials
s37_3
s37_4

4. Drawing

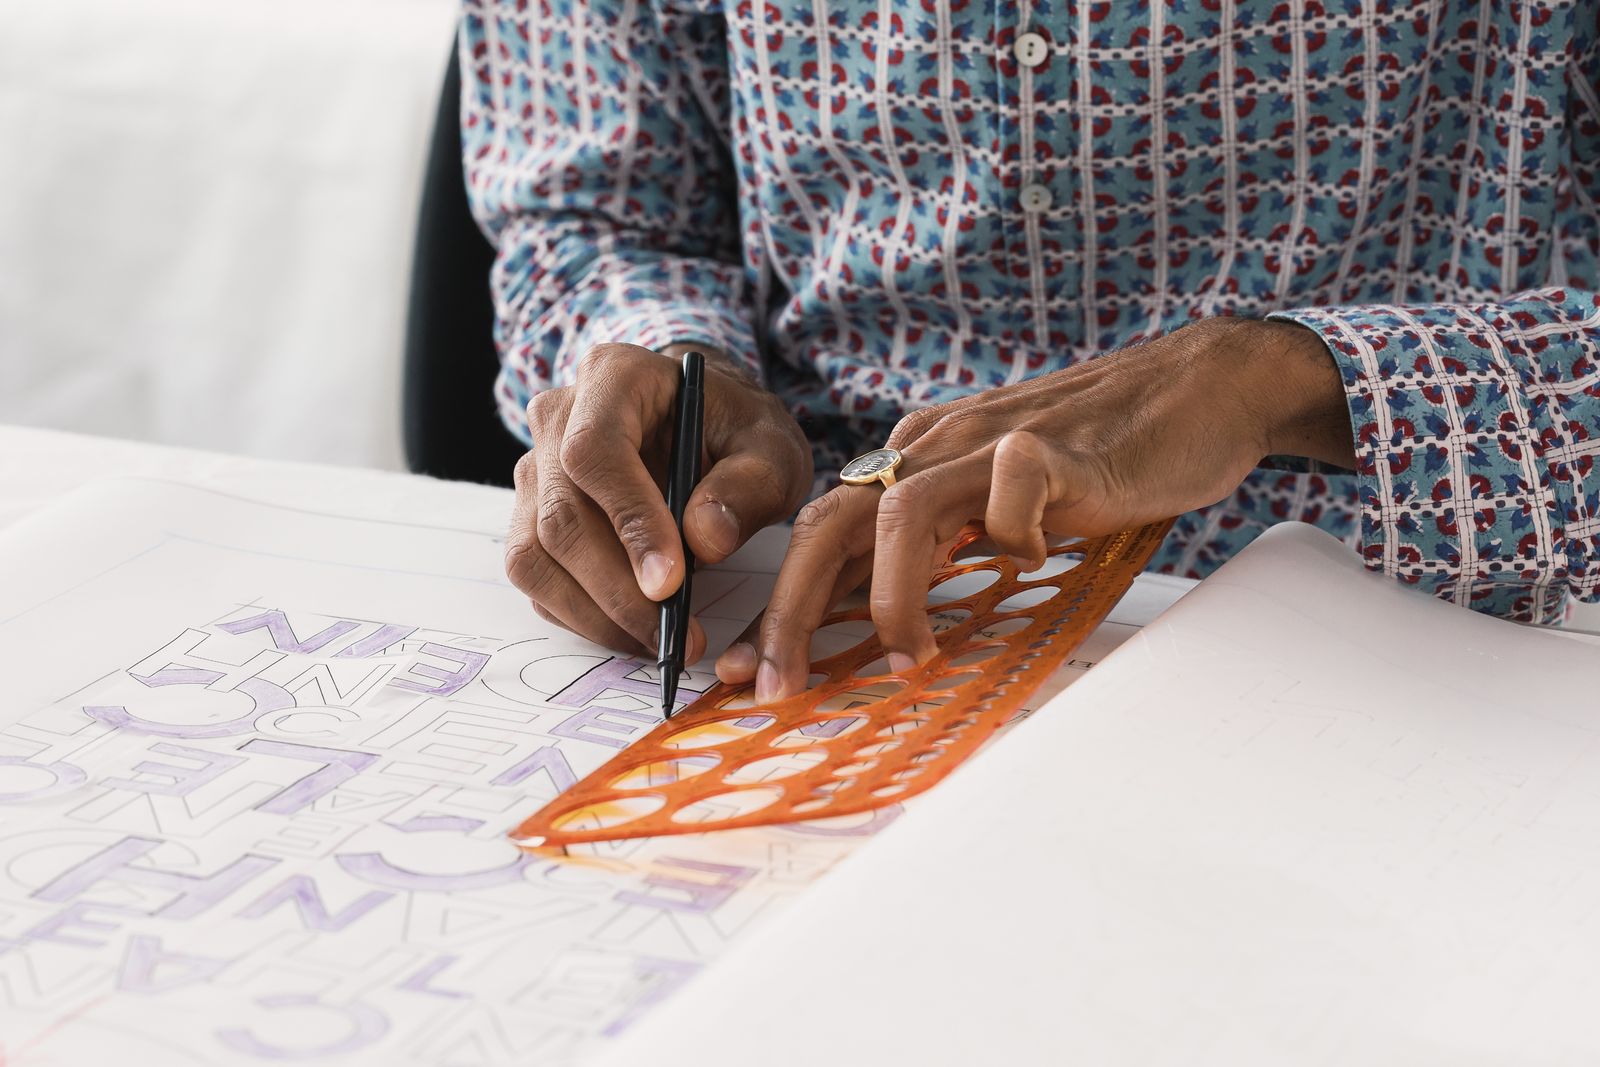
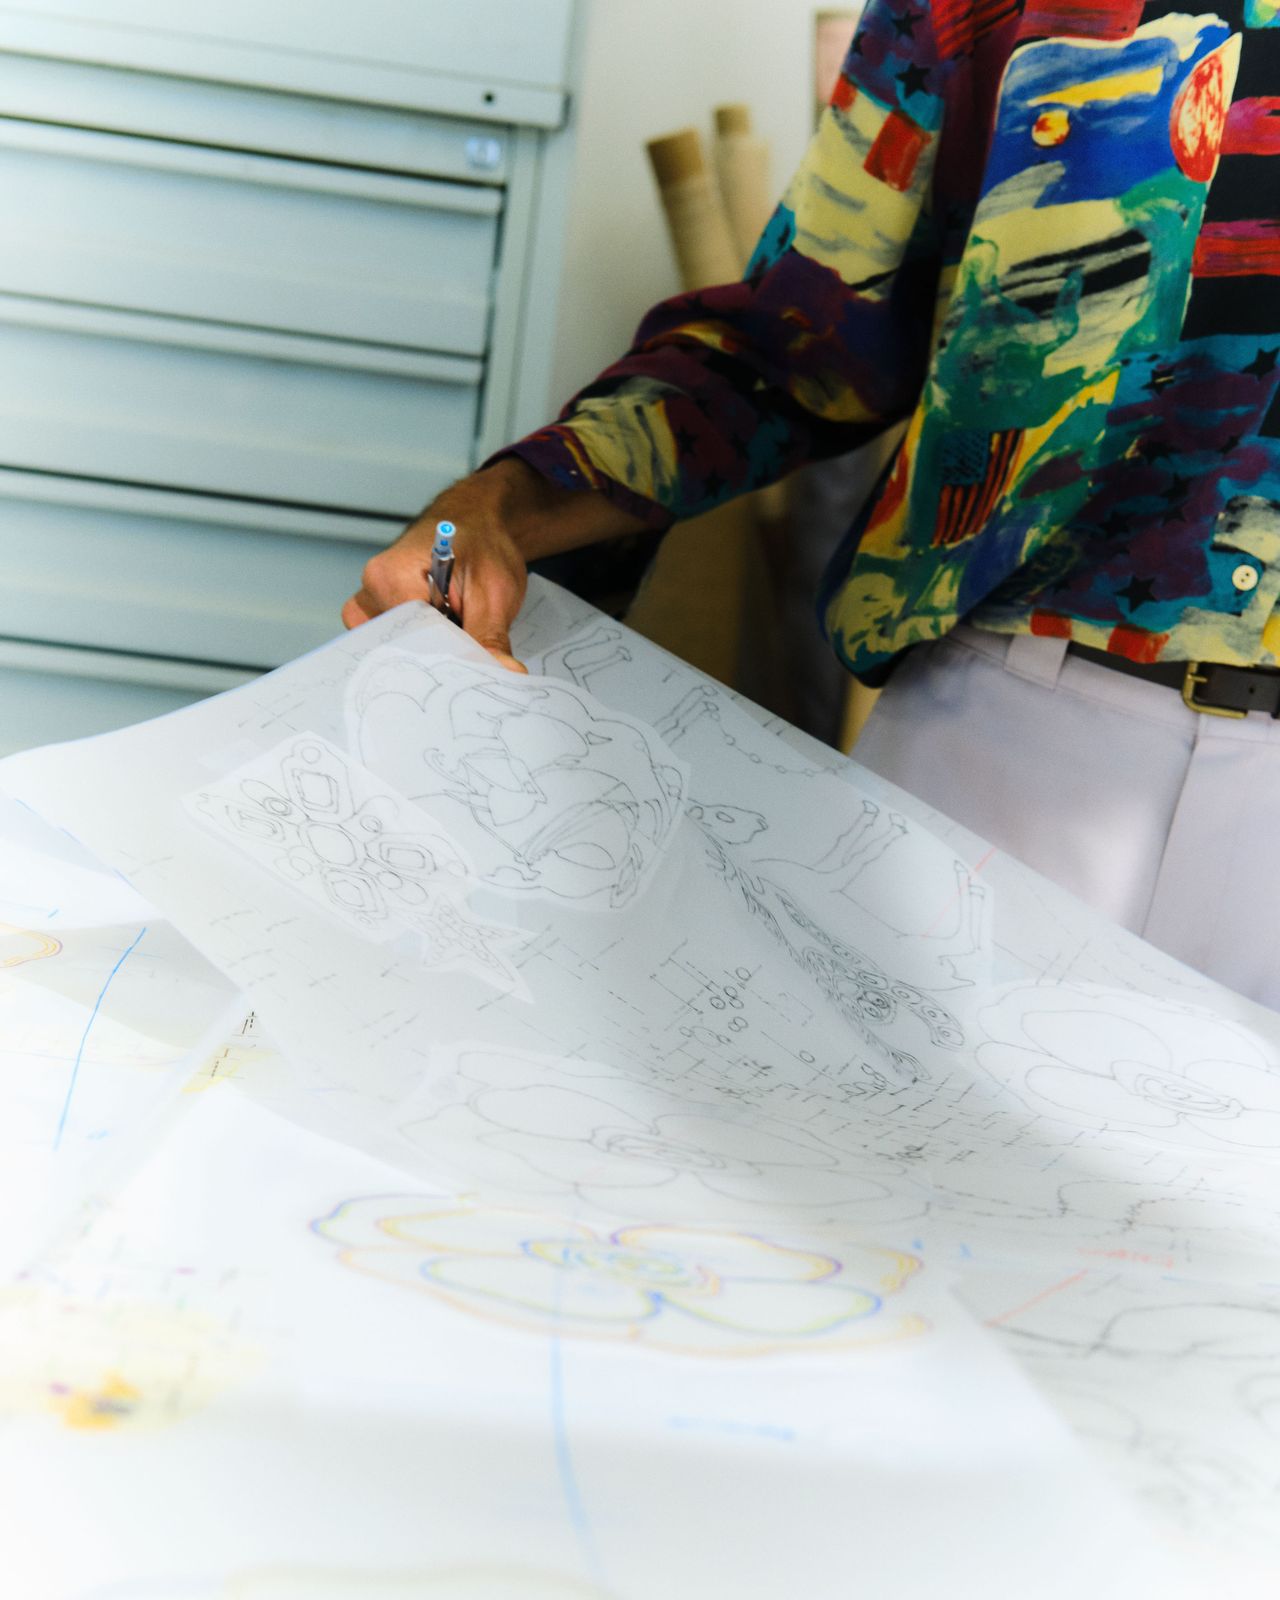
Once the sample has been selected, the technical drawing stage begins.

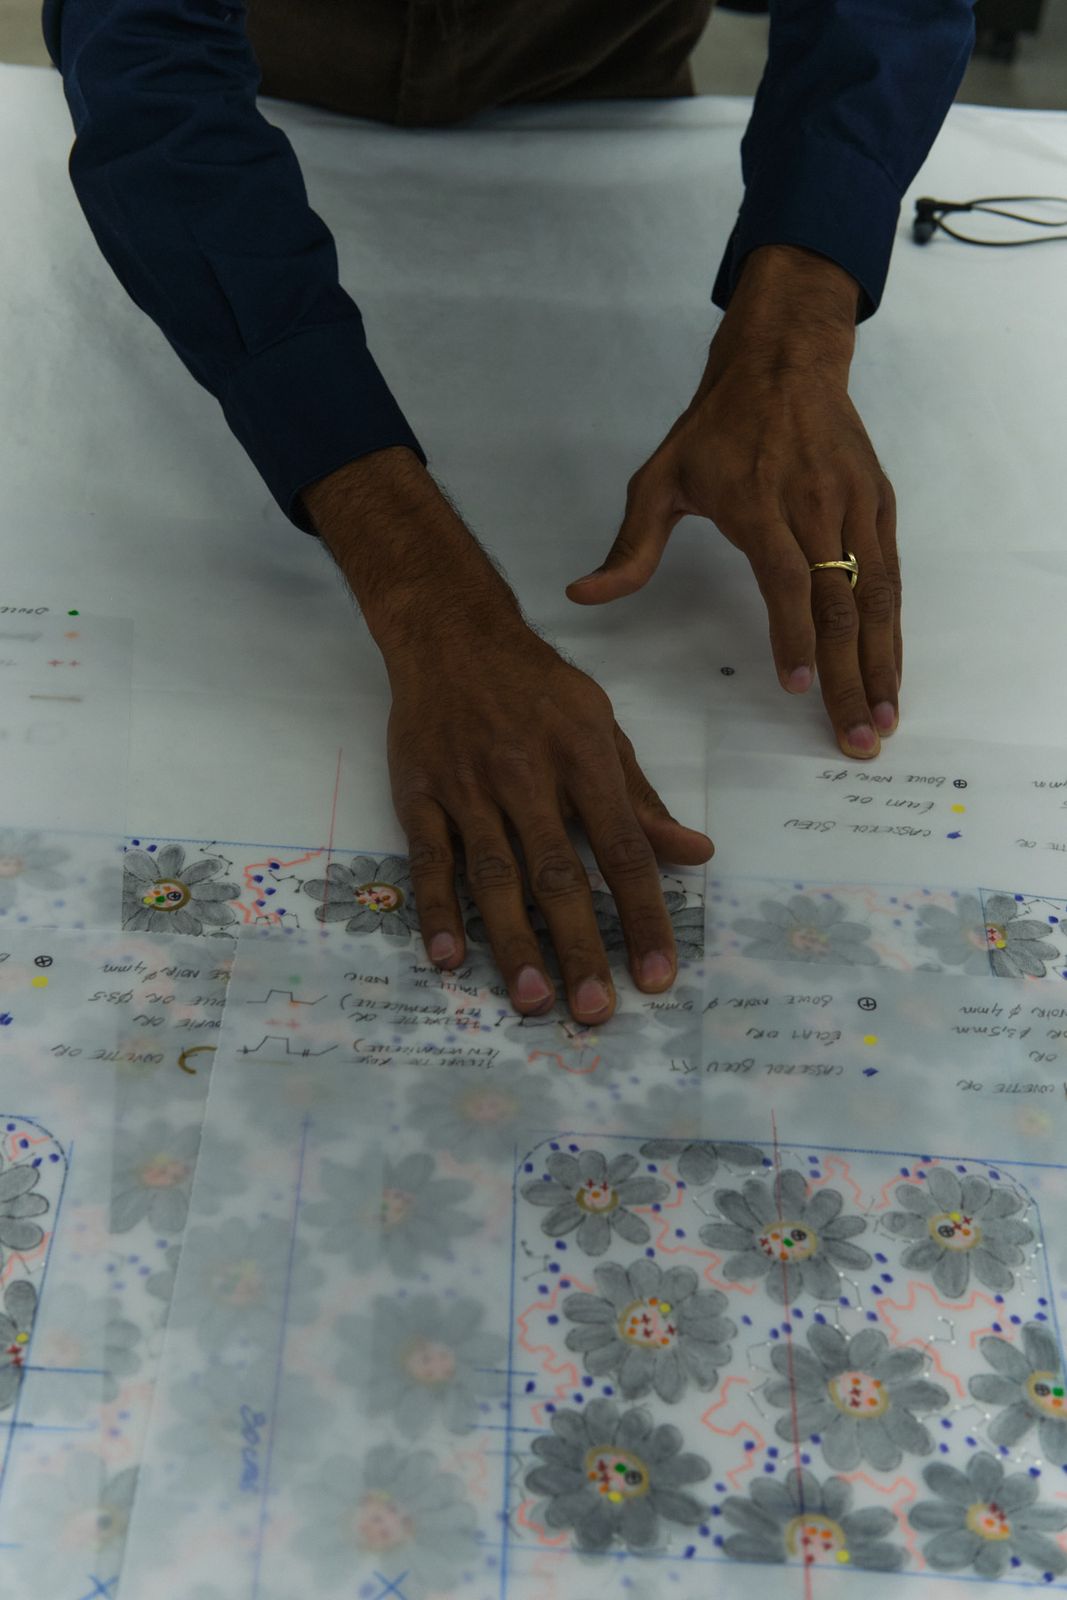
This drawing reproduces the embroidery to be produced in full size. It always begins with the sample—the reference—which is then adapted to the technical drawing. This includes a code and a list of the materials to be used.

The drawing also contains instructions enabling the embroiderers to know exactly how to embroider; it is the embroidery’s ID card.

Lesage & Atelier Montex — 4. Drawing
s38_1
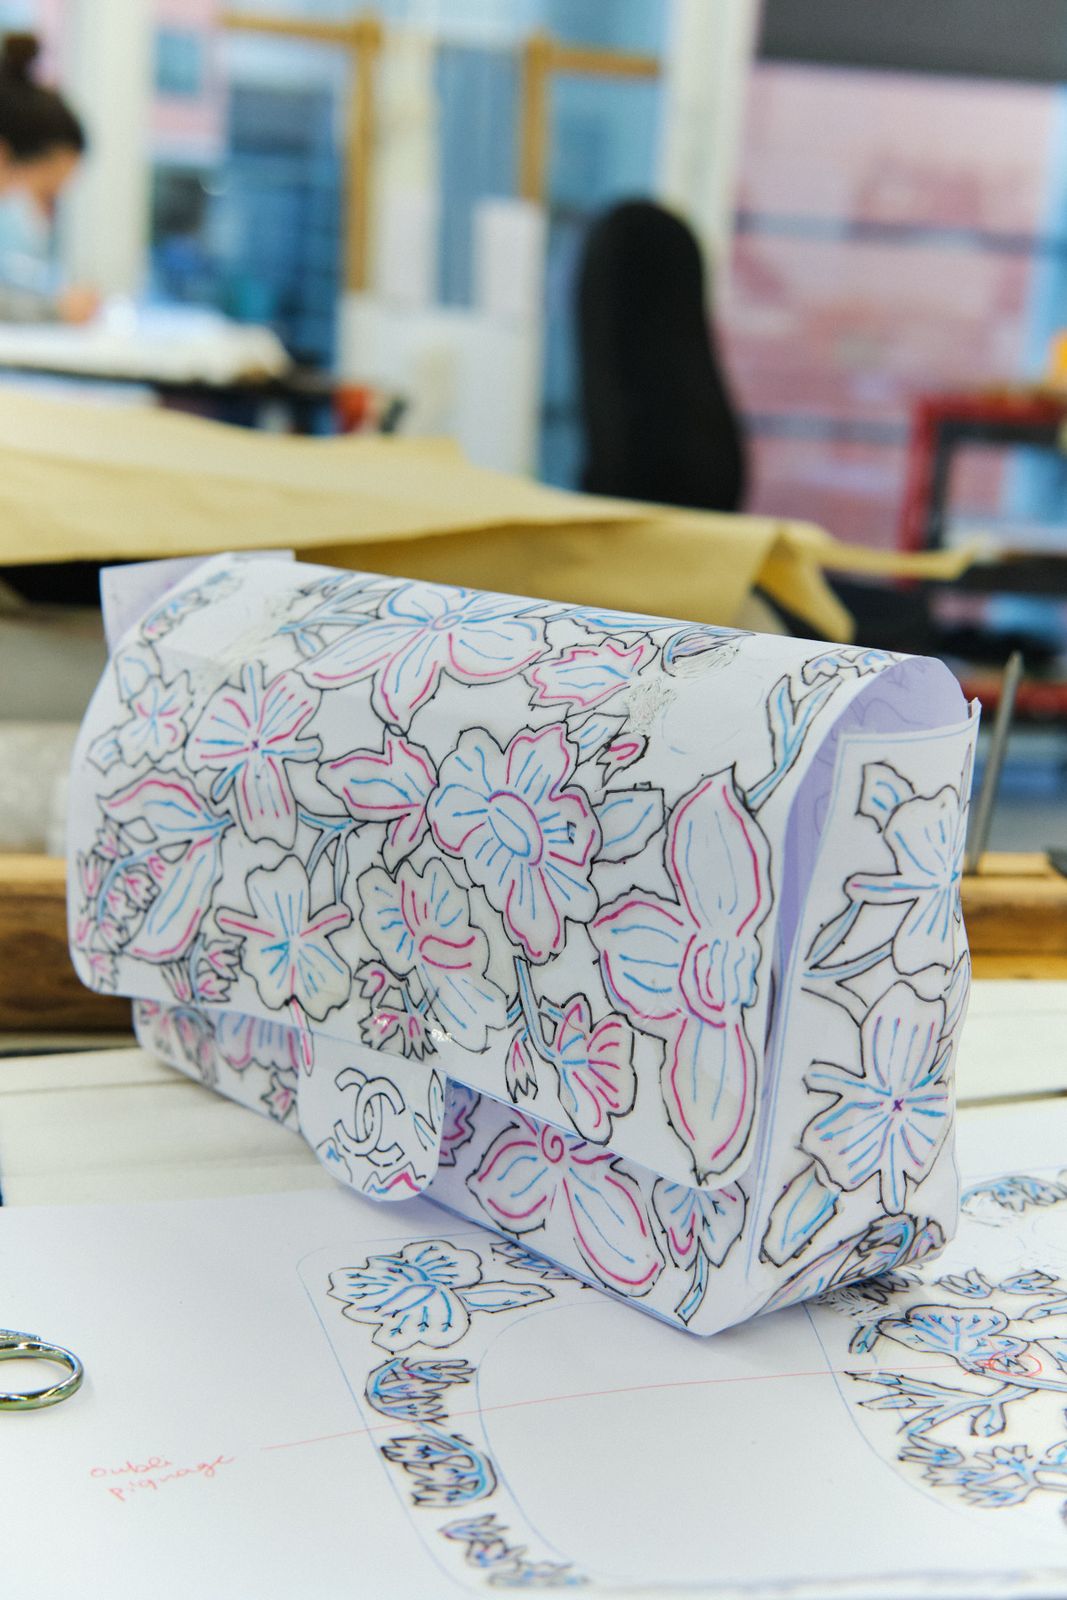
Lesage & Atelier Montex — three-dimensional paper model of the embroidered bag

4. Drawing (continued)

Here you can see a three-dimensional model of a bag. The previously approved sample must be adapted to the dimensions of this bag, and by making this paper model, we can ensure that the patterns match up perfectly. Without these drawings and models, it is not possible to begin the embroidery work.

s39_1

Lesage & Atelier Montex — 4. Drawing
s39_2
Lesage & Atelier Montex — 4. Drawing
s39_3

5. Pricking and pouncing

Once the technical drawing has been completed, the design must be transferred onto the fabric to be embroidered. This leads to the pricking and pouncing stages.

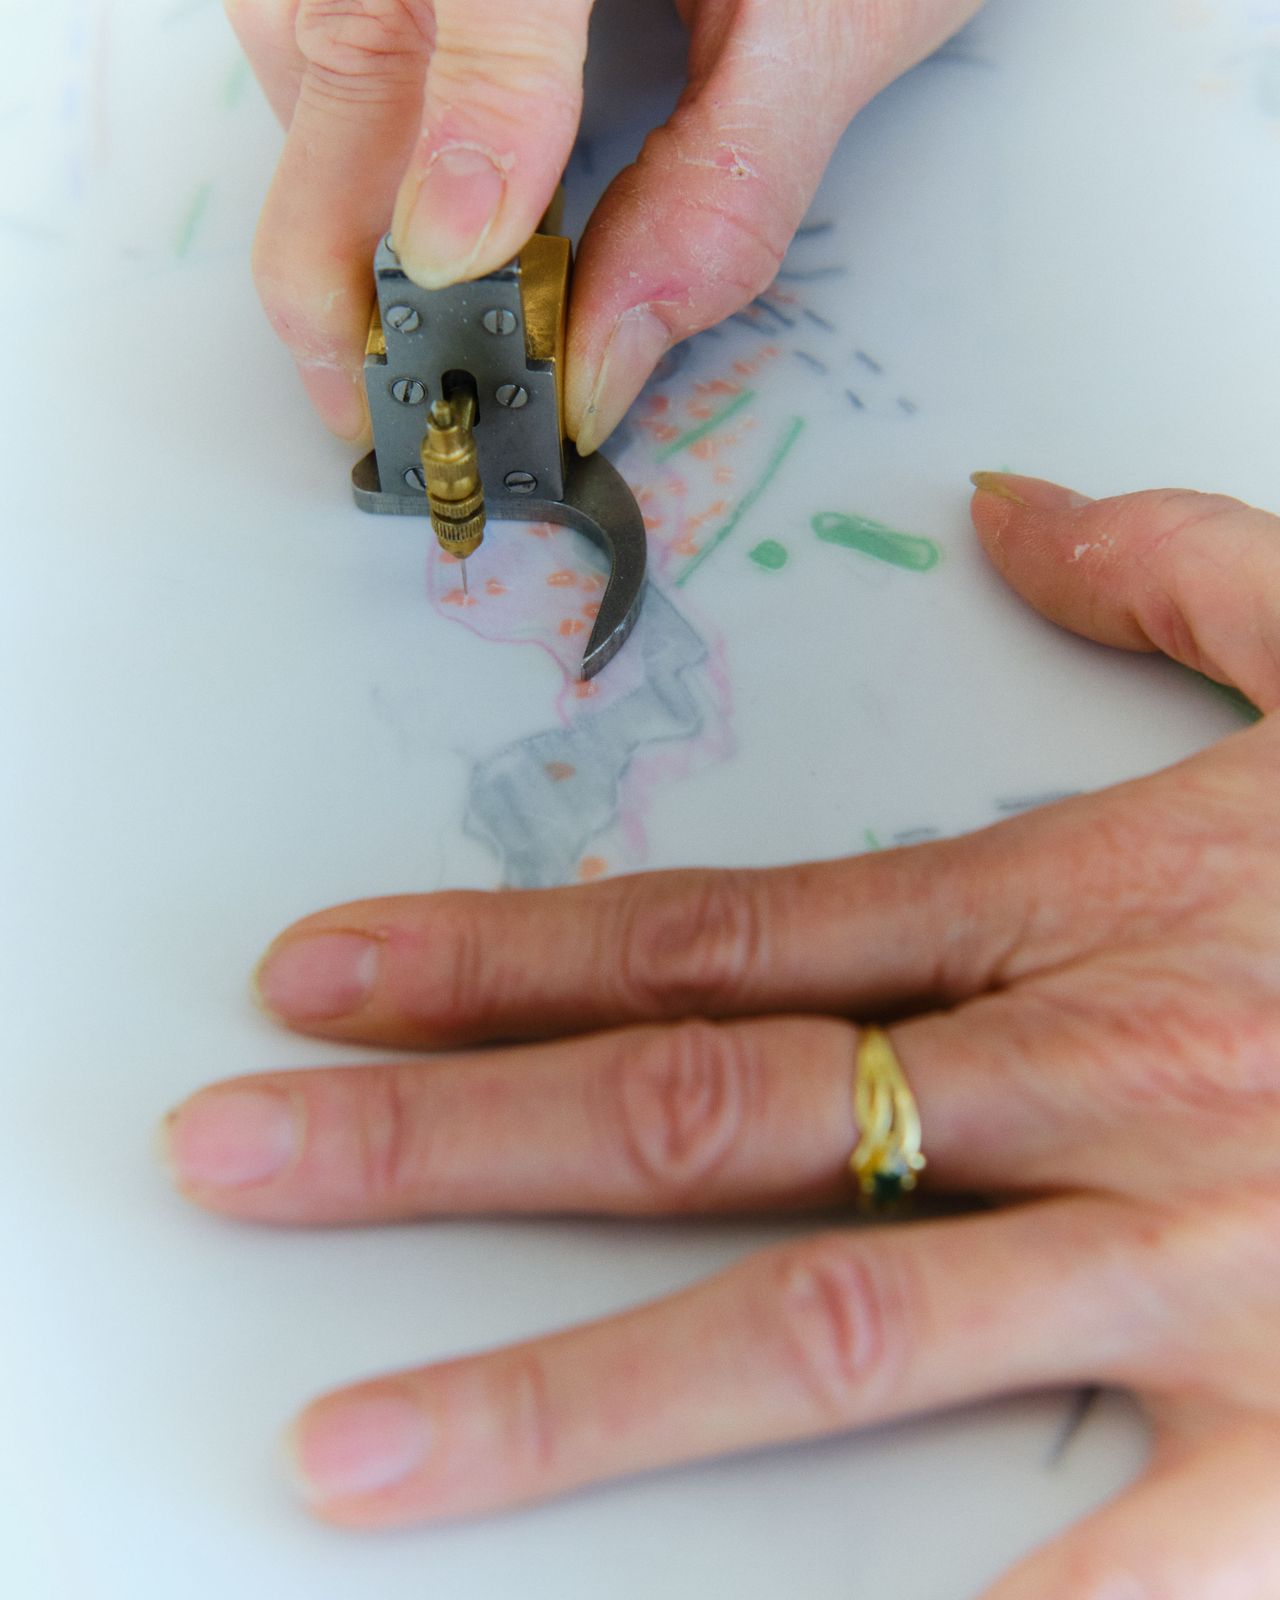
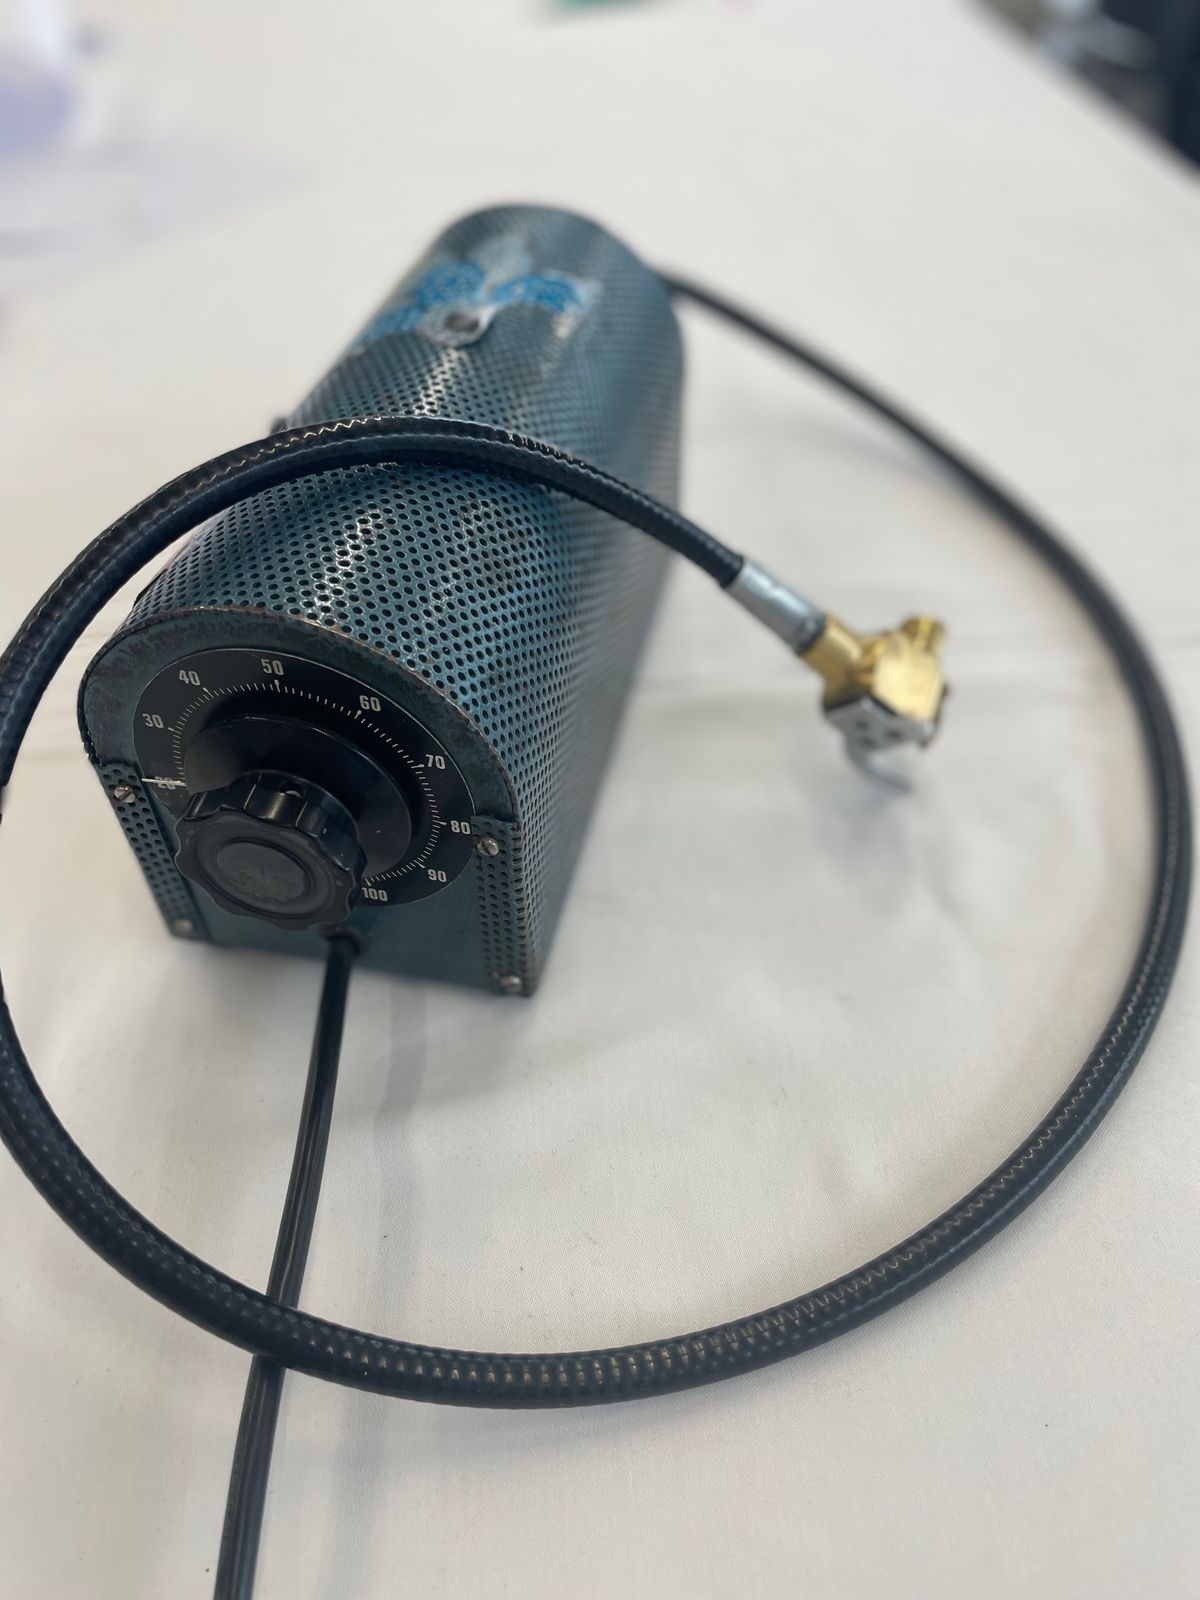
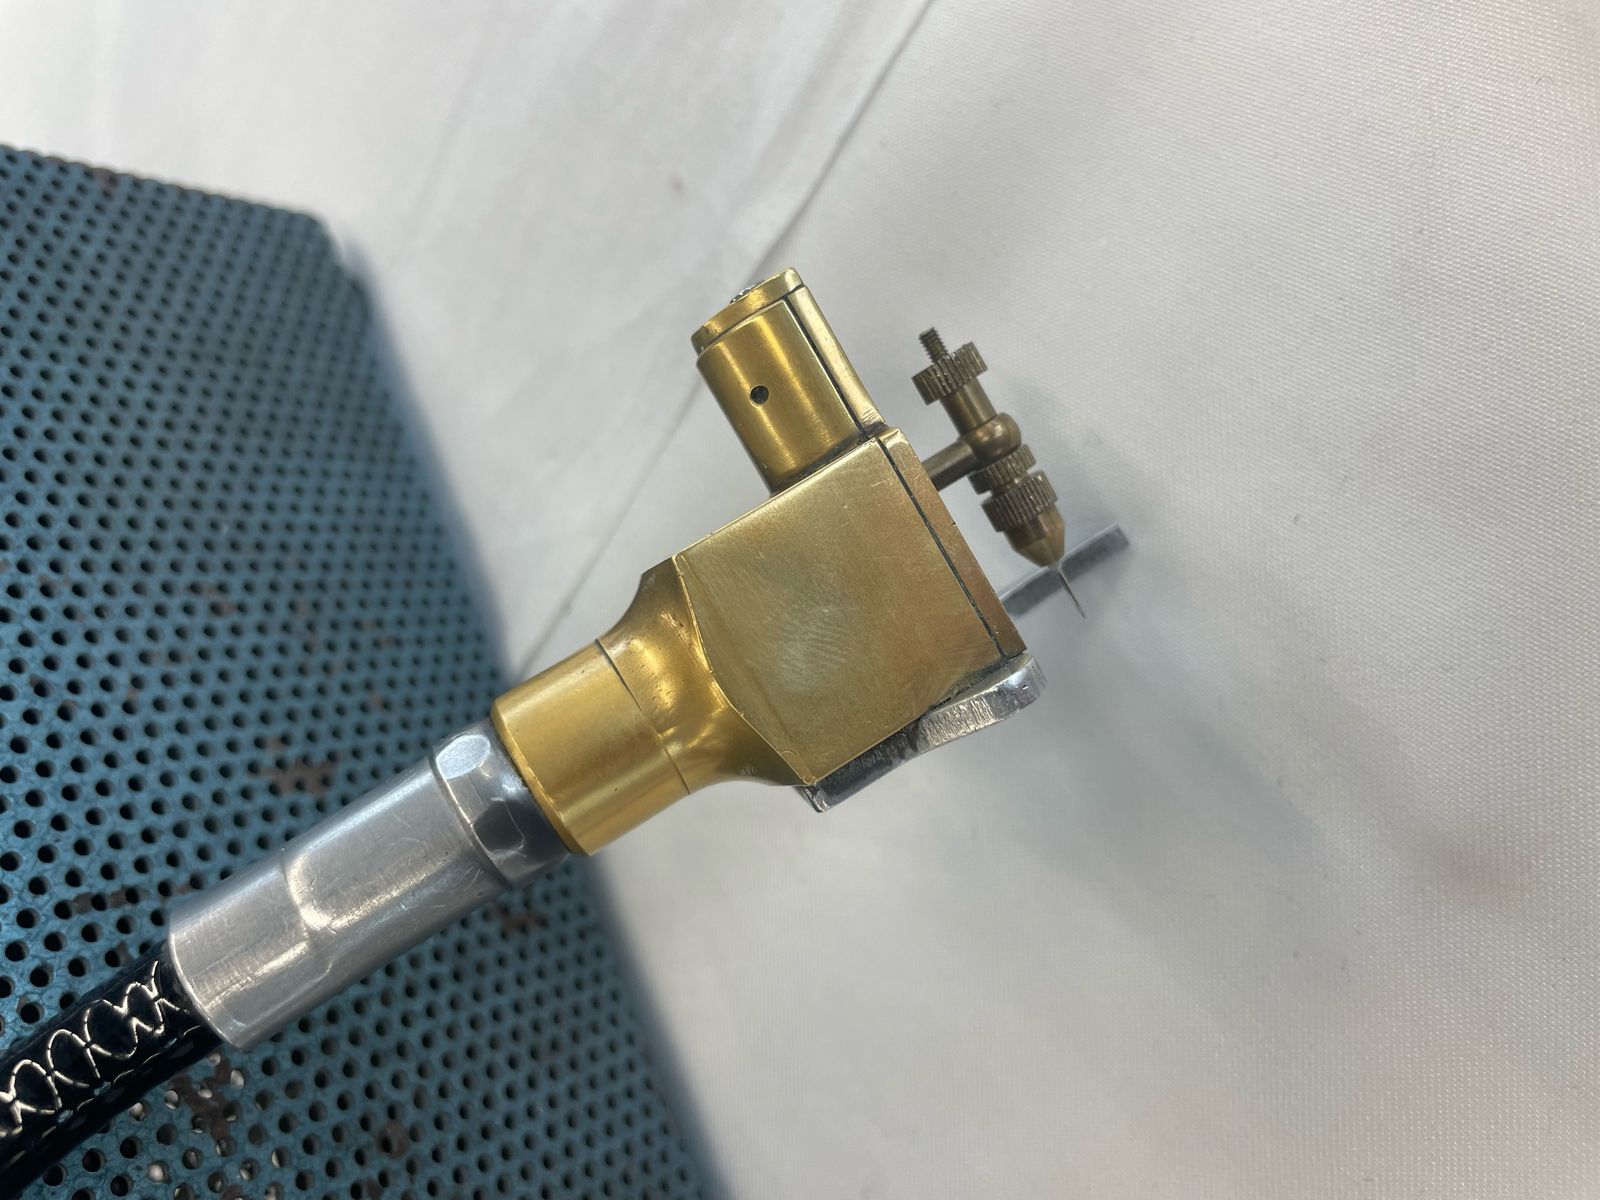
To do this, we use a pricking pattern, which is a copy of the technical drawing and has small holes made using a tool called a pricking machine.

Here you can see a pricking tool head, which consists of a needle attached to a motor that is used to perforate the tracing paper or paper, much like a tattoo or sewing machine

s40_1
Lesage & Atelier Montex — 5. Pricking and pouncing
s40_2
Lesage & Atelier Montex — 5. Pricking and pouncing
s40_3

5. Pricking and pouncing (continued)

Once all the lines and symbols of the technical drawing have been pricked onto the fabric, which is stretched tightly on the embroidery frame, then comes the pouncing stage.

Pouncing is done using pouncing powder. This is a powder composed of pigment and resin that comes in different colours (white, black, blue, grey, etc.).

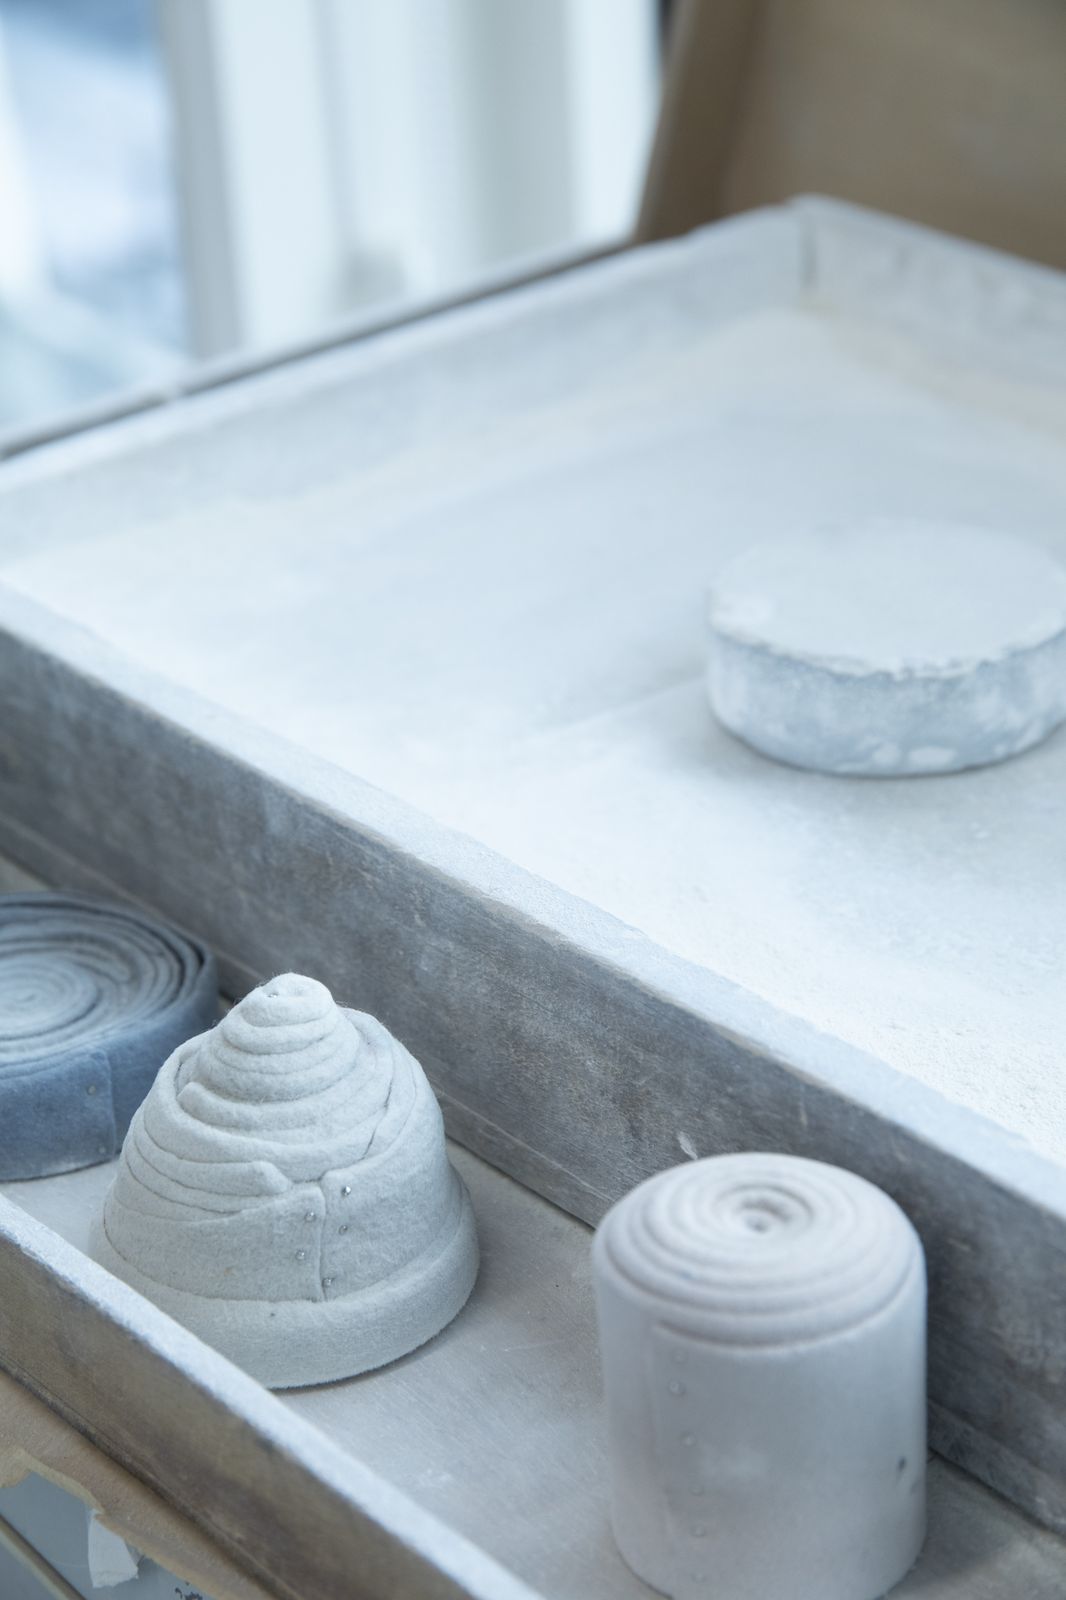
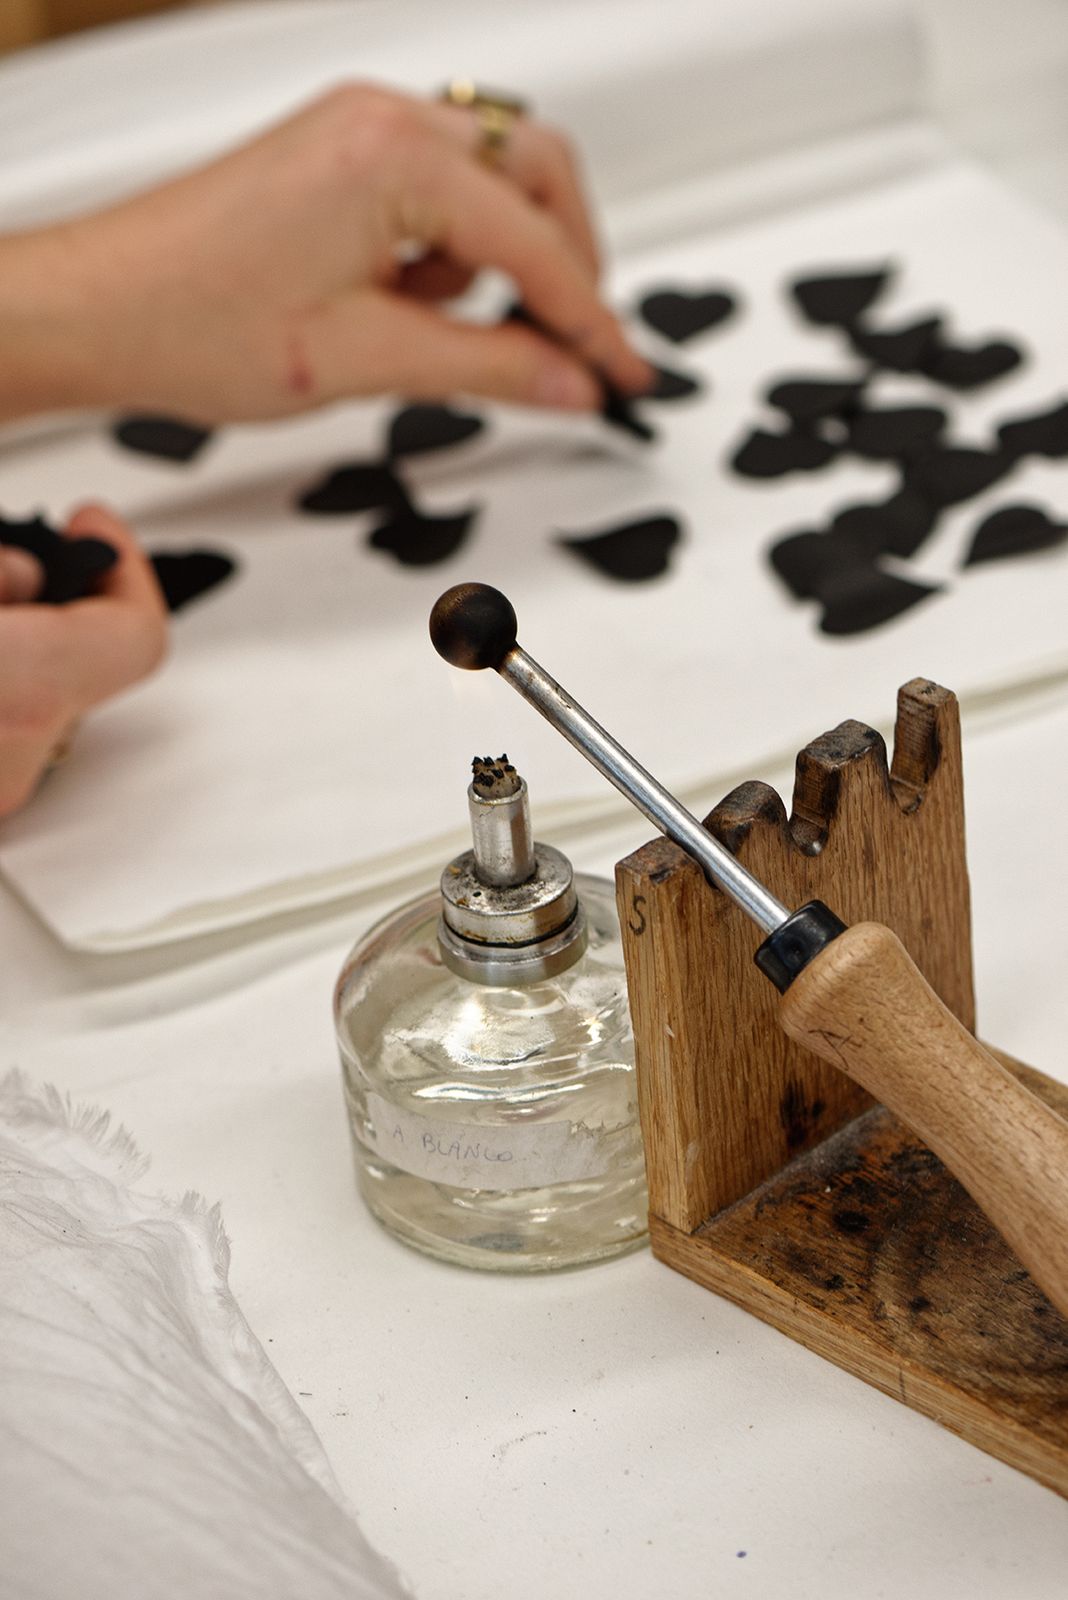
There is also pouncing cloth, which is made directly in the workshops using felt (it is not commercially available and may come from scraps at Maison Michel). The powder is applied to the tracing paper using the pouncing cloth, which allows the entire design to be transferred onto the fabric so that it is more visible.

Lesage & Atelier Montex — 5. Pricking and pouncing
s41_1
s41_2
s41_3

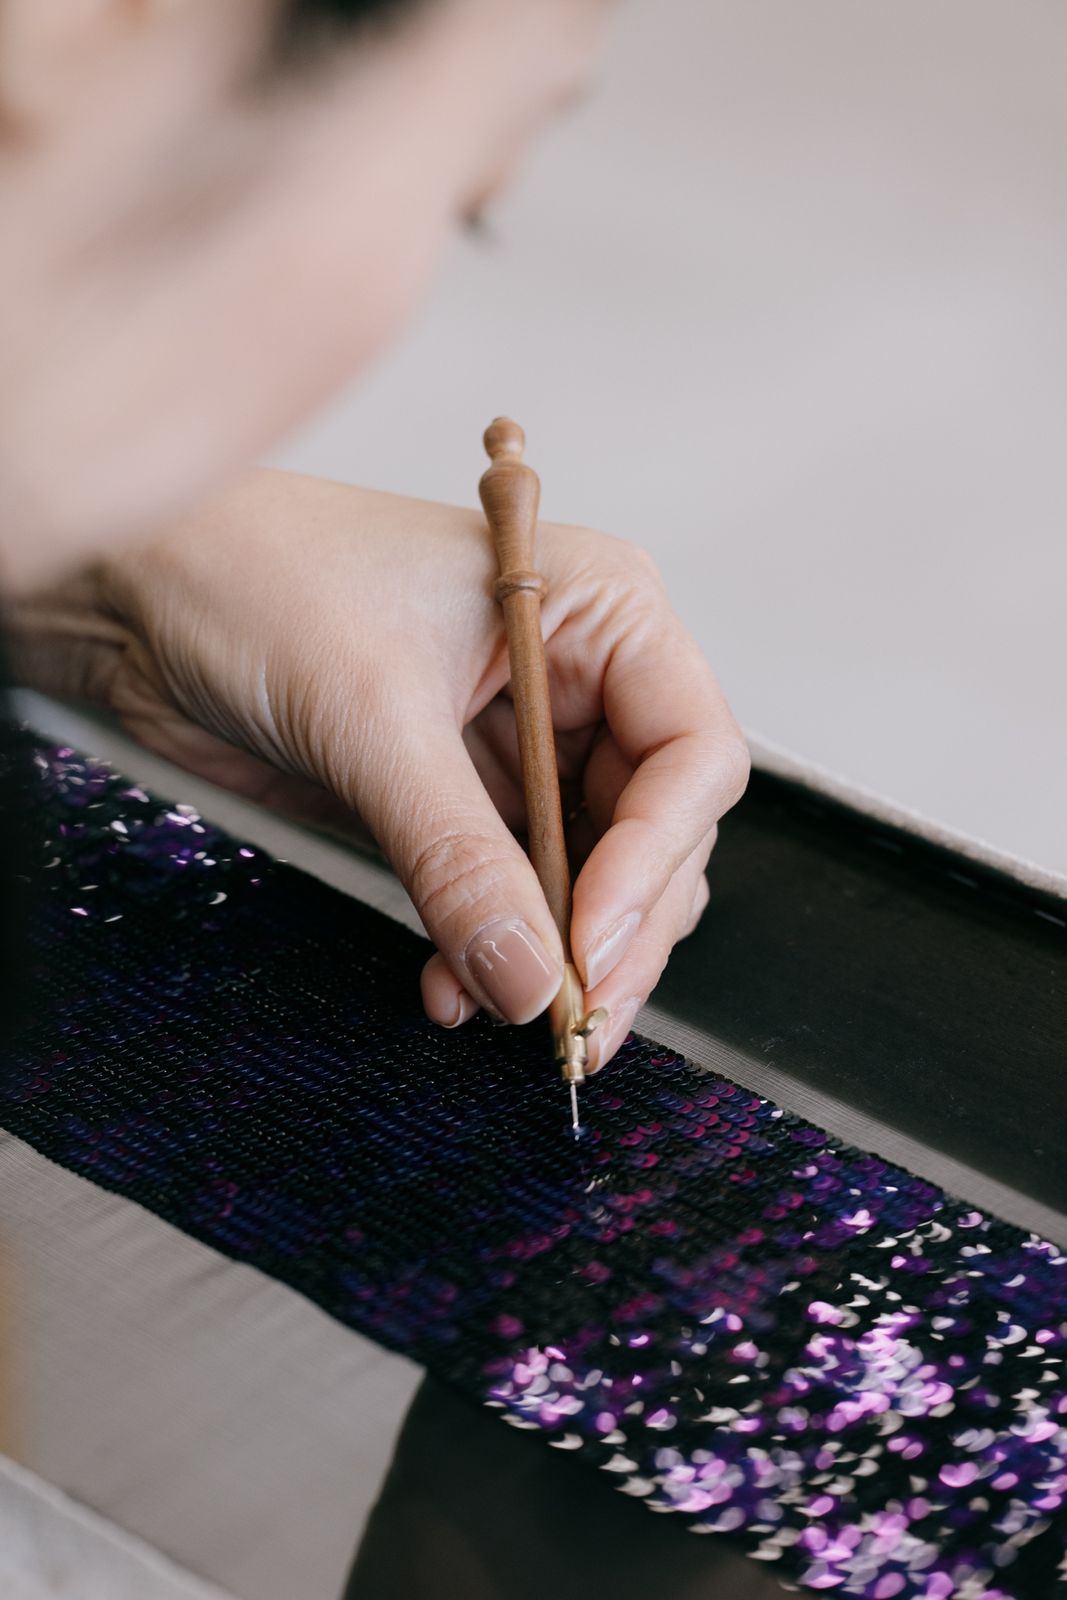
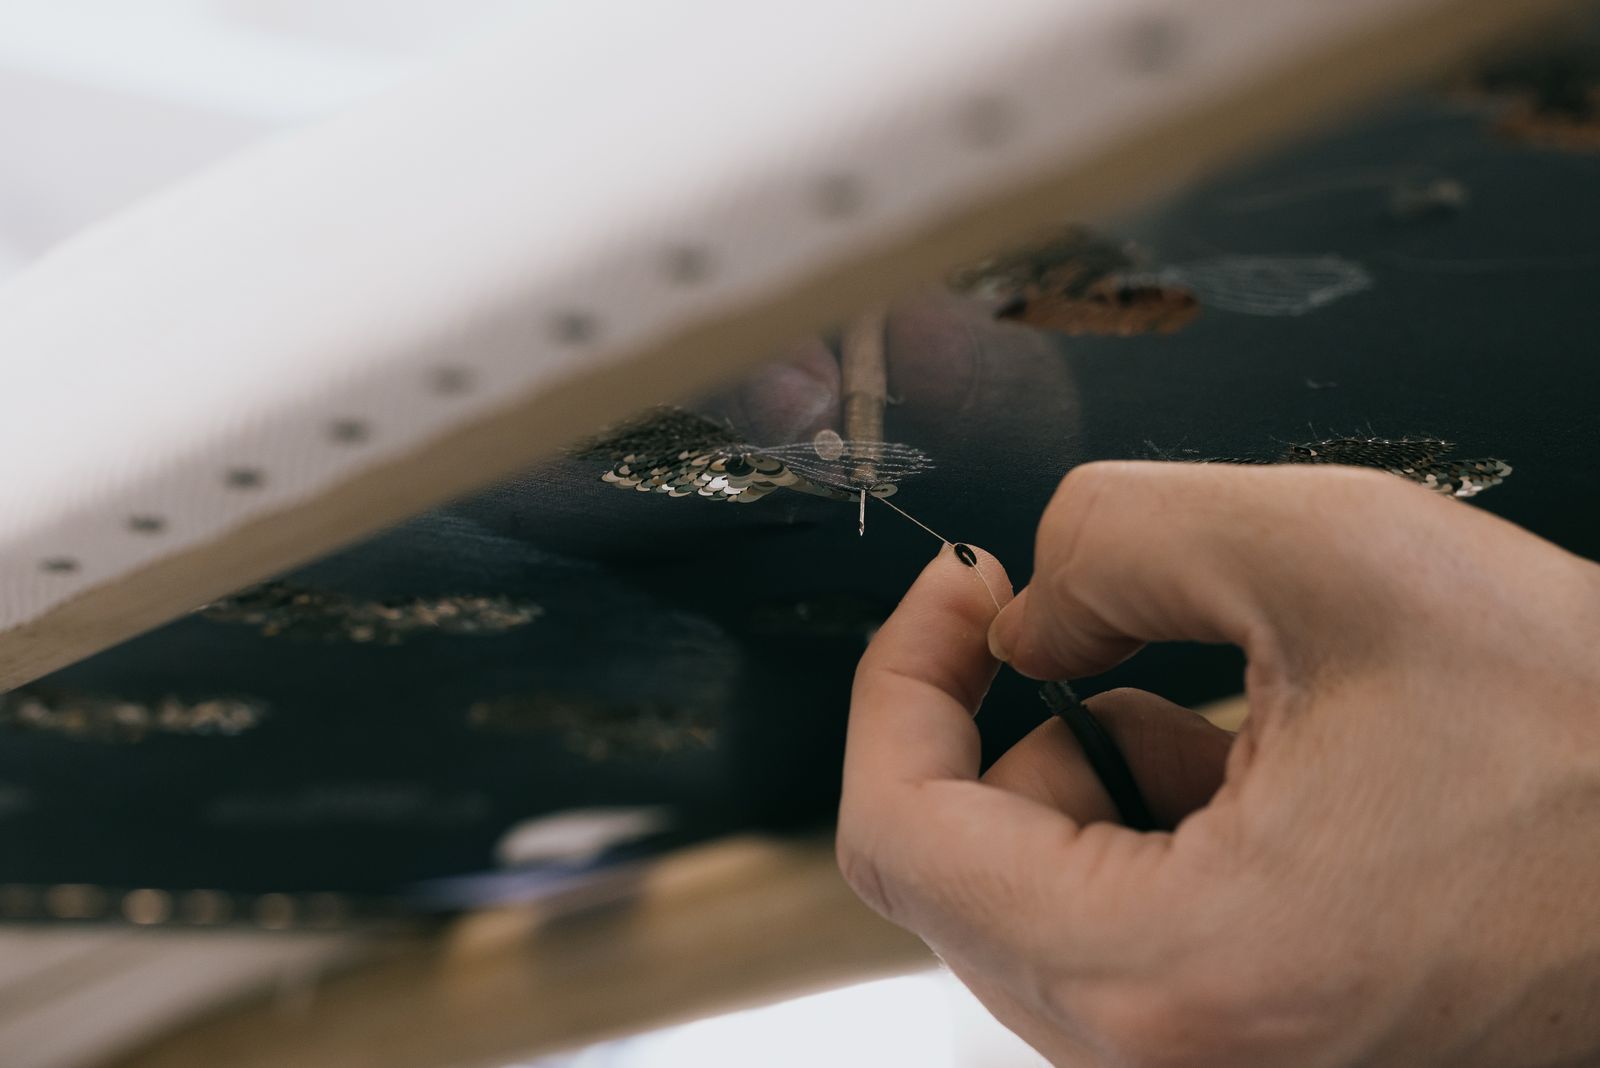
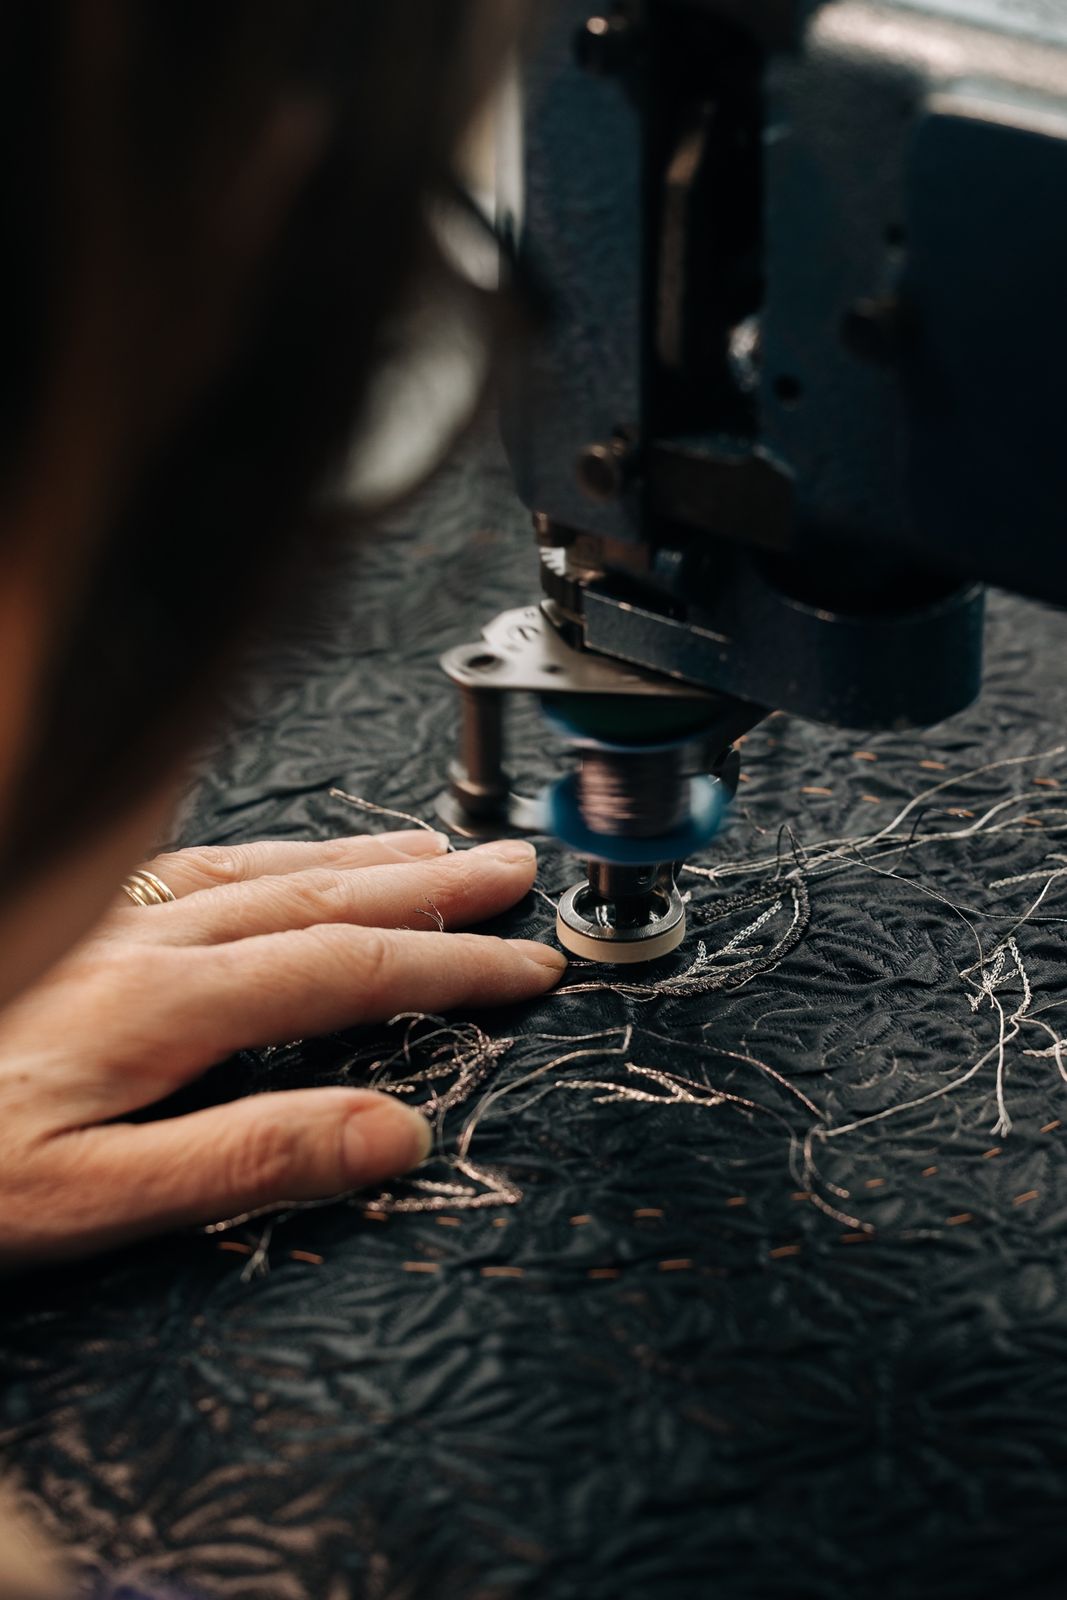
6. Embroidery

There are three types of embroidery, defined by the tools used:

needlework, which is done on the top-side of the fabric.

Lesage & Atelier Montex — 6. Embroidery
s42_1
Lesage & Atelier Montex — 6. Embroidery

6. Embroidery (continued)

Lunéville crochet, which is done on the back of the embroidery frame for greater speed.

Lesage & Atelier Montex — 6. Embroidery
s44_1

6. Embroidery (continued)

Cornely, which is a machine that creates textural effects with different threads. The Cornely is therefore dedicated to working with thread.

Lemarié — hand embossing a camellia petal with the ball tool

The floral designer

Lemarié

1. Sizing

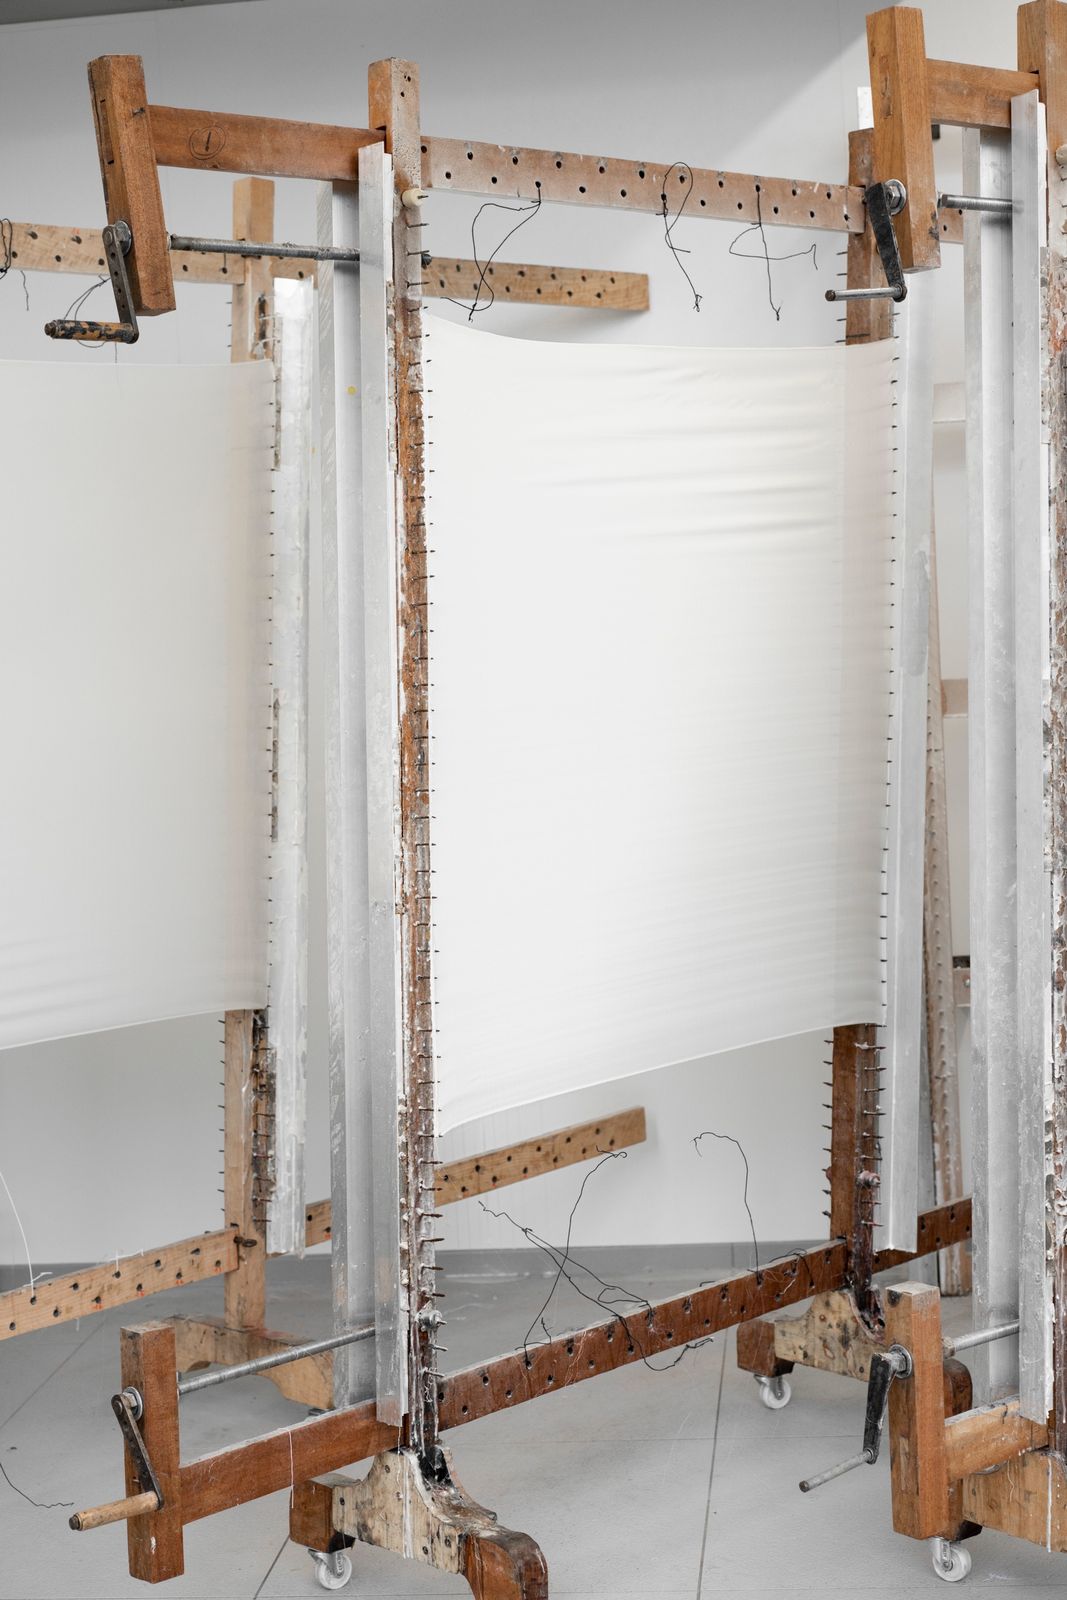
The first step is to prepare the material, i.e. coat it with a liquid that allows the material to stiffen so that it can retain its shape. This is the sizing stage. The fabric is stretched over a large wooden frame called a stretcher frame. The flower artisan coats it with a liquid called “sizing”. This step can be time-consuming because the fabric has to be left to dry after priming. It is thanks to this step that the florist can shape each petal.
Lemarié — 1. Sizing
s46_1

2. Cutting

Once the fabric has dried, it is time for the cutting phase.

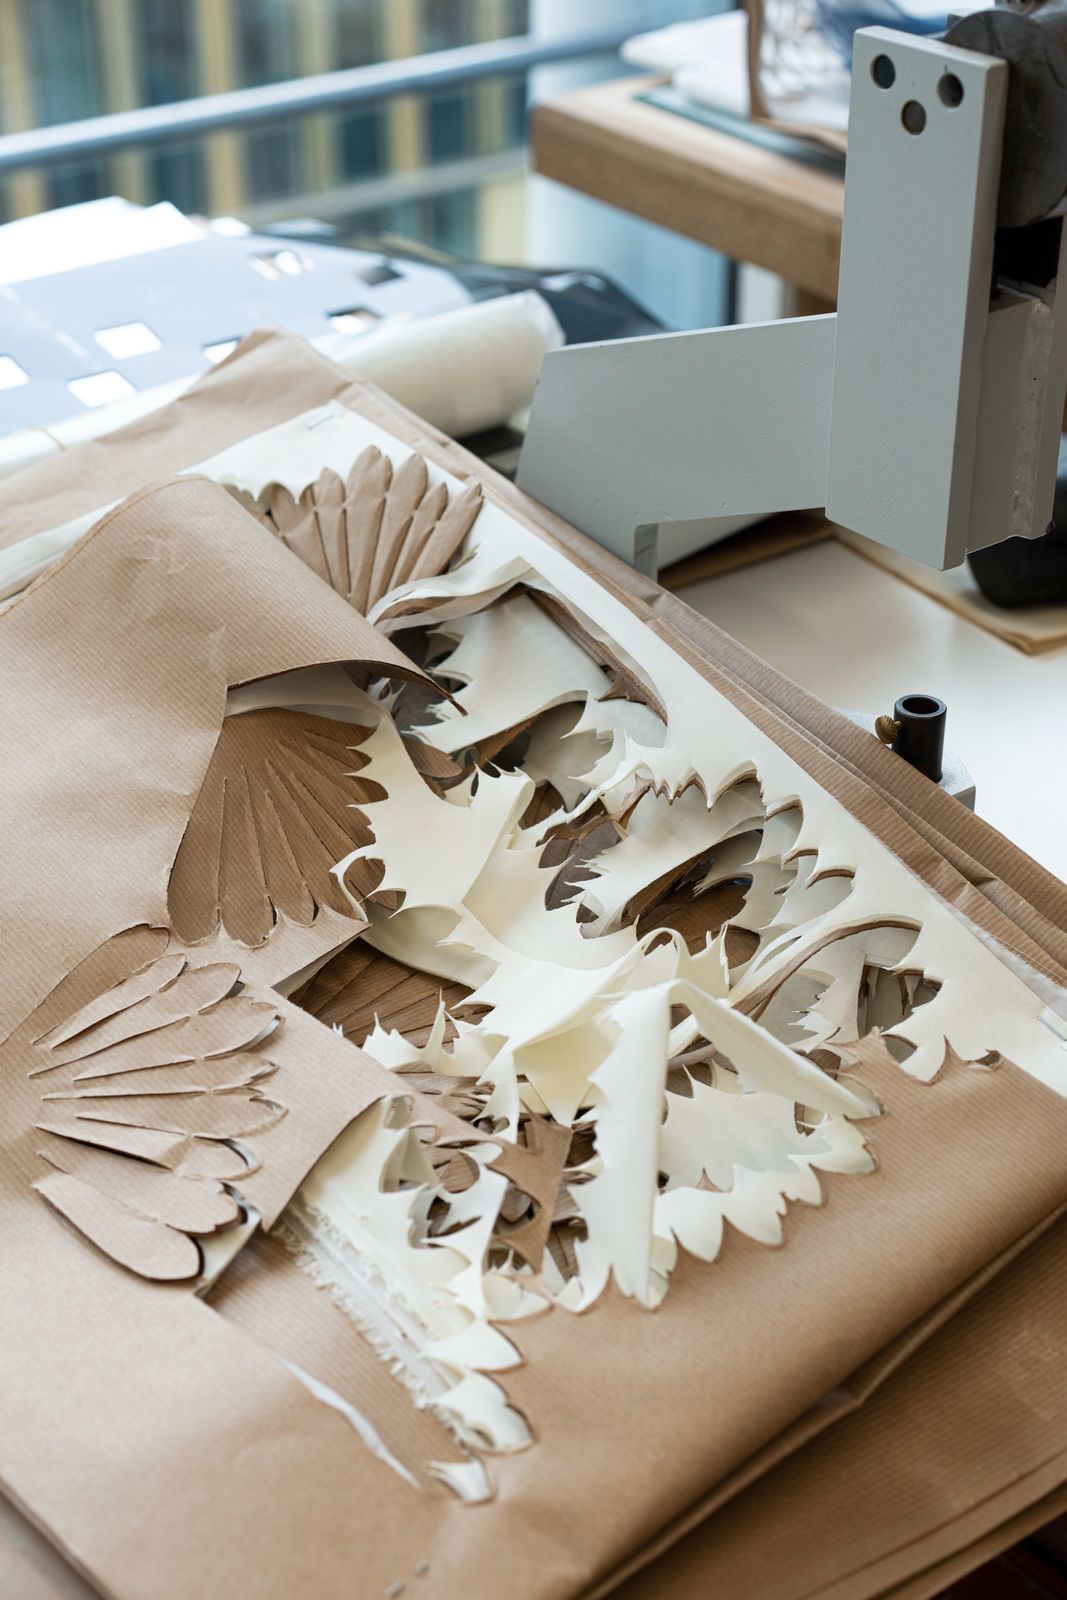
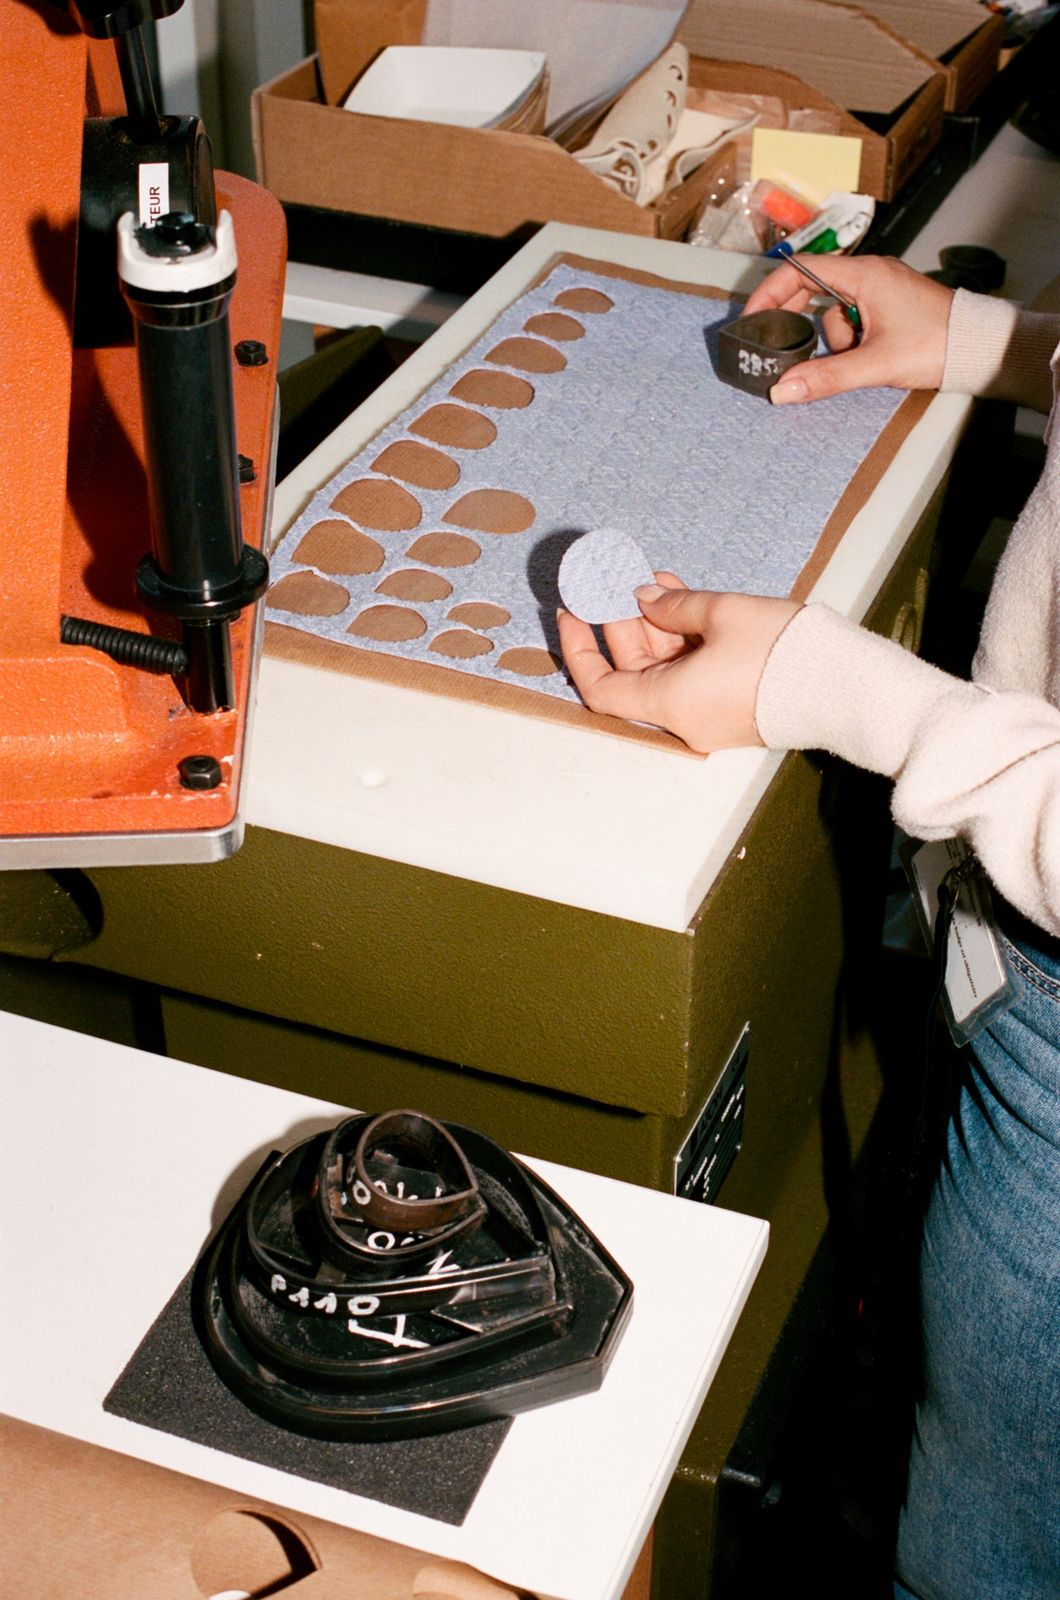
Kraft paper is attached to the back of the fabric, then, using a cutting die (or cutting iron), the desired shape is cut out of the material. Each size has a corresponding cutter die.
Depending on the fabric chosen, it is sometimes preferable to layer different materials. For example, if the fabric is thin, several layers can be stacked and cut at the same time. Different shapes can be cut from the same fabric to optimise its use and avoid waste.

2. Cutting (continued)

Lemarié — 2. Cutting
s48_1
Lemarié — 2. Cutting
s48_2
Lemarié — 2. Cutting
s48_3
Lemarié — 3. Embossing
s49_1

3. Embossing

The petals are placed in a dampened blotting paper, known as the “humide” to soften the size. They are then embossed to give them volume and a more natural shape. At this stage, there are two types of embossing: press embossing and hand embossing.

3. Embossing (continued)

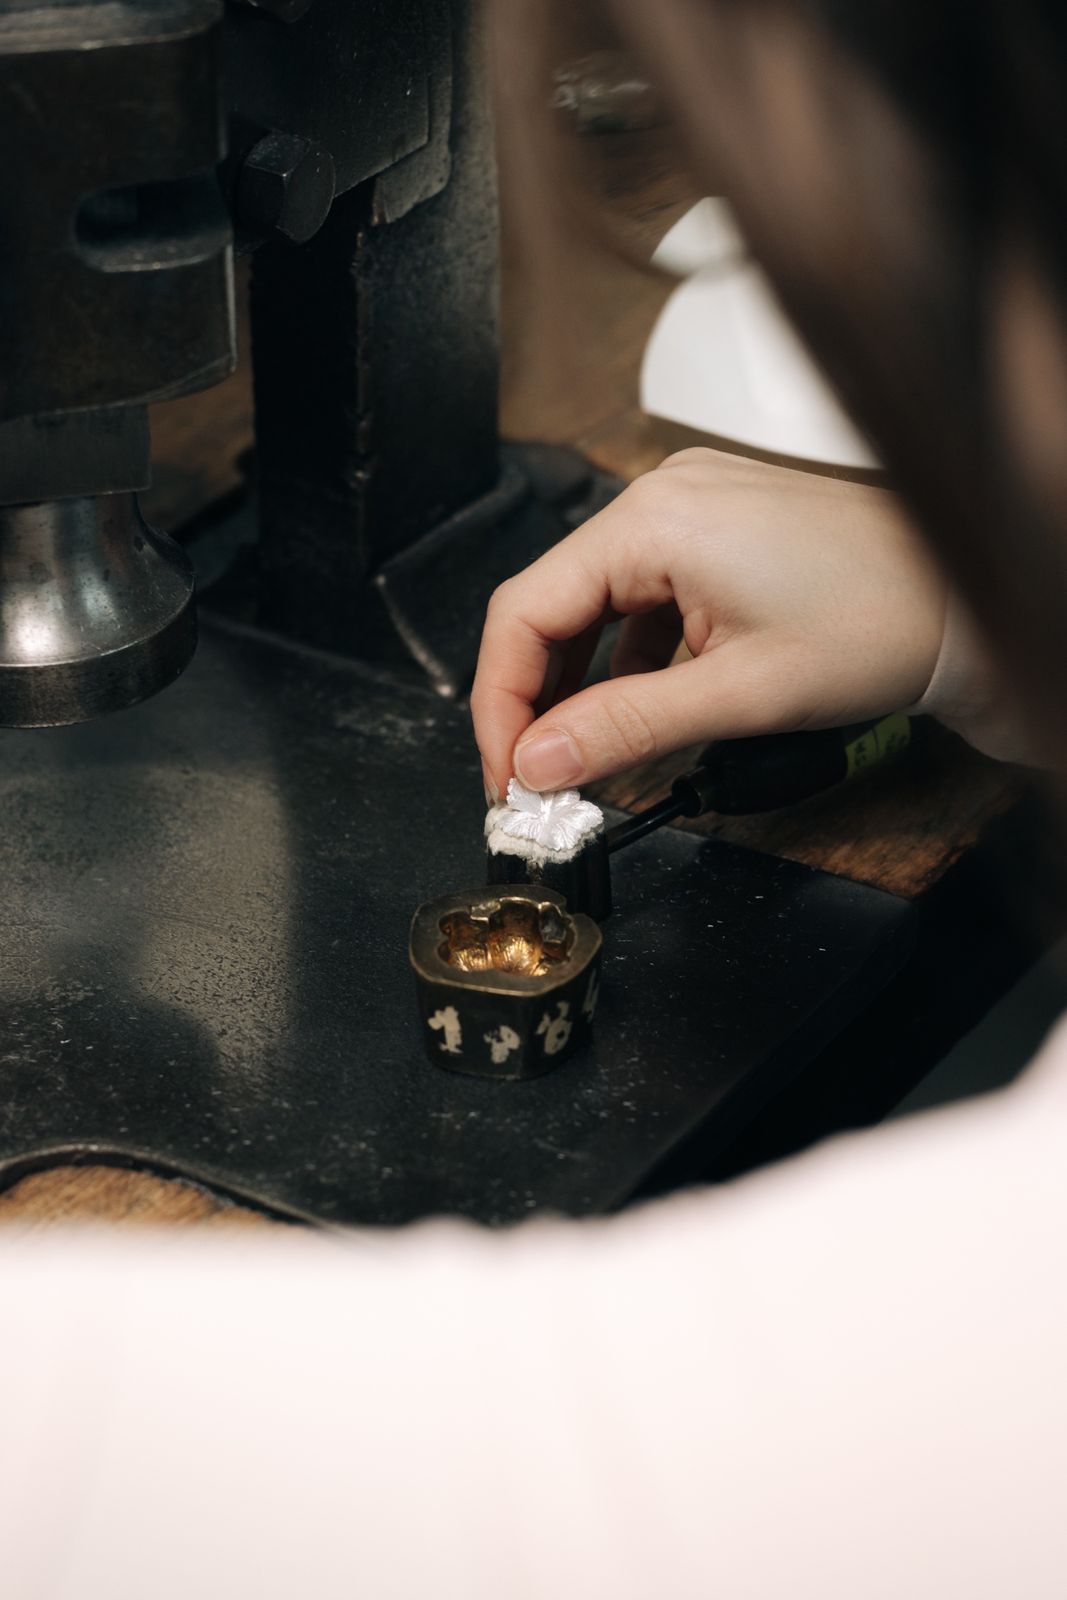
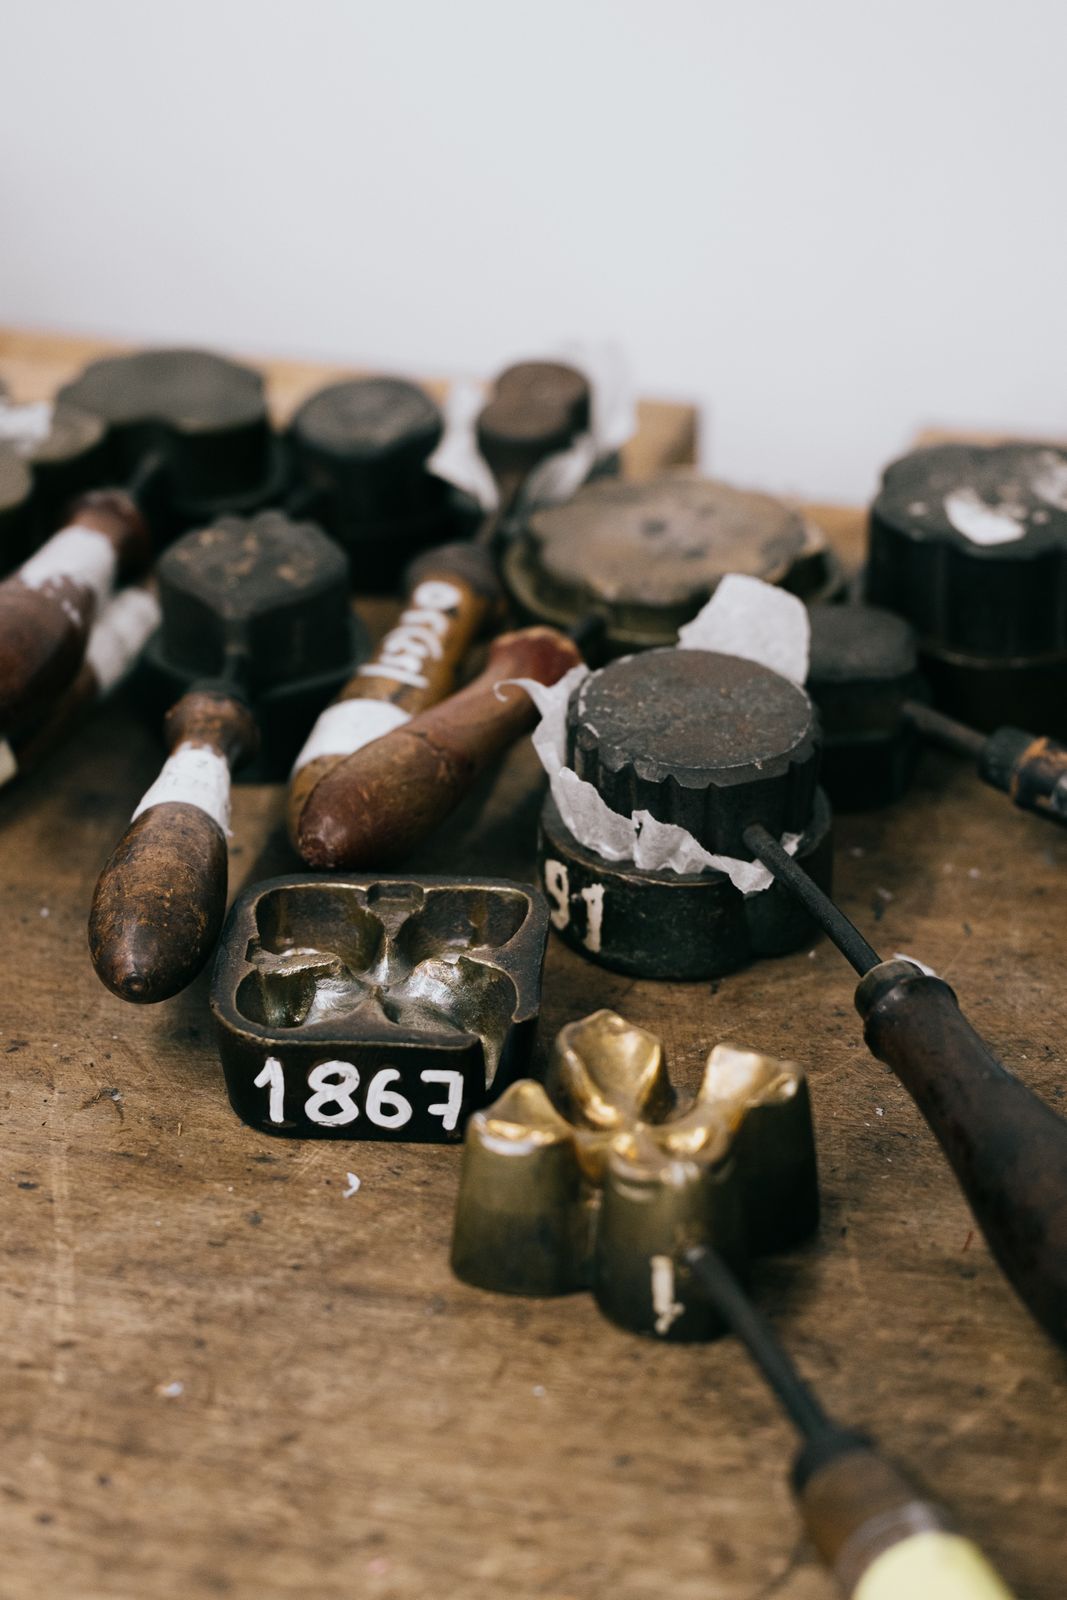
Press embossing is carried out using a tool called a gaufroir (embossing press), which is made up of two parts. For this technique, the cut fabric is placed inside the embosser, or on the cavity, and the tool is closed. The embosser is then placed on the plate of a press, which heats and presses the tool—and thereby the cut-out—giving it the veins and desired shape from the cavity of the gaufroir. This type of embossing is mainly used for foliage. The gaufroirs at Maison Lemarié have been moulded from real leaves, revealing all their veins for a very realistic effect.

Lemarié — 3. Embossing
s50_1
Lemarié — 3. Embossing
s50_2
s51_1
Lemarié — 3. Embossing
s51_2

3. Embossing (continued)

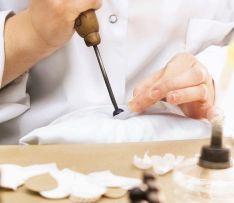
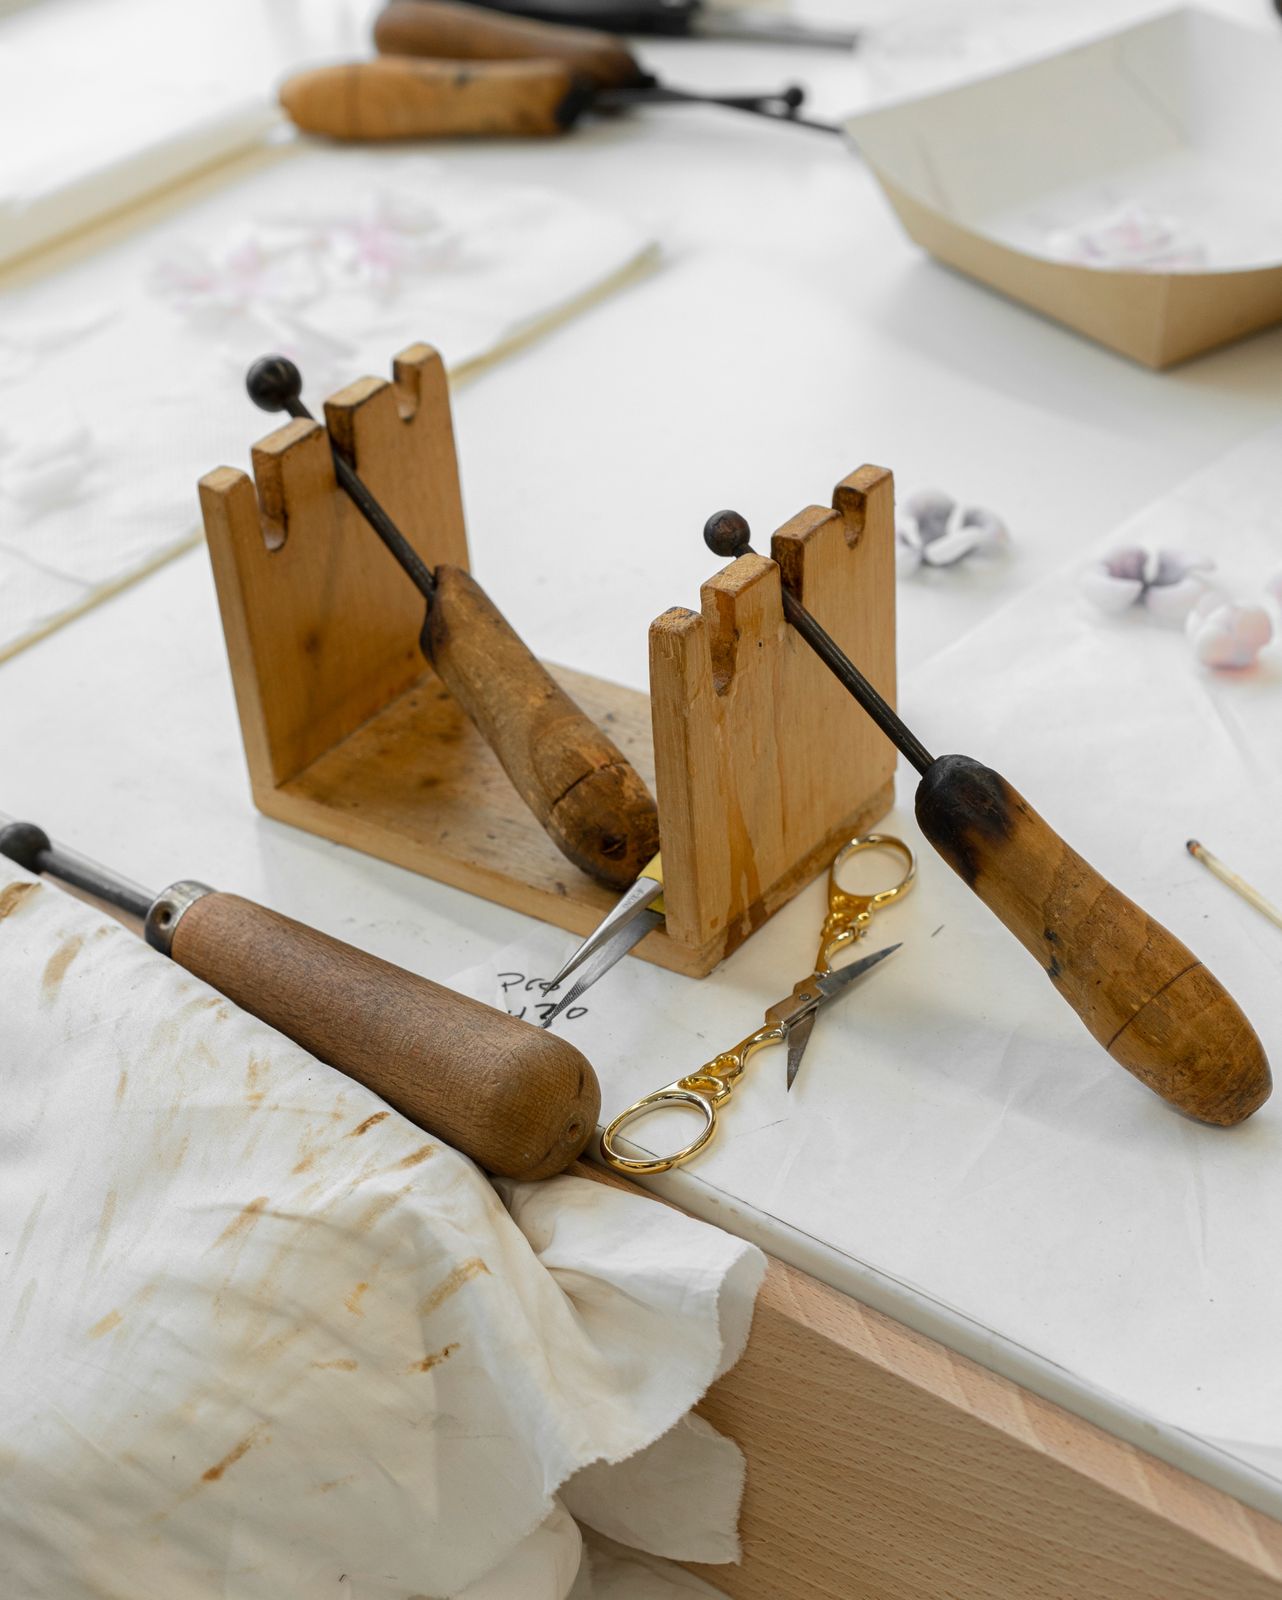
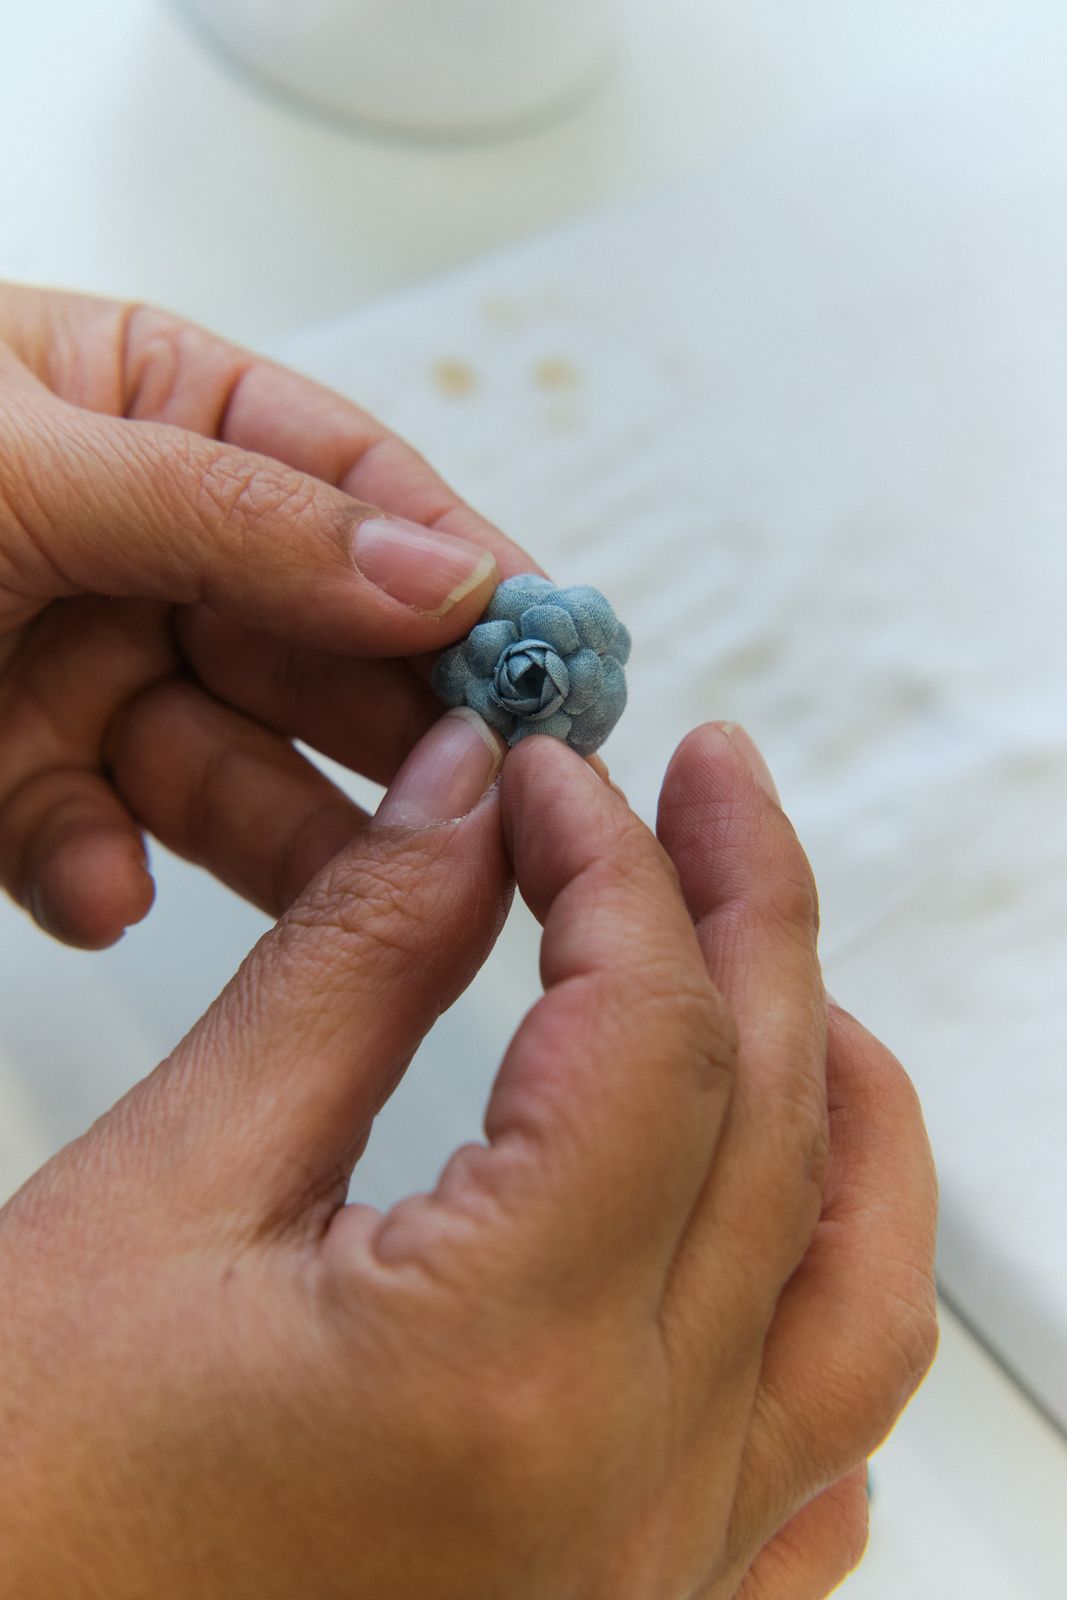
For larger flowers, the artisans use hand embossing, such as for creating a camellia. For this technique, the tool used is called a ball tool. Three ball sizes can be seen here. As you can see, the handles are quite old. These tools are passed down from one artisan to another.
Embossing is done by pressing the petal onto a small cushion, while applying circular pressure with the tool to give it its characteristic rounded shape. This technique takes time to master: it is often said that it takes at least five years of practice to become an expert flower maker.

3. Embossing (continued)

Lemarié — 3. Embossing
s52_1
Lemarié — 3. Embossing
s52_2
Lemarié — 3. Embossing
s52_3

4. Assembly

The assembly is carried out around a brass stem. The petals are placed one by one around the stamen at the centre of the flower. The glue is left to dry for several hours before the final touches are added: the foliage is attached and the brass stem is wrapped with silk thread, paper, and Gutta (a thick, colourless substance used to define the contours). Flower makers mainly work with textiles, but they may also use other materials such as feathers, horsehair, or paper.

s53_1
Lemarié — 4. Assembly
s53_2
Lemarié — 4. Assembly
s53_3

5. Finishing

The brooch is sewn onto a circular backing and then placed on the back of the camellia. The pin fitting is positioned in a specific way.

Lemarié — 5. Finishing
s54_1
Lognon — a pleating loom fresh from the kiln

The pleating

Lognon

1. Pleating loom creation

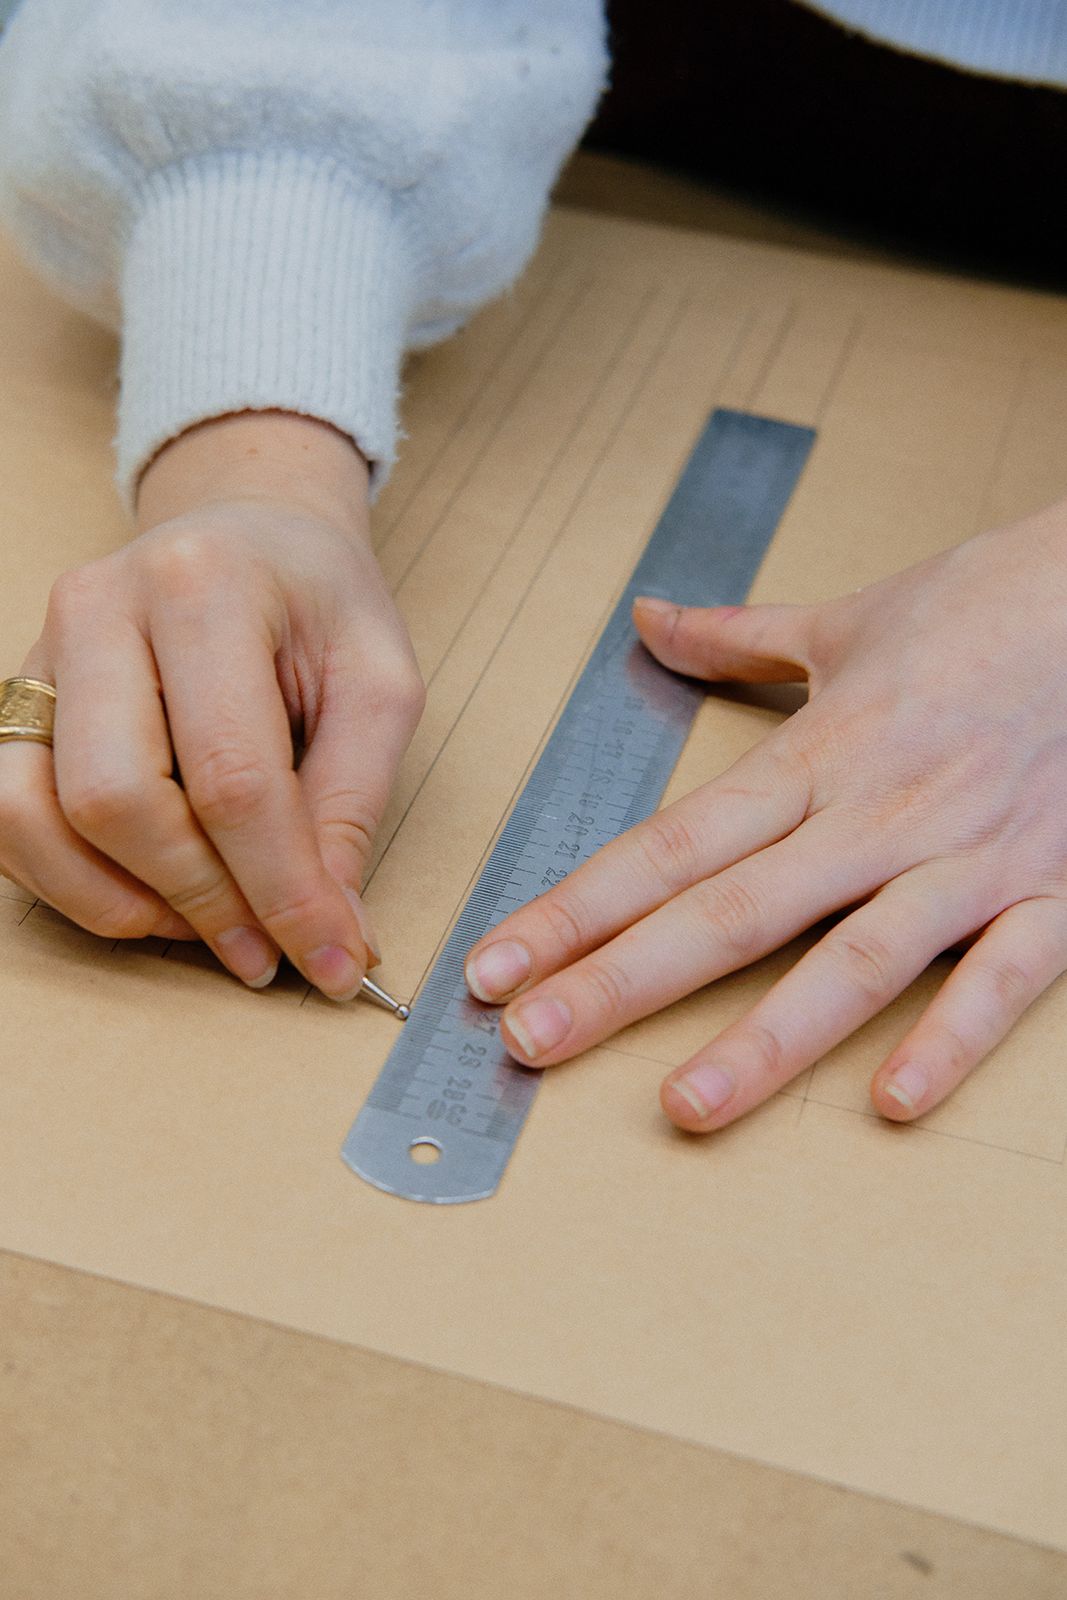
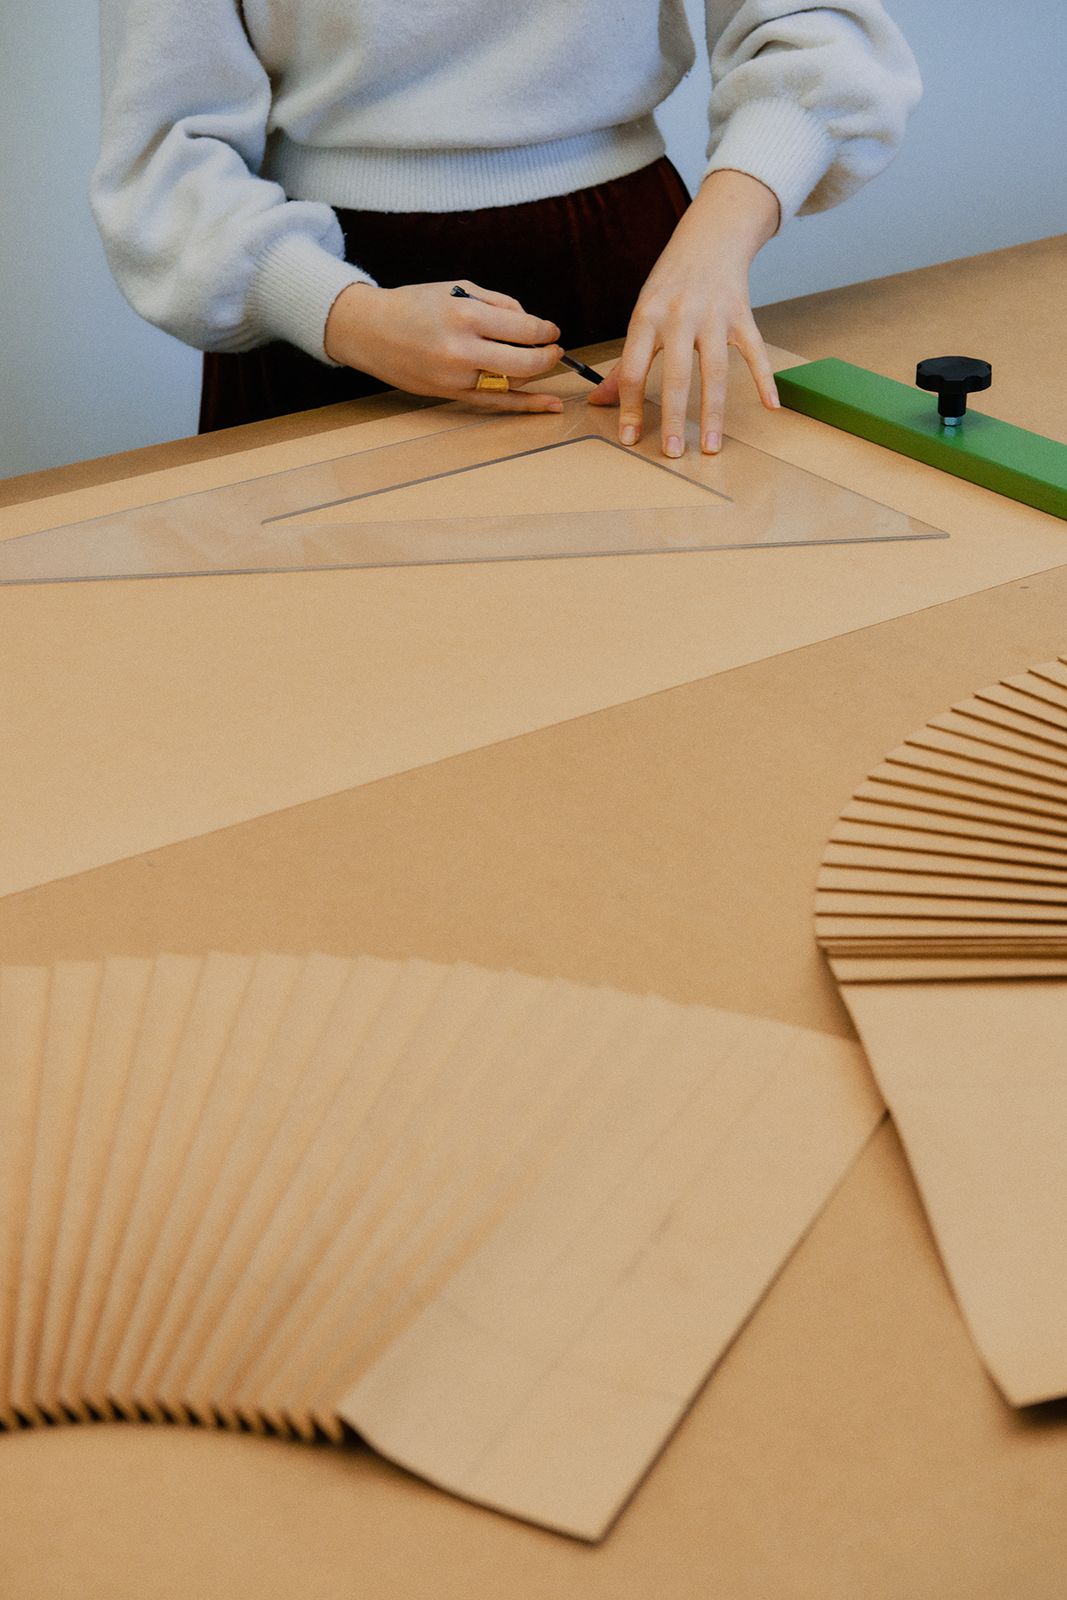
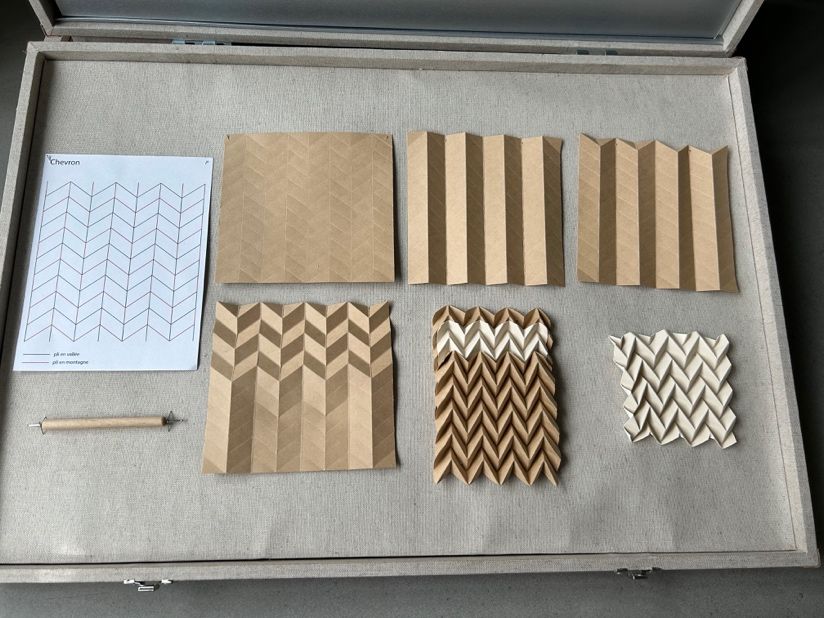
The first step is to produce the diagram. The diagram is a map indicating the direction of the folds. There are two types: valley folds and mountain folds.

Based on this diagram, the lines are printed and creased directly onto the loom. Today, thanks to new technology, this work has been simplified. Previously, everything was done by hand, from embossing to creasing, using the tools you can see here. On many of the old looms in the Lognon workshops, the lines drawn in pencil are still visible.

Lognon — 1. Pleating loom creation
s56_1
Lognon — 1. Pleating loom creation
s56_2
Lognon — 1. Pleating loom creation
s57_1

1. Pleating loom creation (continued)

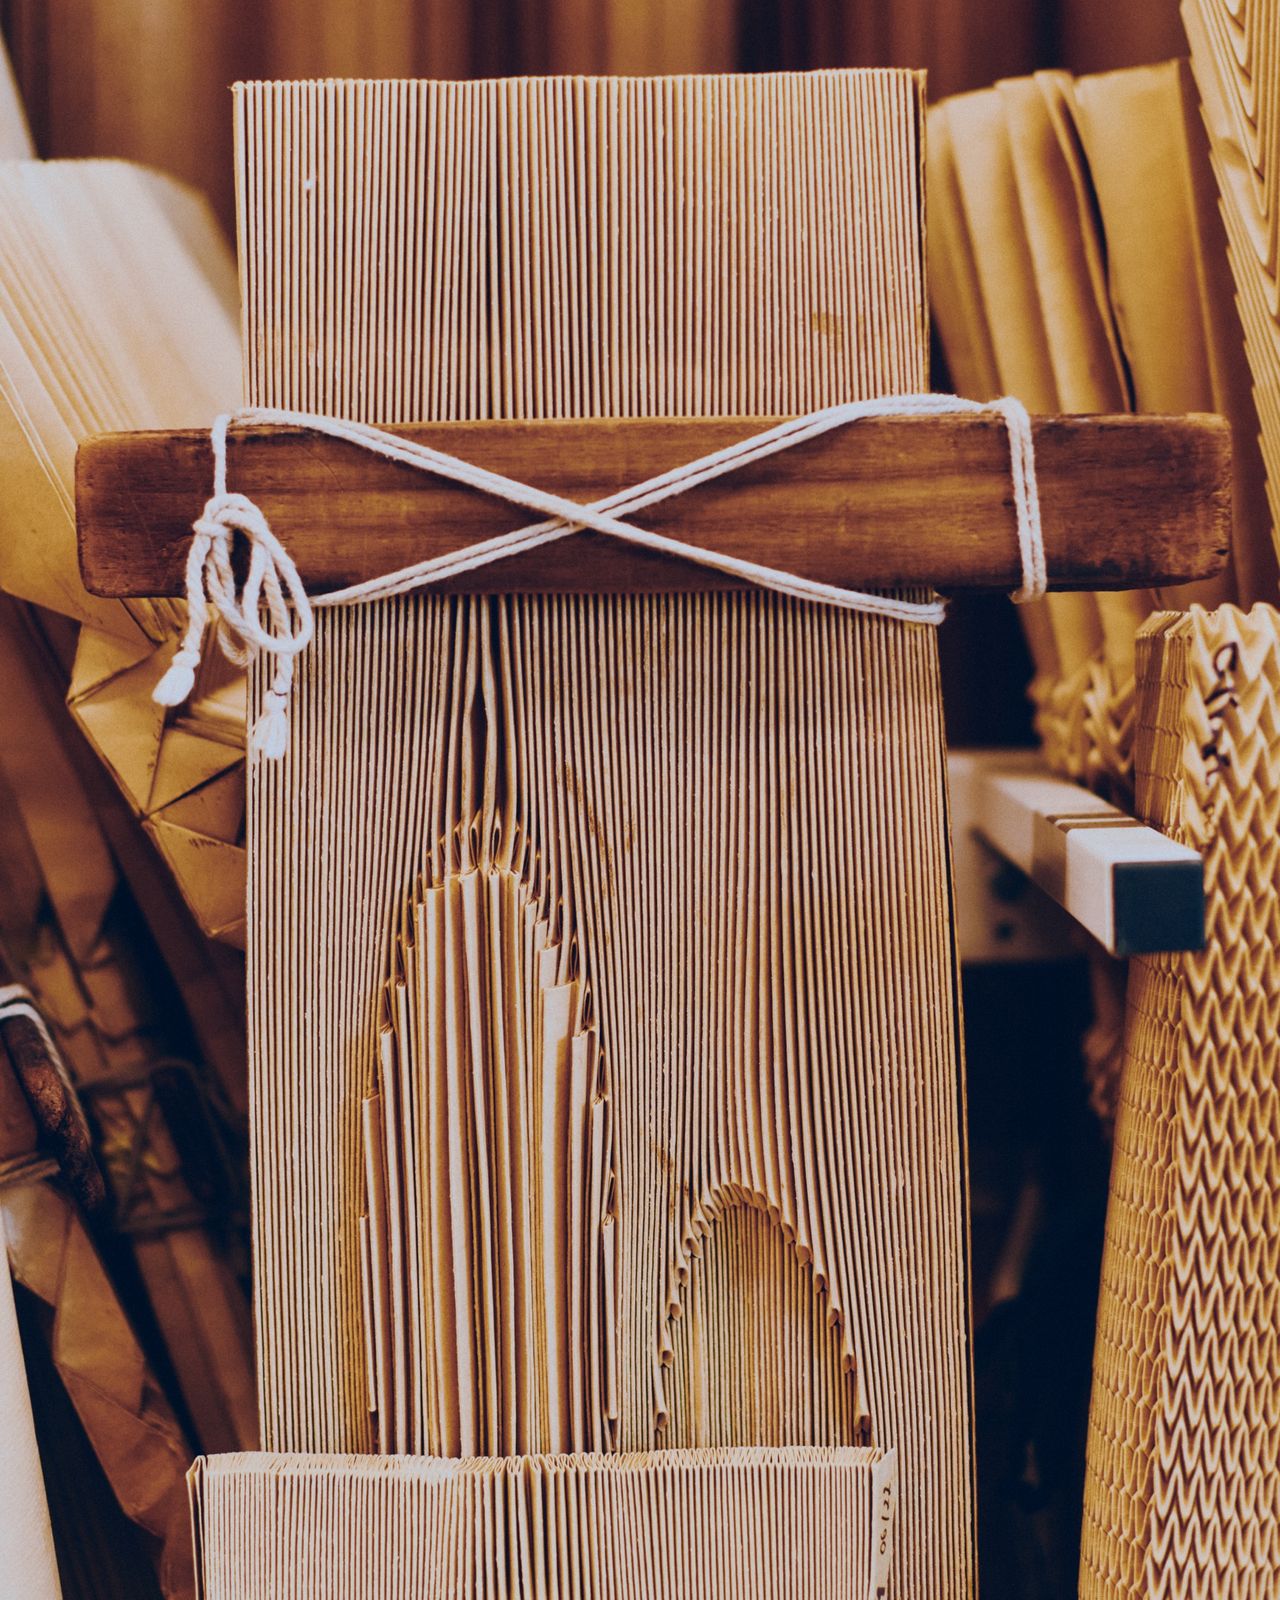
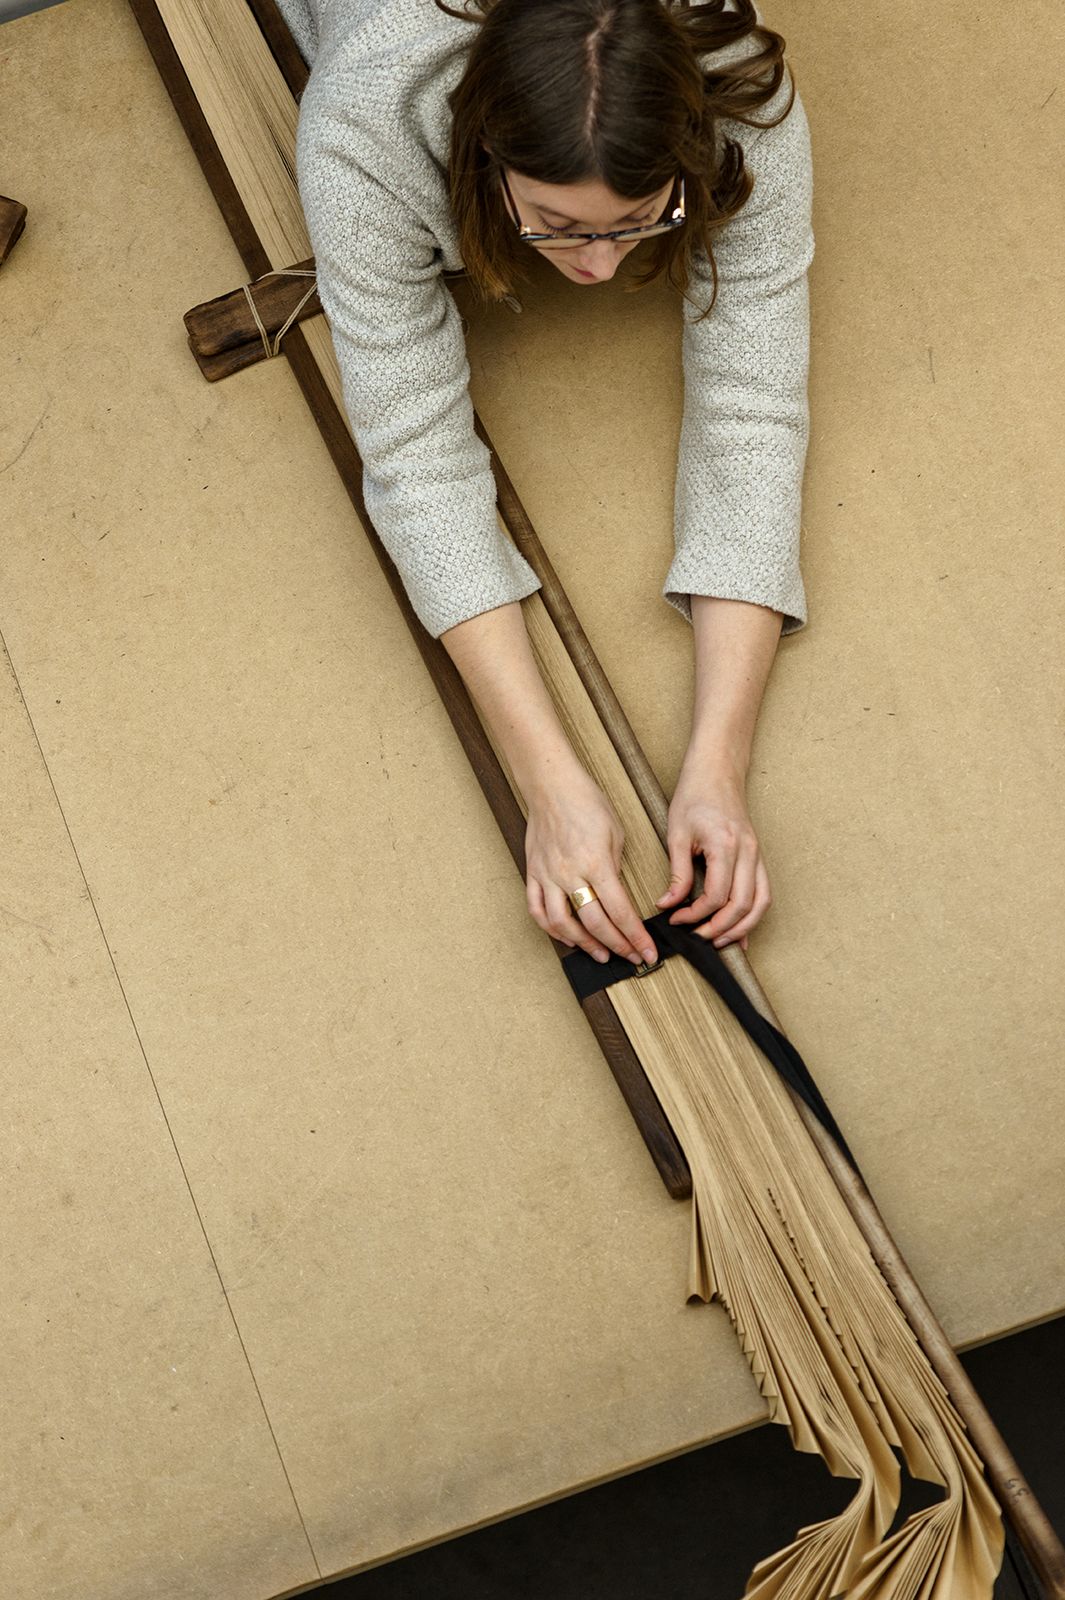
Once the lines have been drawn and creased, they are broken by hand one by one to create folds. The large parallel lines, called “accordions”, are the first to be folded. Then it is the turn of the perpendicular lines, across the entire surface of the loom.

1. Pleating loom creation (continued)

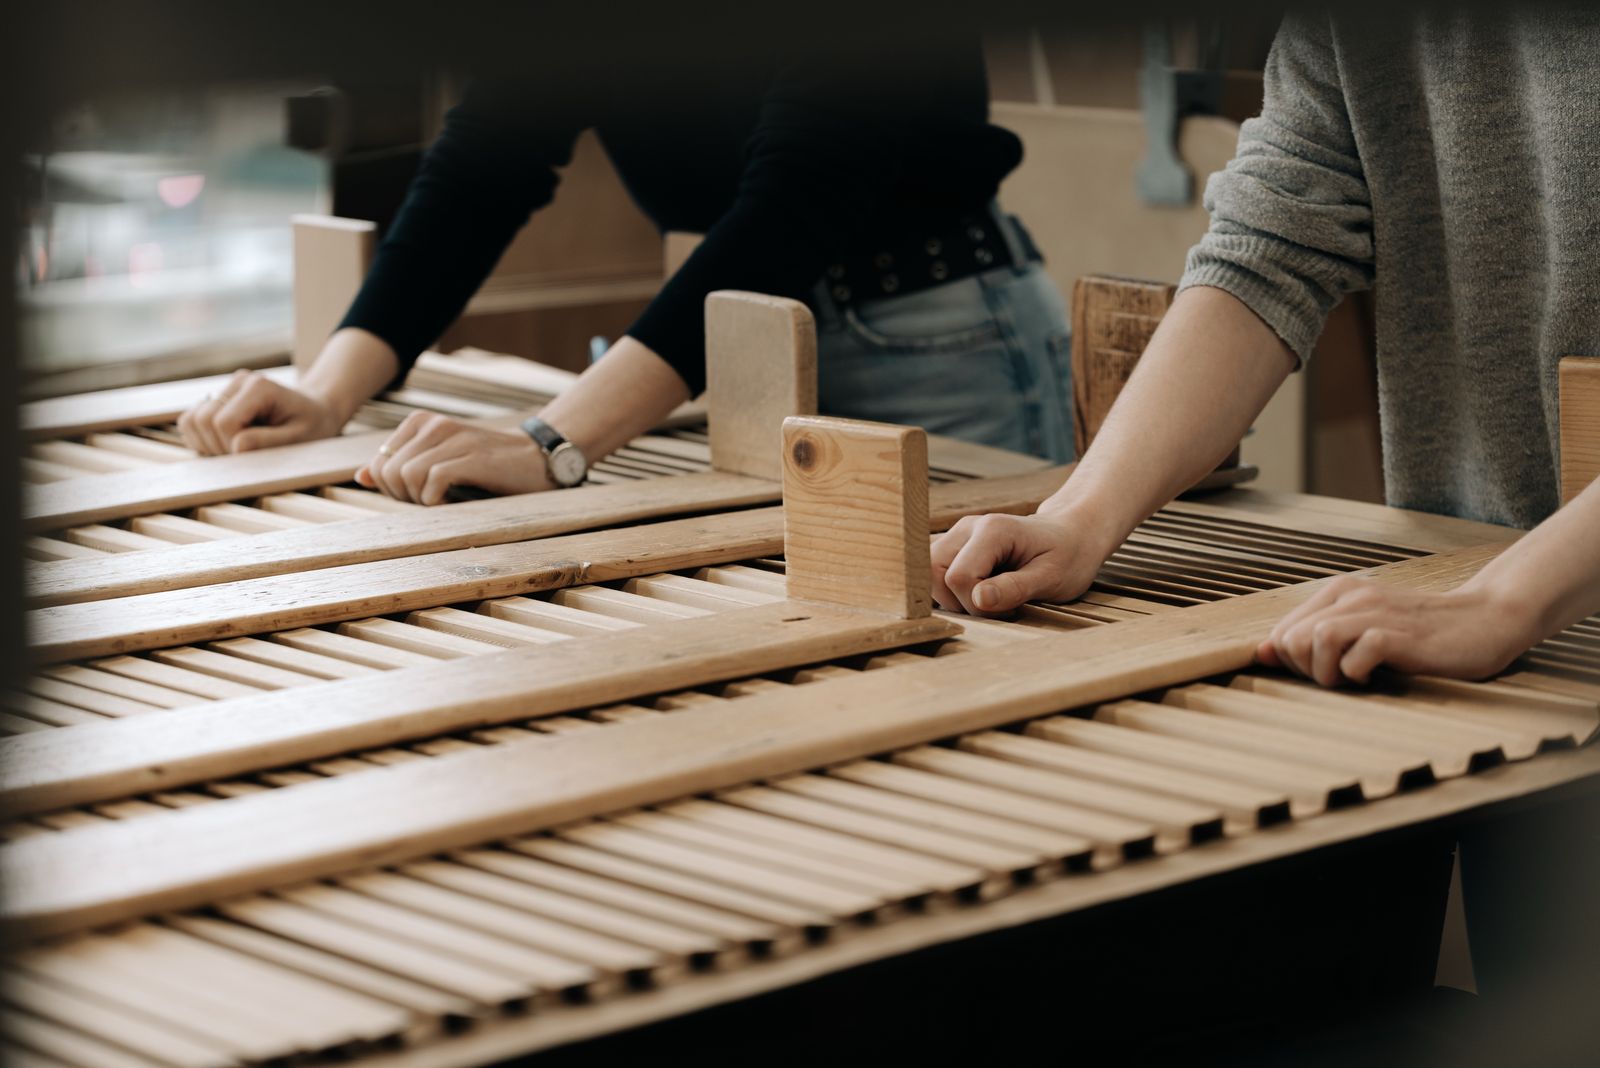
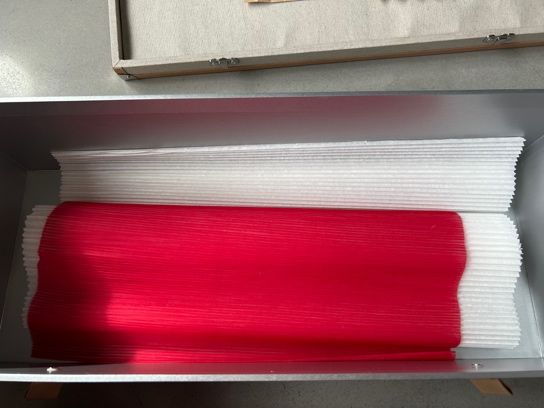
After breaking and pleating all the lines on the first board, this process must be repeated on a second board, as two identical copies are needed to make a pleat. A loom consists of two layers of cardboard folded in the same way so that the fabric can be enclosed inside it.

s58_1

A loom consists of two layers of cardboard folded in the same way so that the fabric can be enclosed inside it.

Lognon — 1. Pleating loom creation
s59_1

1. Pleating loom creation (continued)

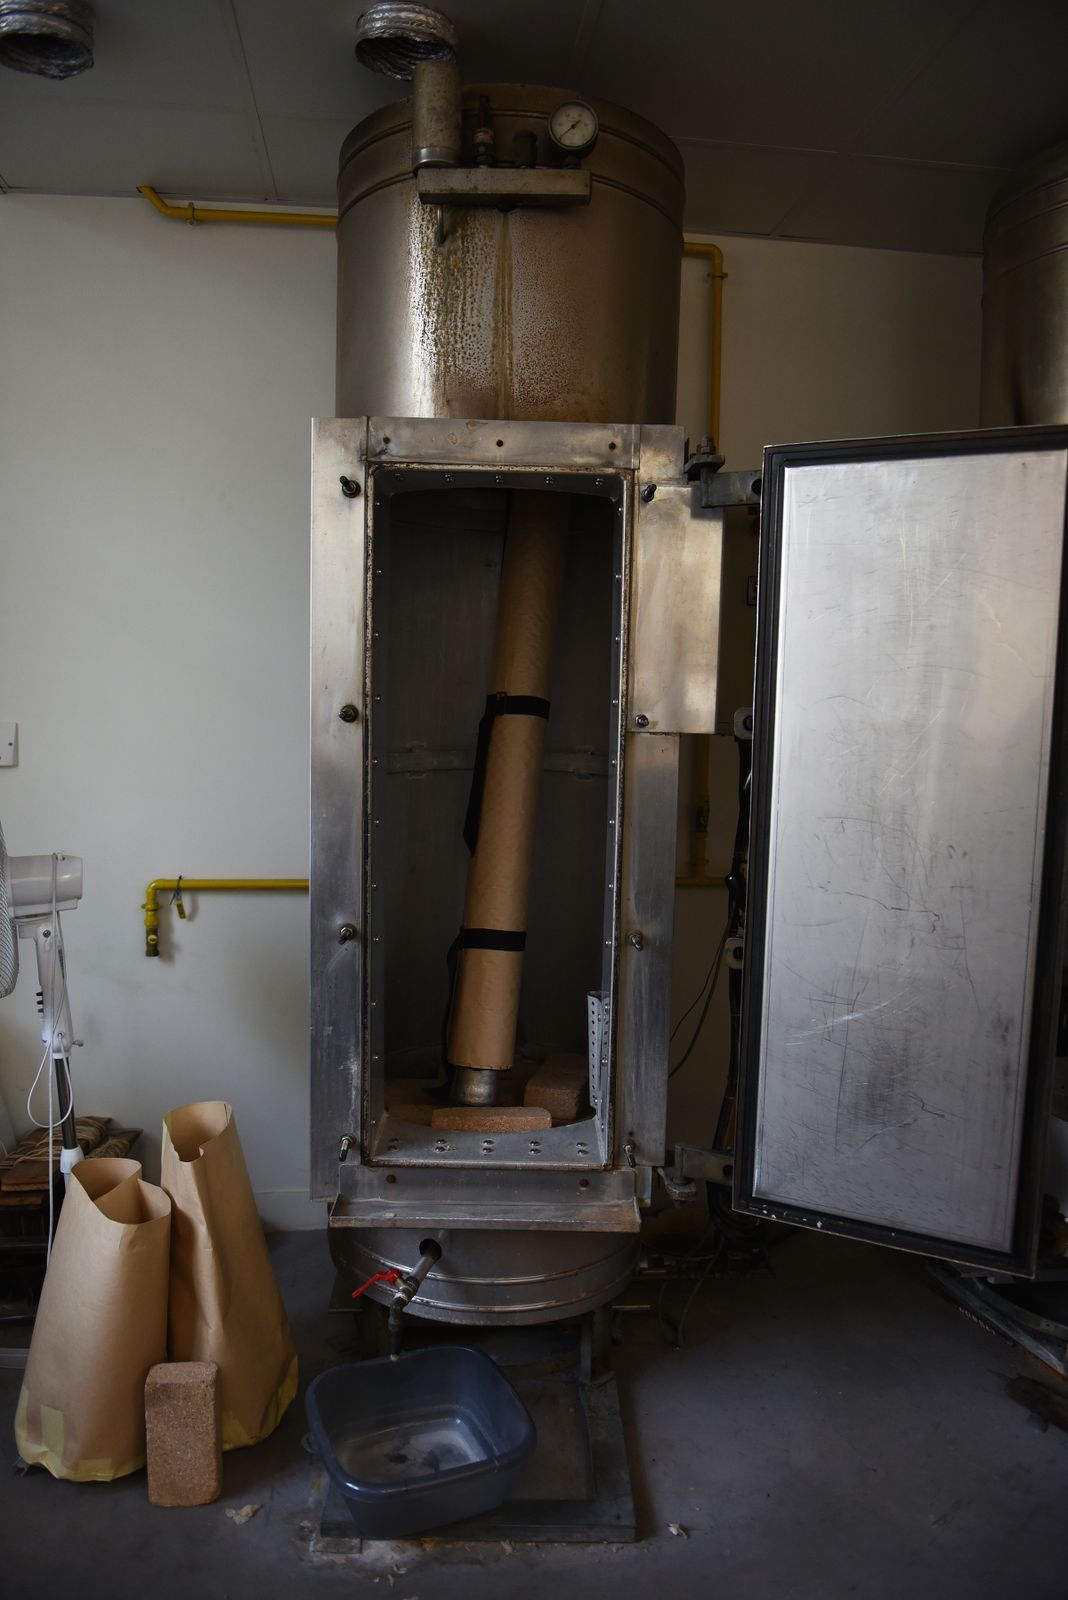
Once the loom has been passed through a kiln to soften it (heat + steam), it is weighted down for a period of several days to several weeks.

2. Fabric pleating

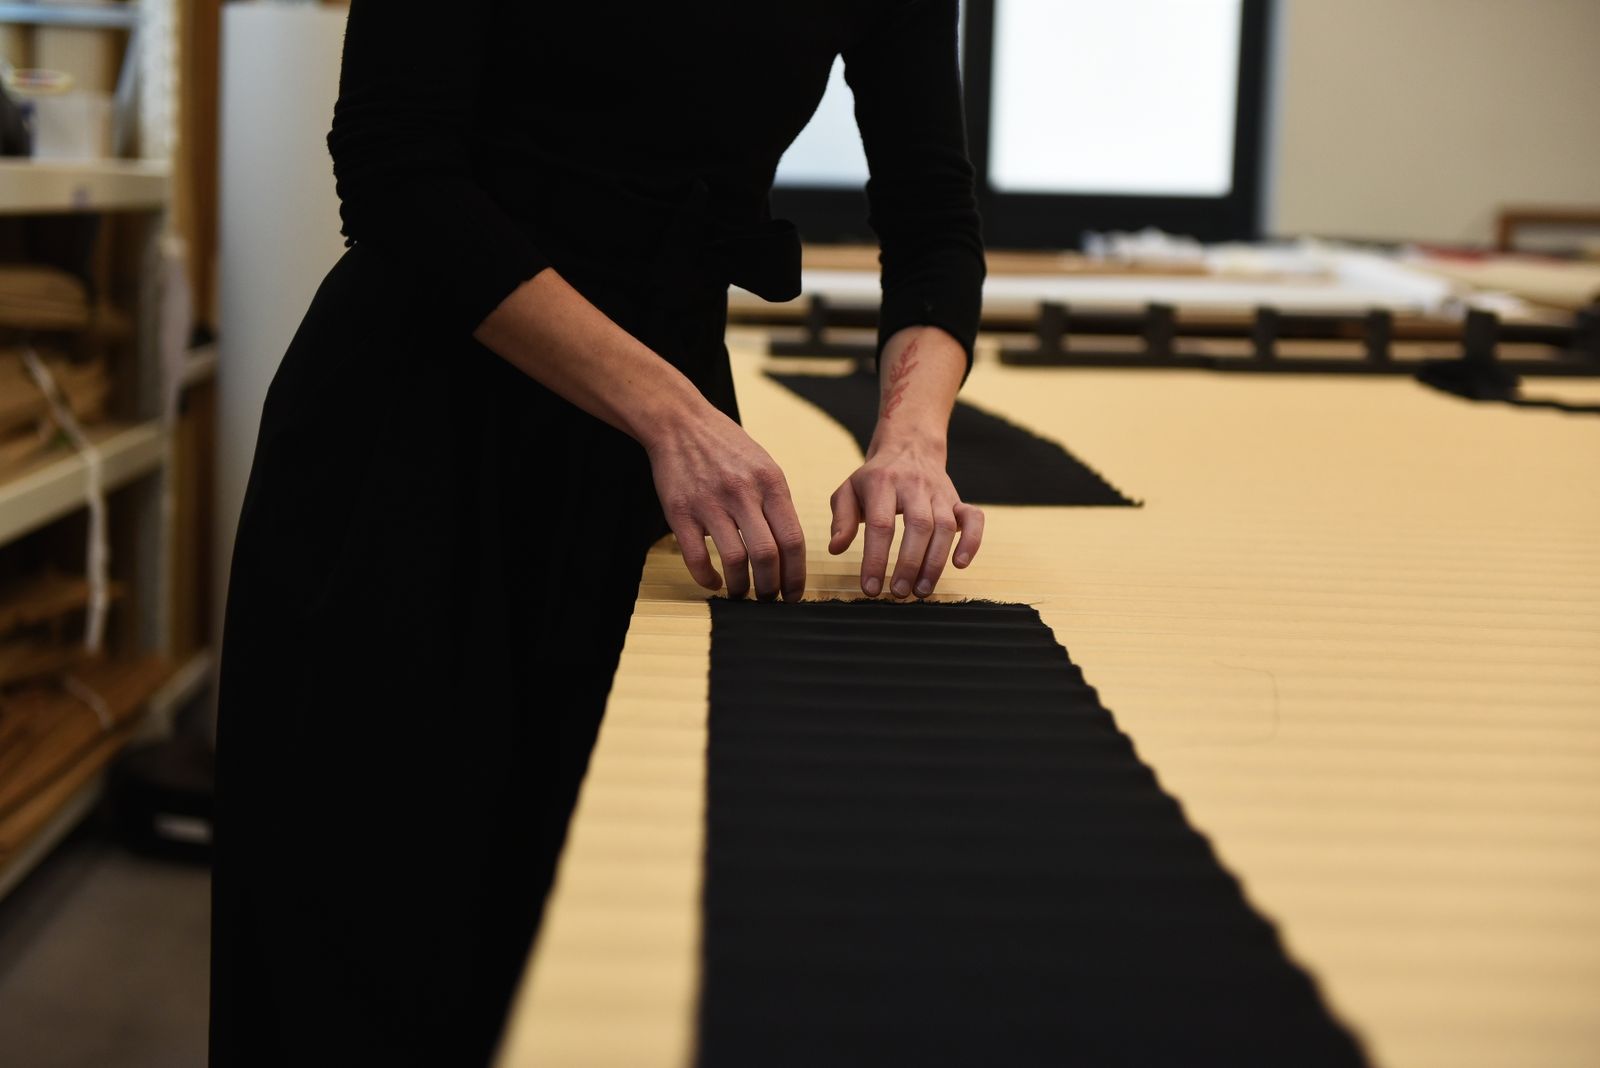
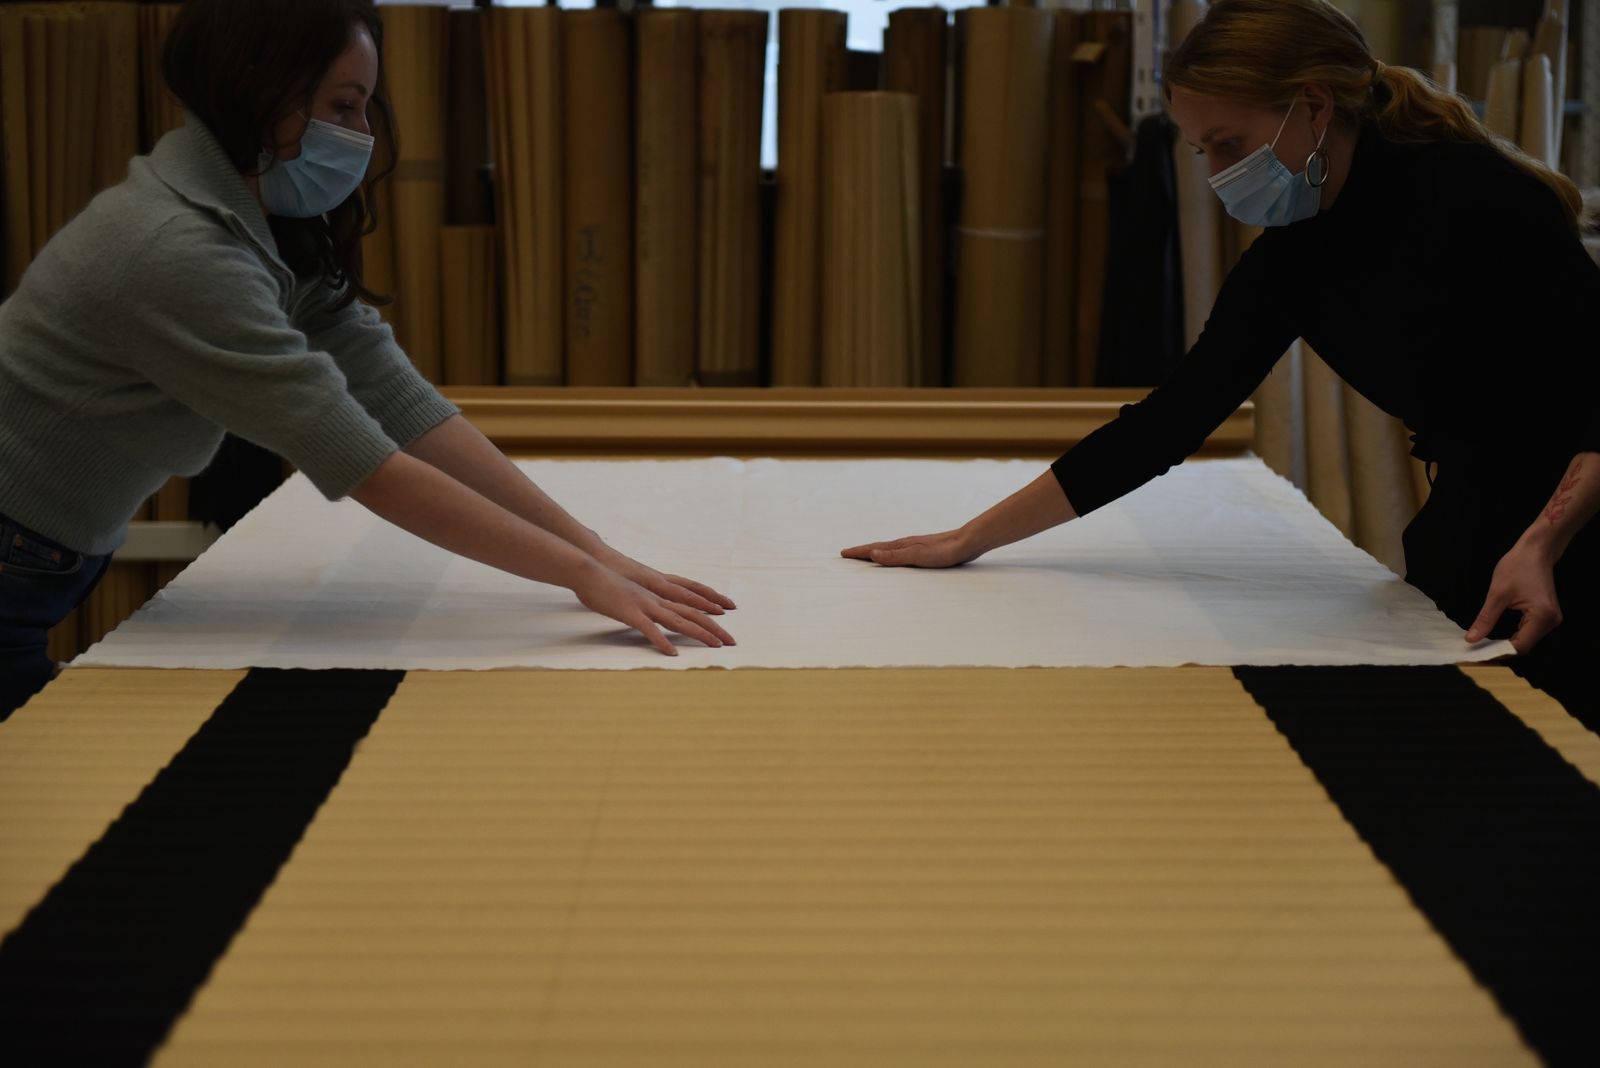
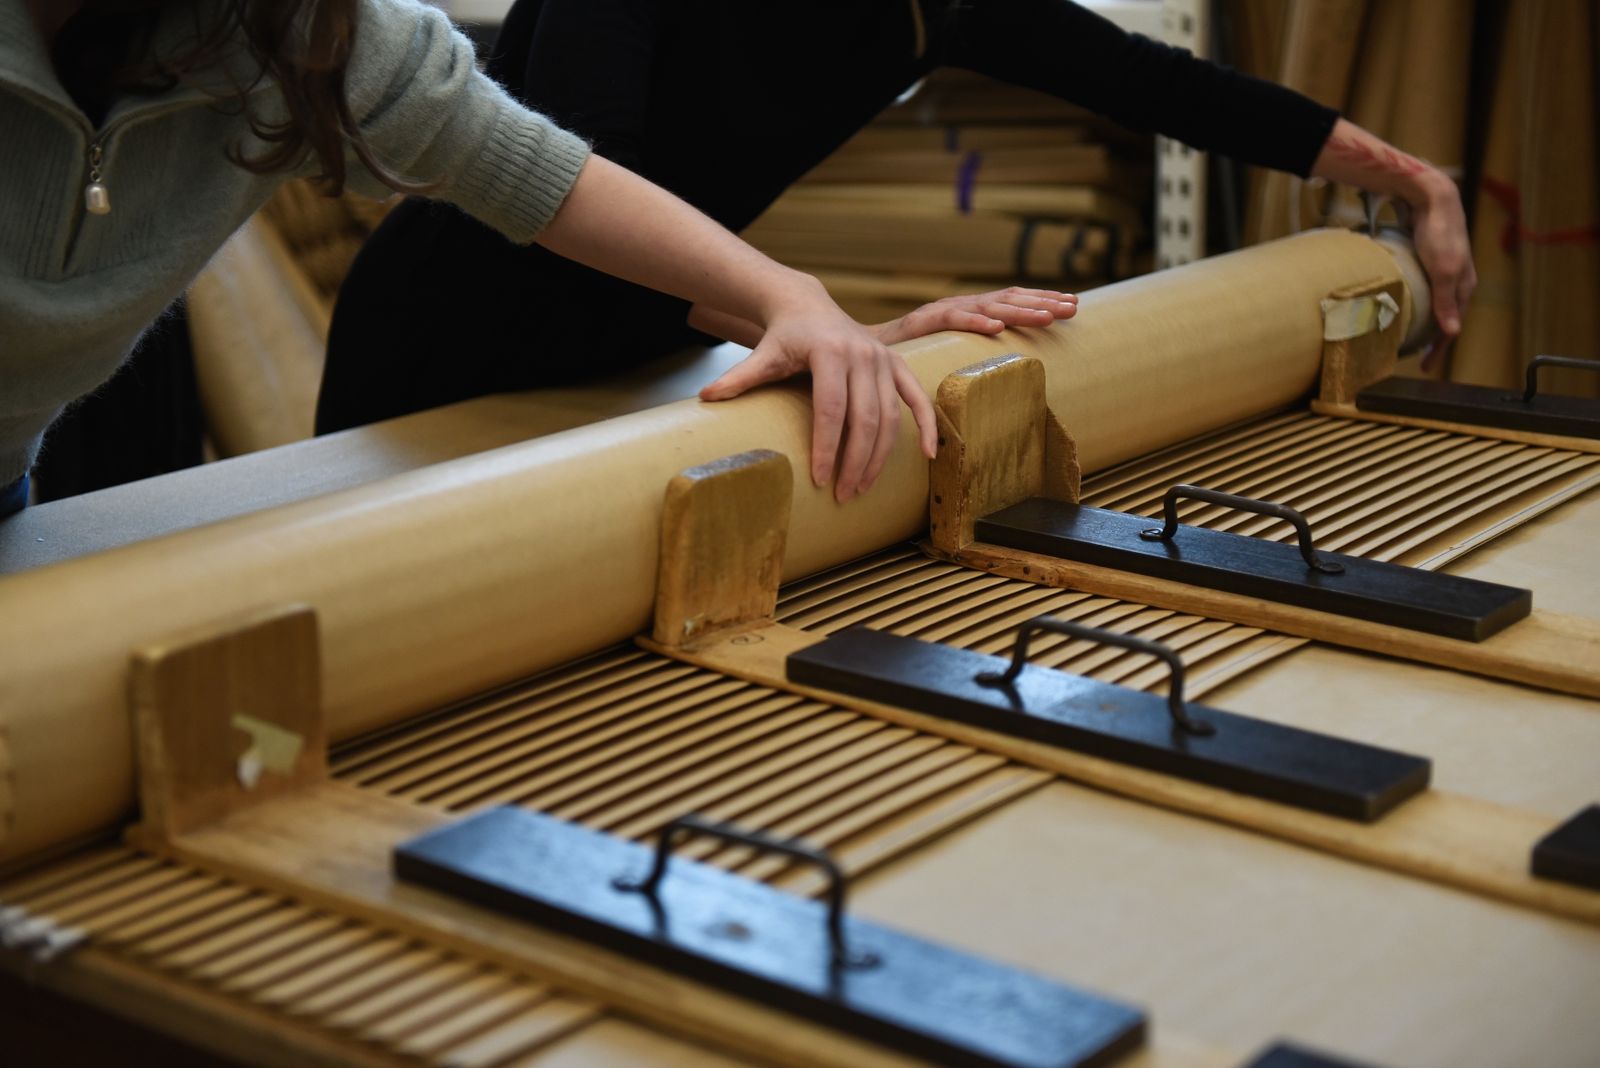
The pleater then unfolds it by stretching it on either side of a table and places the fabric between the two parts, then folds the loom fold by fold. This work is done in pairs because pleaters generally work on large pieces of fabric.

Lognon — 2. Fabric pleating
s60_1
Lognon — 2. Fabric pleating
s60_2
Lognon — 2. Fabric pleating
s60_3

2. Fabric pleating (continued)

They place weights called “skis” on the loom to prevent the fabric from lifting off the cardboard. The whole thing is then rolled manually onto a mandrel.

Lognon — 2. Fabric pleating
s61_1
Lognon — 2. Fabric pleating
s61_2

3. Cooking

Once the loom is closed and the fabric is trapped between the two layers of cardboard, the pleater places the whole thing in an oven for between an hour and an hour and a half, depending on the material and the desired result. This oven treatment, combining heat (between 65°C and 100°C) and steam, permanently fixes the pleat in the fibres of the fabric. Heat alone would not be enough: it is the combination of these two elements—temperature and humidity—that allows the fabric to memorise the shape imprinted by the pleating loom.

Lognon — 3. Cooking
s62_1
Lognon — 4. Result
s63_1
Lognon — 4. Result
s63_2

4. Result

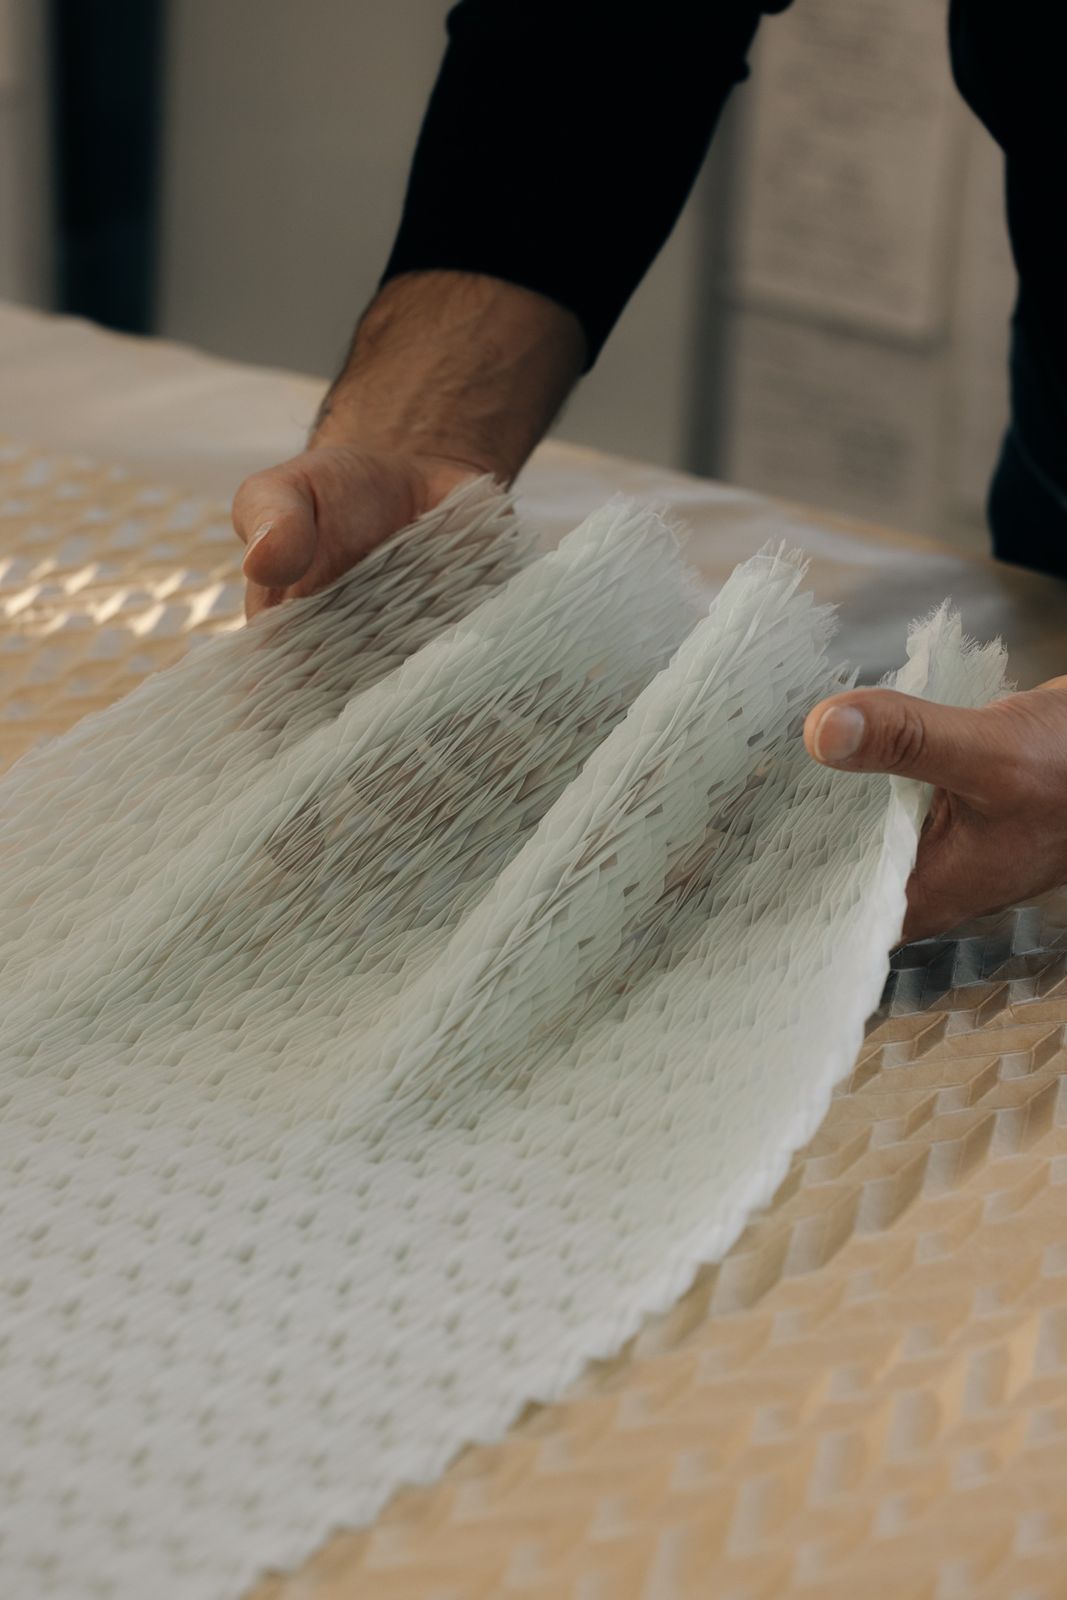
After being cooked, the loom is left to dry overnight before being opened: the straps are loosened, the mandrel is removed, and then the two parts of the mould are opened to release the pleats. Once the pleats have been made, the pleaters send their creations to the dressmakers who will then work the fabric.

5. Different types of pleats

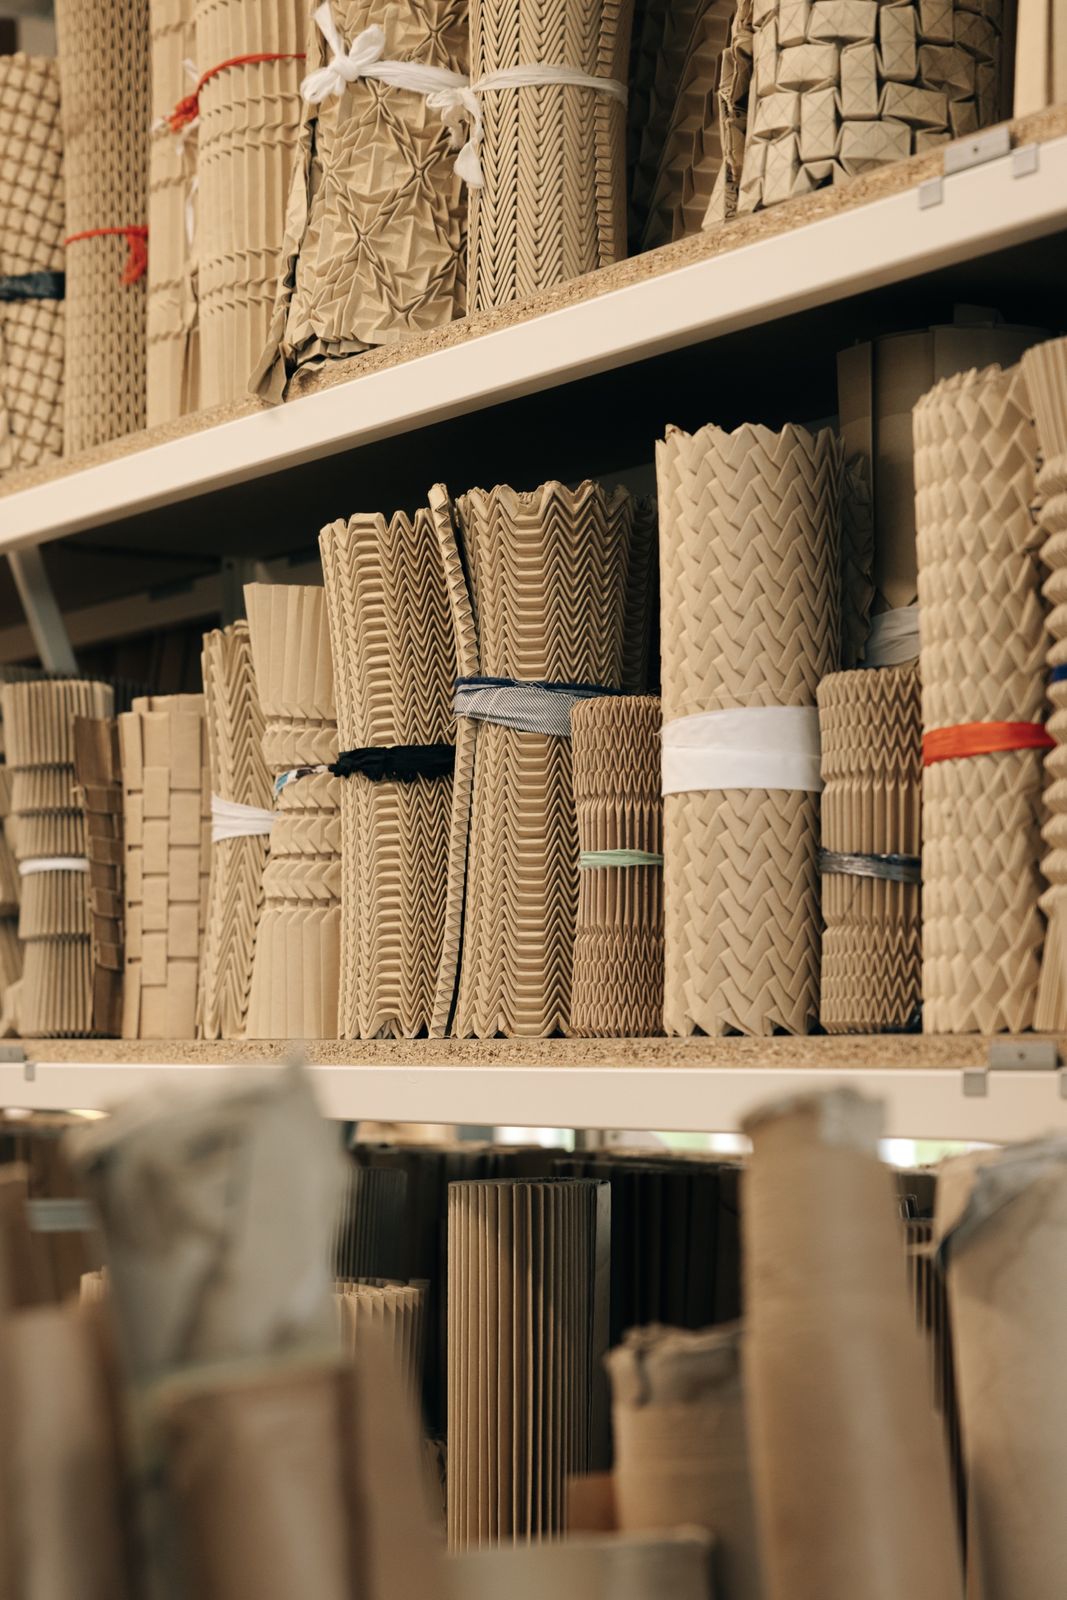
The Lognon workshops have a stock of over 3,000 different looms, some of which date back over a century. The production of pleats by the Lognon workshops began under Napoleon III in 1853 with Emilie Lognon. Despite the large collection of looms, pleaters still create new ones to meet the creative demands of the major fashion houses.

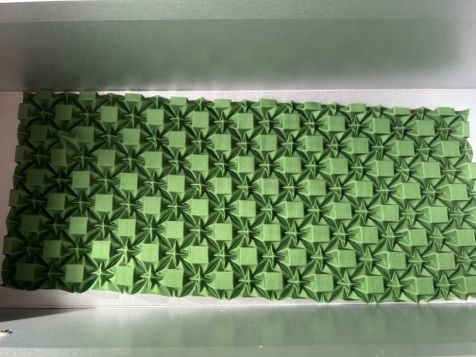
There are different types of pleats. Two main categories encompass the majority of pleated productions: classic pleats and fancy pleats inspired by origami. The pleater shapes the fabrics to create a wide variety of pleated effects with imaginative names: sun, accordion, scale, peacock, flowers…

Lognon — 5. Different types of pleats
s64_1
Lognon — 5. Different types of pleats
s65_1
Lognon — 5. Different types of pleats
s65_2

5. Different types of pleats (continued)

Here you can see a fancy sun pleat. Why sun? Because the pleats at the bottom of the loom are tighter and become wider and longer as they go along the loom, creating the effect of sunbeams.

Here is another example of pleating called a flower pleat. It is particularly interesting because the reverse side is the opposite of the design that appears on the front. We therefore refer to it as a fancy pleat, but also a 3D pleat as it is raised.

5. Different types of pleats (continued)

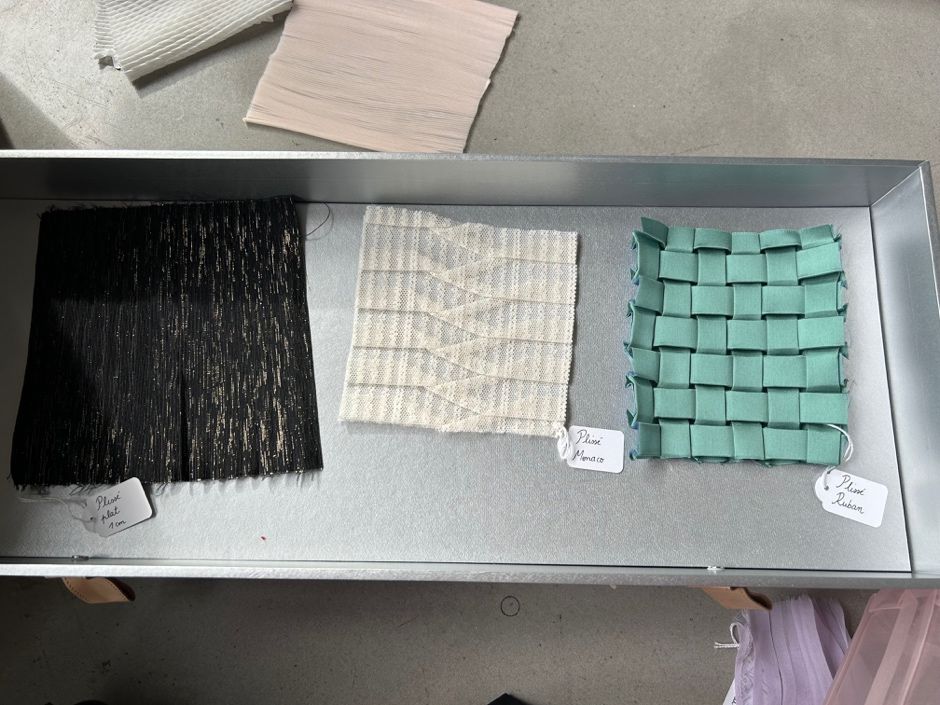
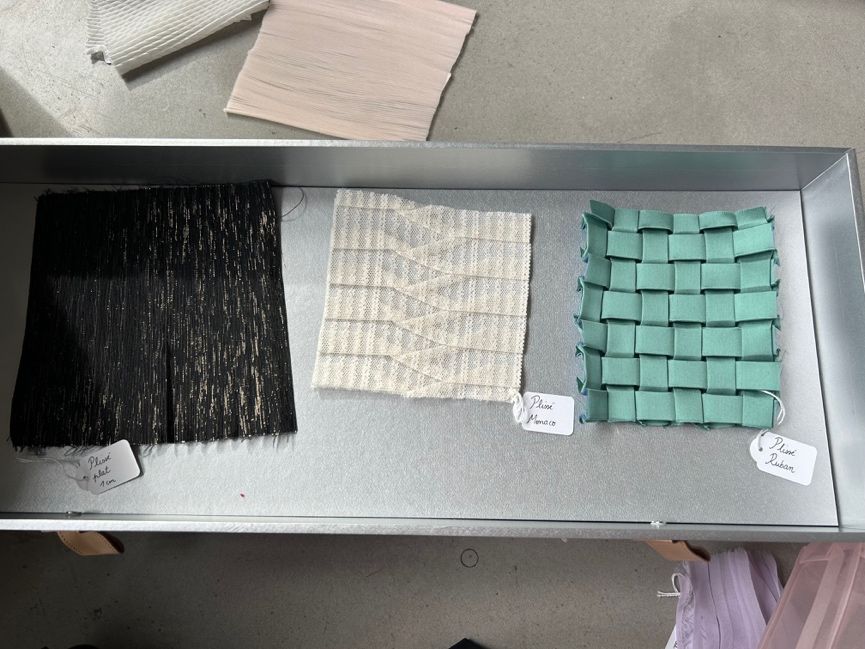
Here is an example of another pleat: the ribbon pleat. This pleat is a trompe l’oeil of woven ribbons on one side, but the pattern is completely different on the other side.

Here, it is a flat fantasy pattern, unlike the flower pleat, which is recognisable by its relief

Lognon — 5. Different types of pleats
s66_1
Lognon — 5. Different types of pleats
s66_2
Lognon — 5. Different types of pleats
s67_1
Lognon — 5. Different types of pleats
s67_2

5. Different types of pleats (continued)

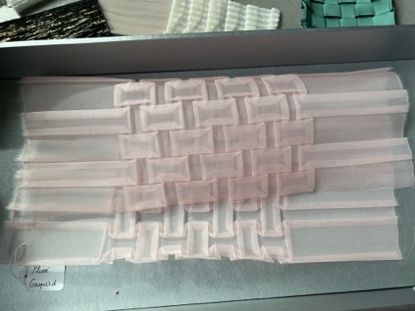
Many of the names given to pleats are also first names. This is the Gaspard. The pattern is concentrated in the middle of the sample. This is known as a boat pleat with a large fold

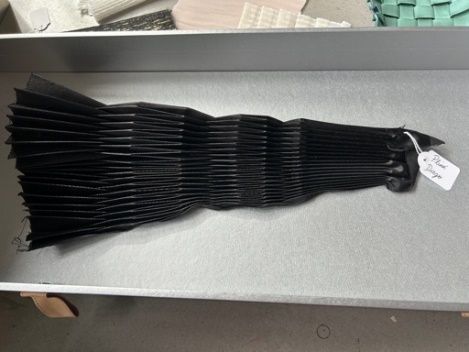
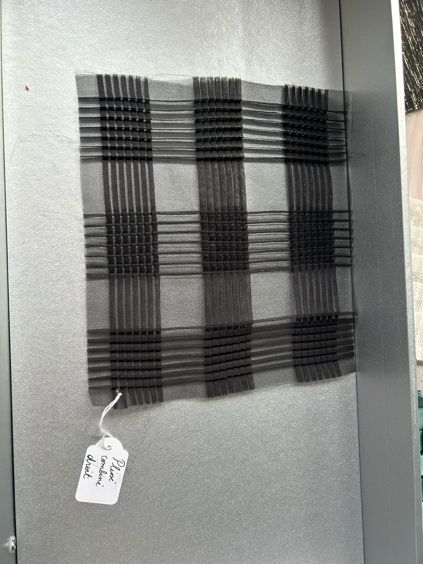
It is also possible to pleat the same fabric several times. This black sample is a combined pleat. It has been pleated in one direction and then in another.

5. Different types of pleats (continued)

In addition to hand-pleating, Atelier Lognon also produces machine-pleated fabrics with pleats less than one centimetre wide: the fabric is continuously unrolled, sandwiched between two layers (often of paper), and then emerges from the machine already pleated.

Lognon — 5. Different types of pleats
s68_1
Lesage — the yarn library: curls, ribbons, scoubidous

The weaving

Lesage

1. Visual research and inspiration

Creating a tweed always begins with writing a story. The first step for the artisans at Maison Lesage is the mood board. A mood board is a visual collage representing all the sources of inspiration, influences, and references that will contribute to writing the story of this new material.
2. Researching yarns and materials
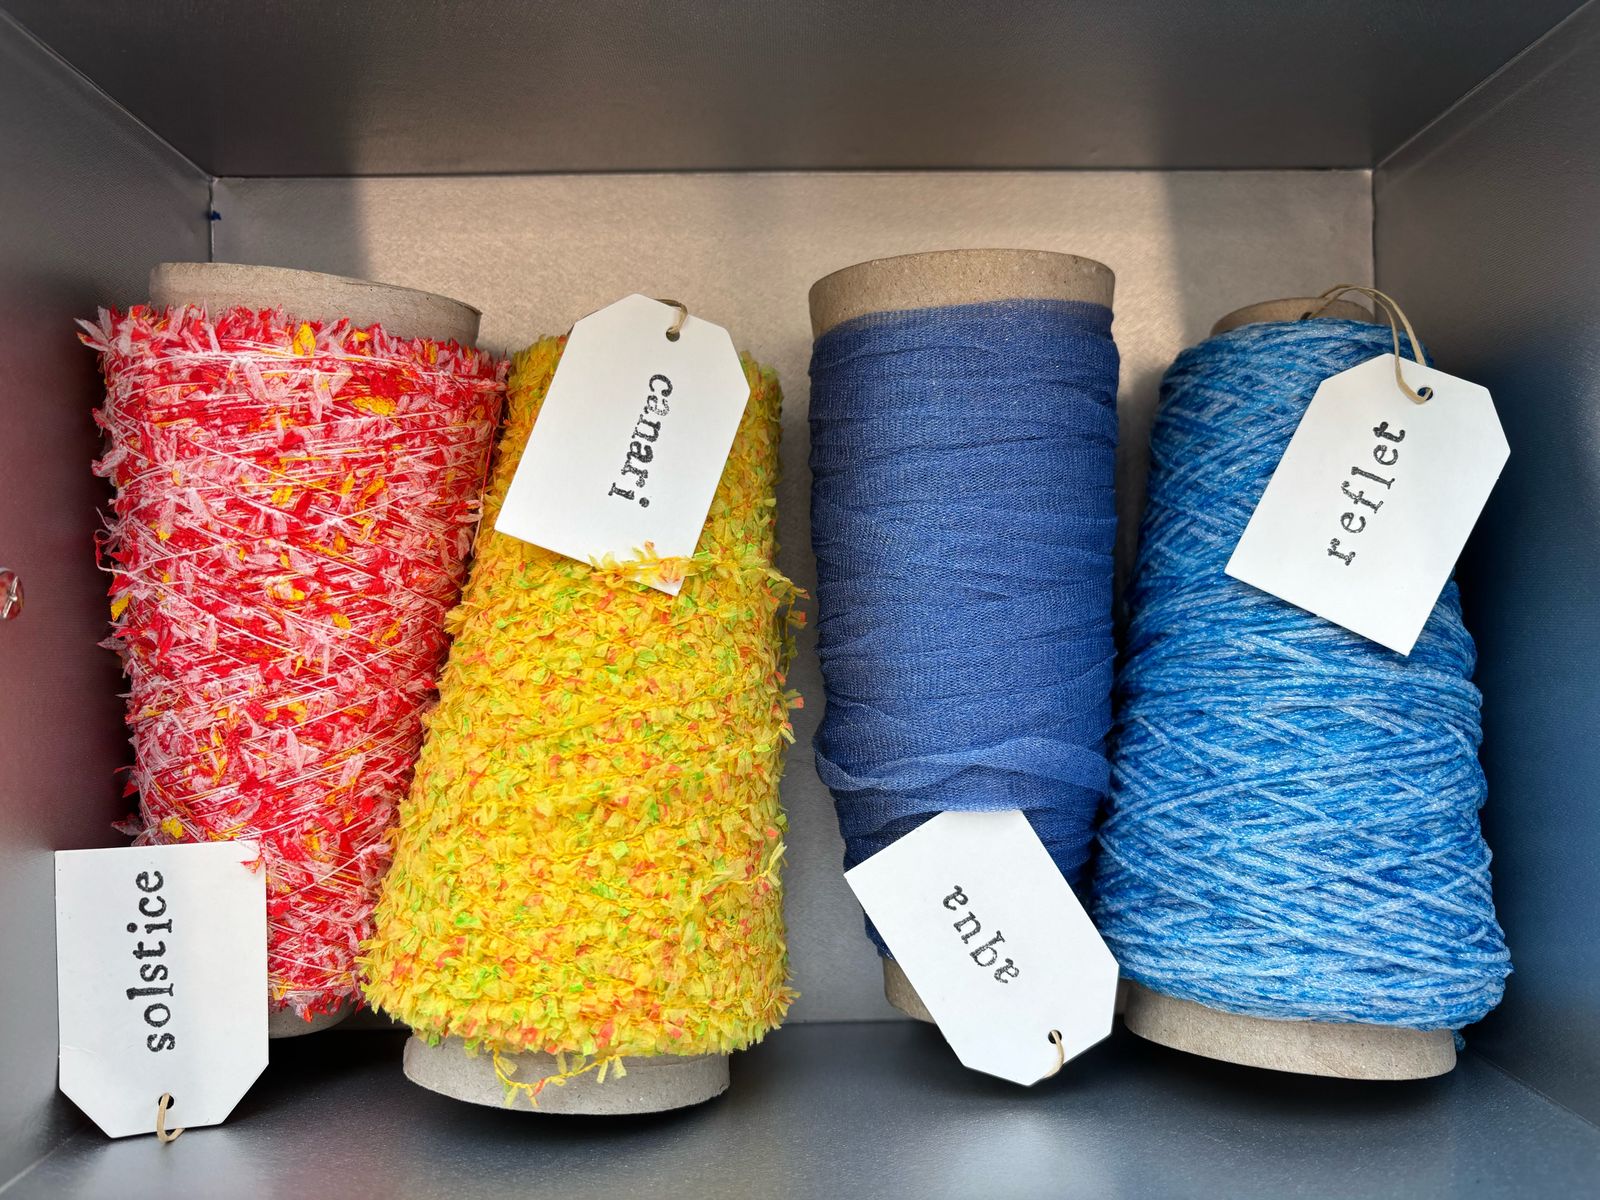
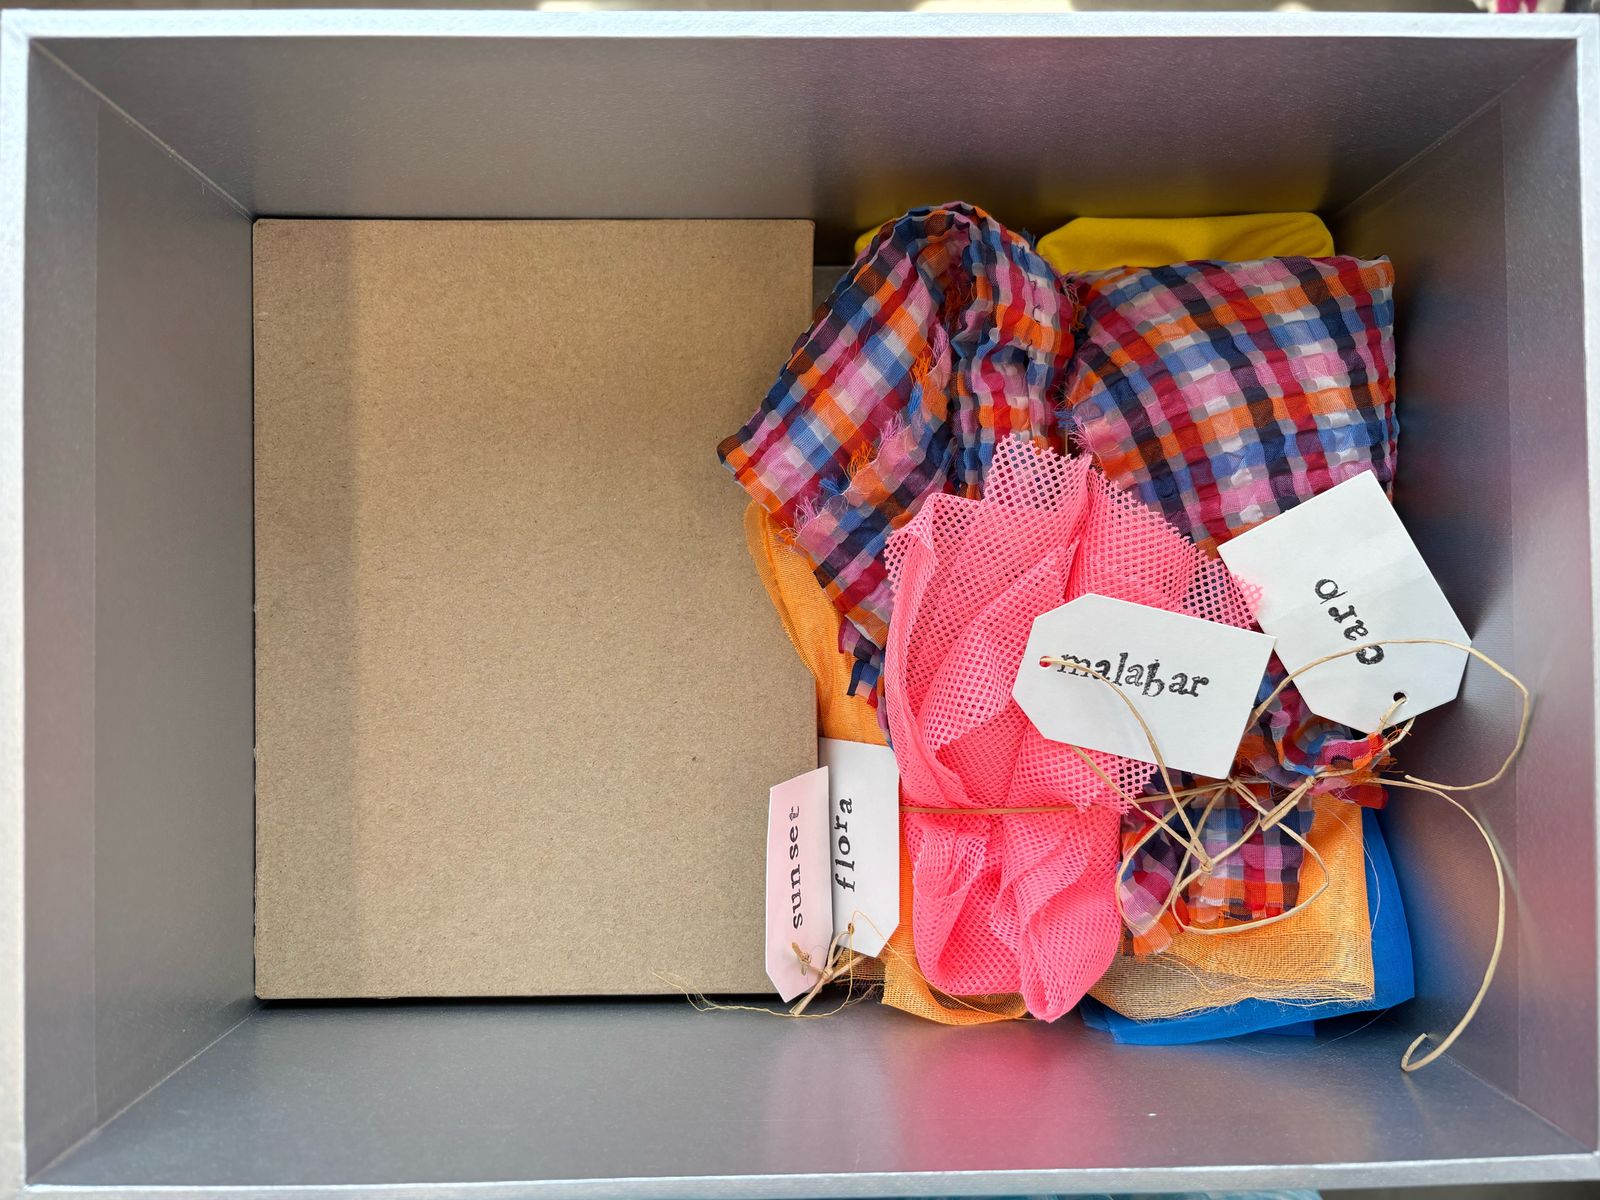
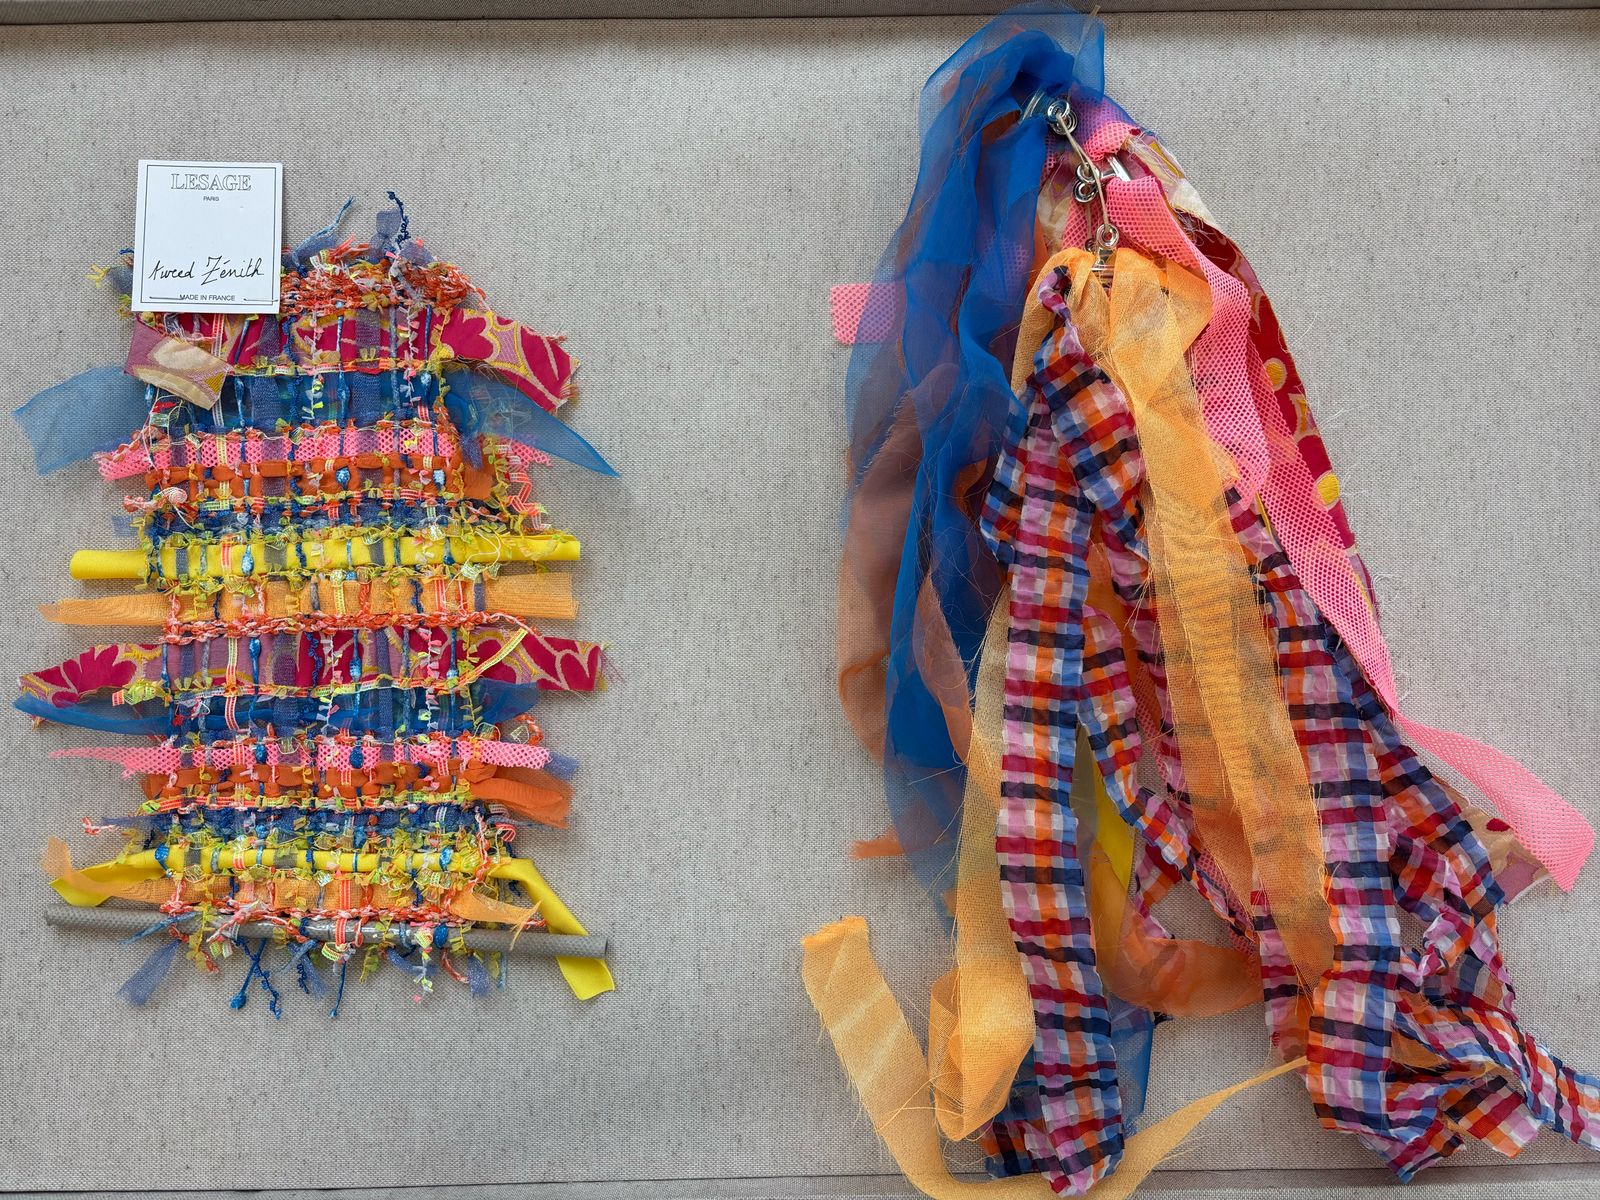
The textile designer draws on the yarn library or has the fancy yarns made by a spinner, carefully choosing their colour, material, and texture. Cotton with curls, silk ribbon, muslin, paper, leather strips, wool, but also beads, rhinestones, pebbles, scoubidous... With a tweed fabric containing from 3 to over 50 interwoven elements, the possibilities are endless.

Lesage — 2. Researching yarns and materials
s71_1
Lesage — 2. Researching yarns and materials
s71_2

3. Designing the fabric

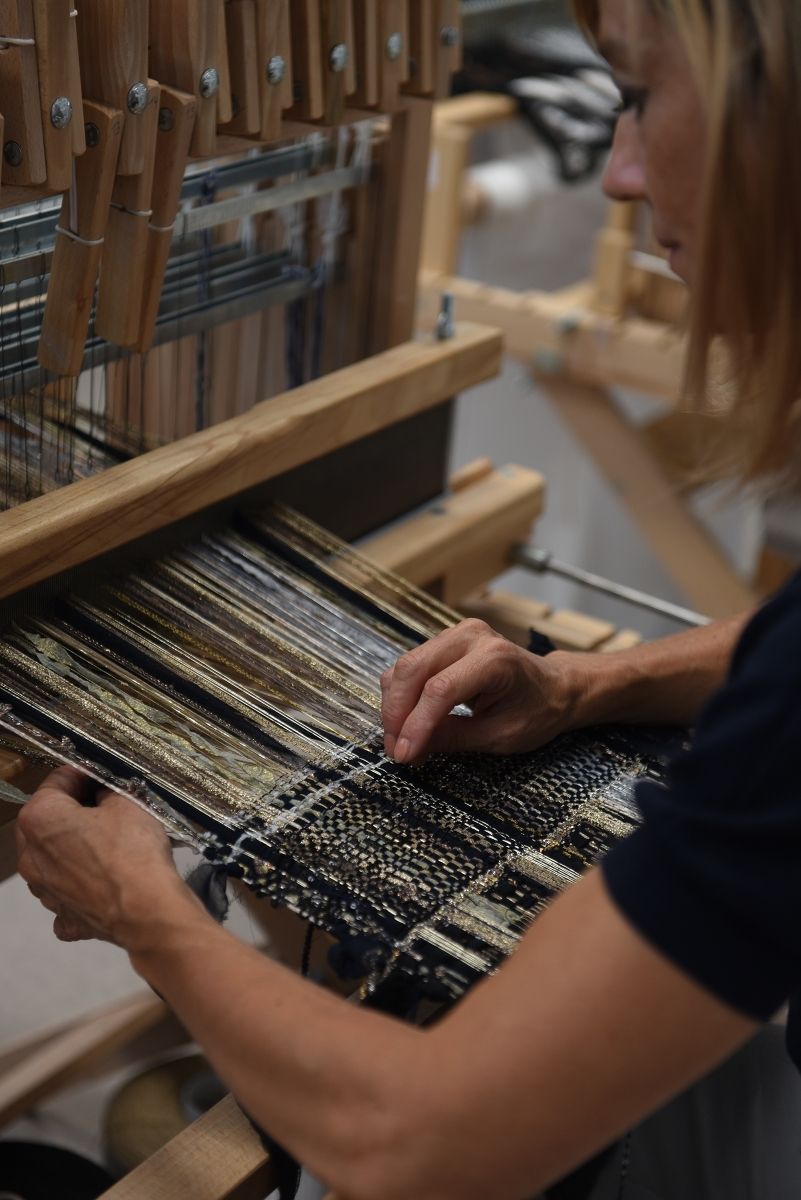
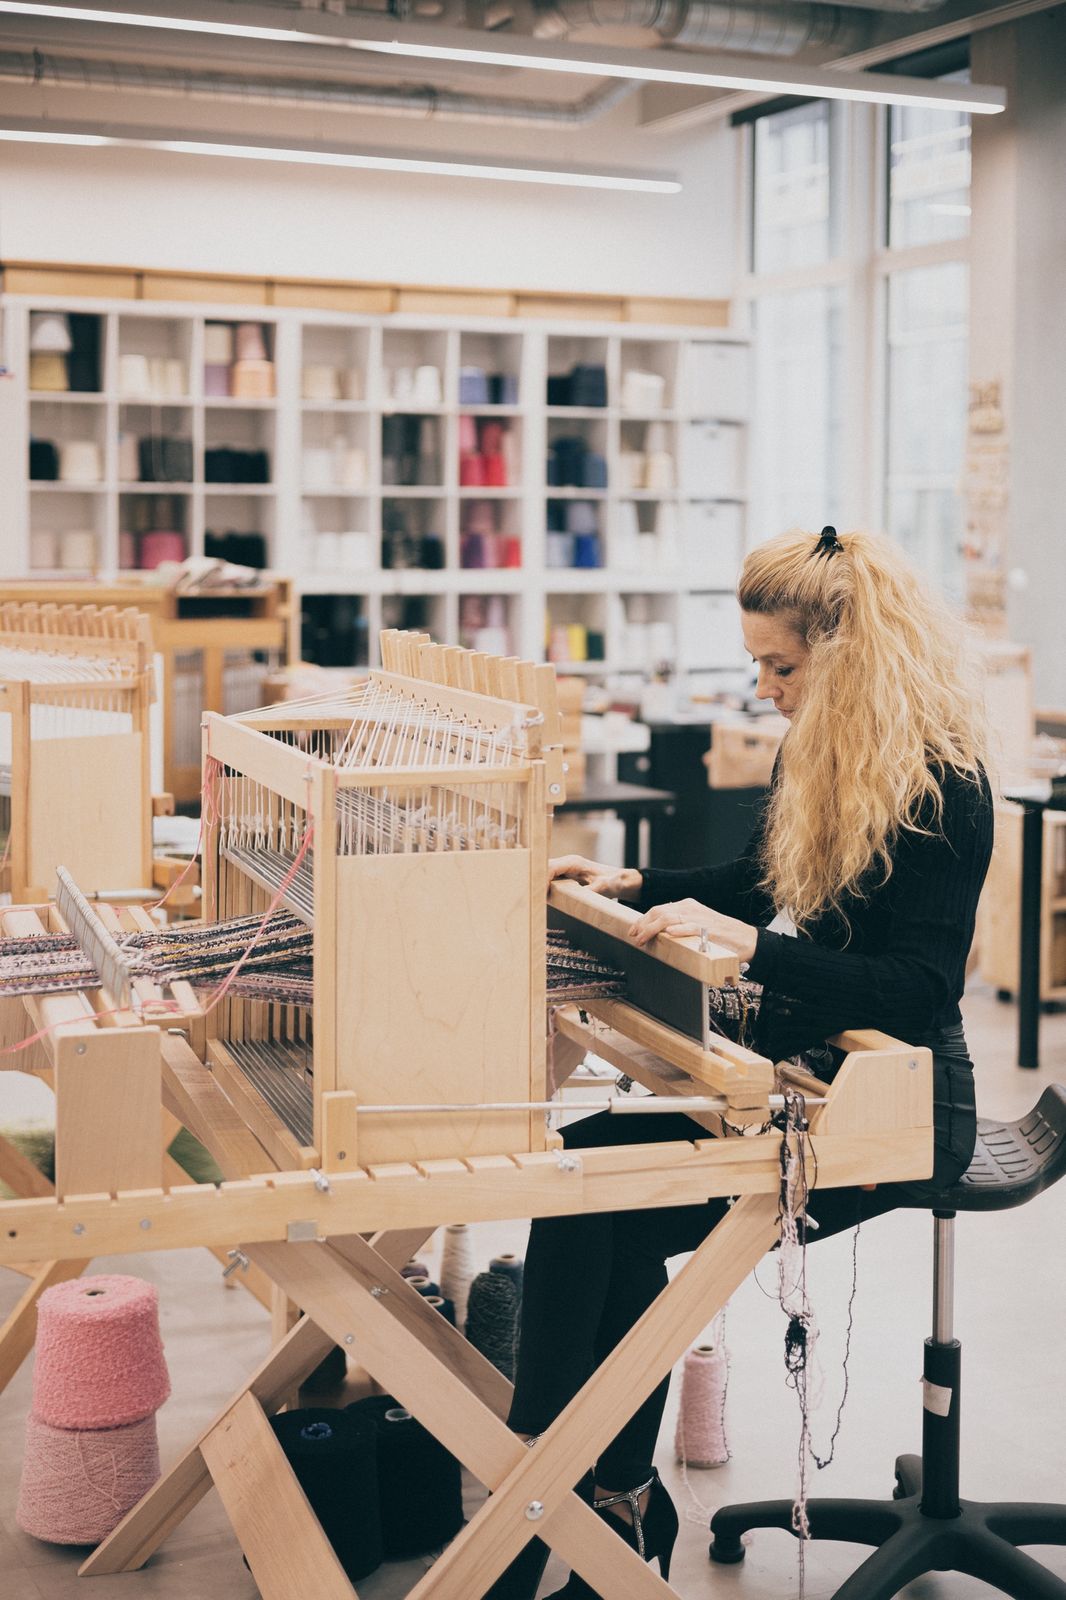
The second step is to create the tweed weave in warp and weft, bringing the different elements together on the loom, playing with the order of the threads, experimenting with crossings, and altering the thickness or density of the mesh.

The nomenclature/ID card allows you to know the location of each thread and how they intersect with each other.

Lesage — 3. Designing the fabric
s72_1
s73_1

The weft threads are the horizontal threads that cross the warp threads transversally.

3. Designing the fabric (continued)

The warp: The warp threads are the threads stretched vertically on the mini loom.

To stretch these threads, they must be wound onto a tube, which is the warp preparation stage. This allows the warp to be used to add the weft later.

The weft: The weft threads are the horizontal threads that cross the warp threads transversally.

The warp and weft form a matrix known as a weave structure or pattern.

The plain weave is a type of weave where odd and even threads alternate above and below the weft.

3. Designing the fabric (continued)

Lesage — 3. Designing the fabric
s74_1
Lesage — 3. Designing the fabric
s74_2
s74_3

4. Sending to ACT3

Once the artisans at Maison Lesage are satisfied with the sample, they are ready to send it to ACT3 for weaving on larger looms, using Dornier weaving machines, which are suited to semi-artisanal work and therefore allow for the most daring and creative innovations: ribbons of beads, sequins, silk, braids, or scoubidou yarns...

↑